Kitchen Makeover

Back in mid-May I began our kitchen makeover. It was quite the project, with the DIY pieces taking over 55 hours to complete. Yikes :/. I’m so happy with the finished product, though!

I’ll give you a quick before and after photo before explaining all the changes we made.

Before

After

I just love it :). Ok, now for all the changes…  Continue reading »

Kitchen Project: Sherwin Williams ProClassic Paint

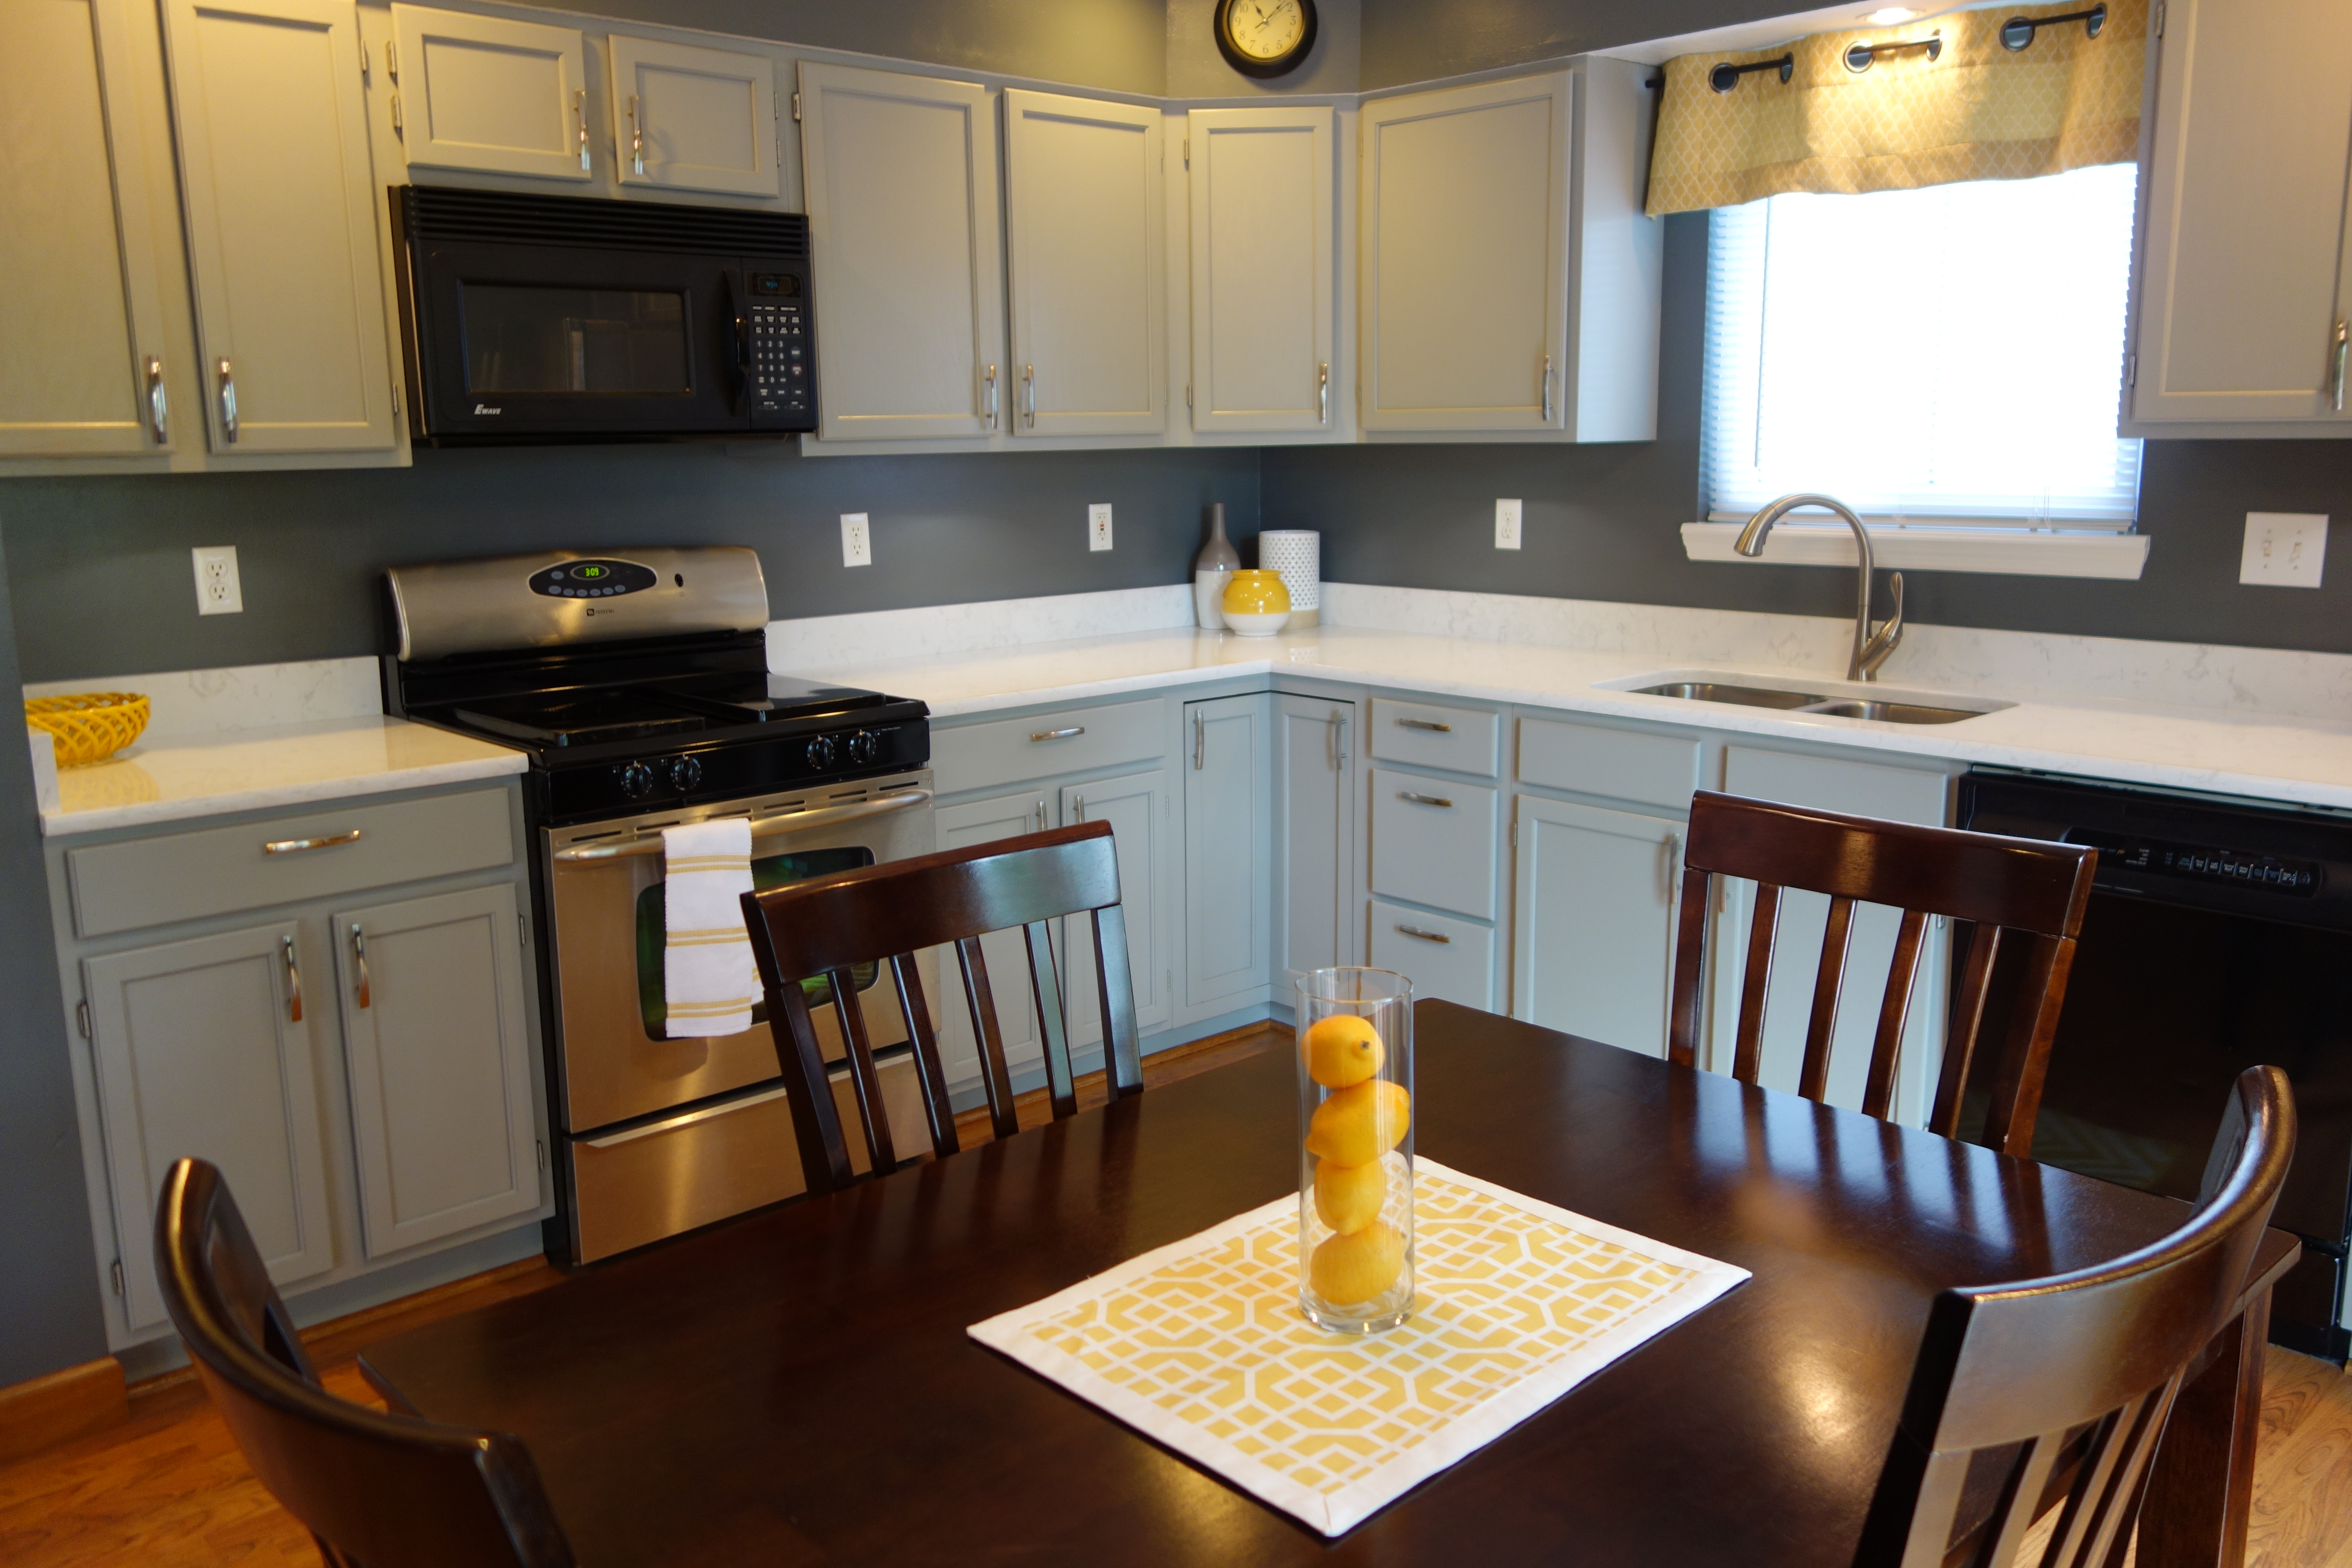
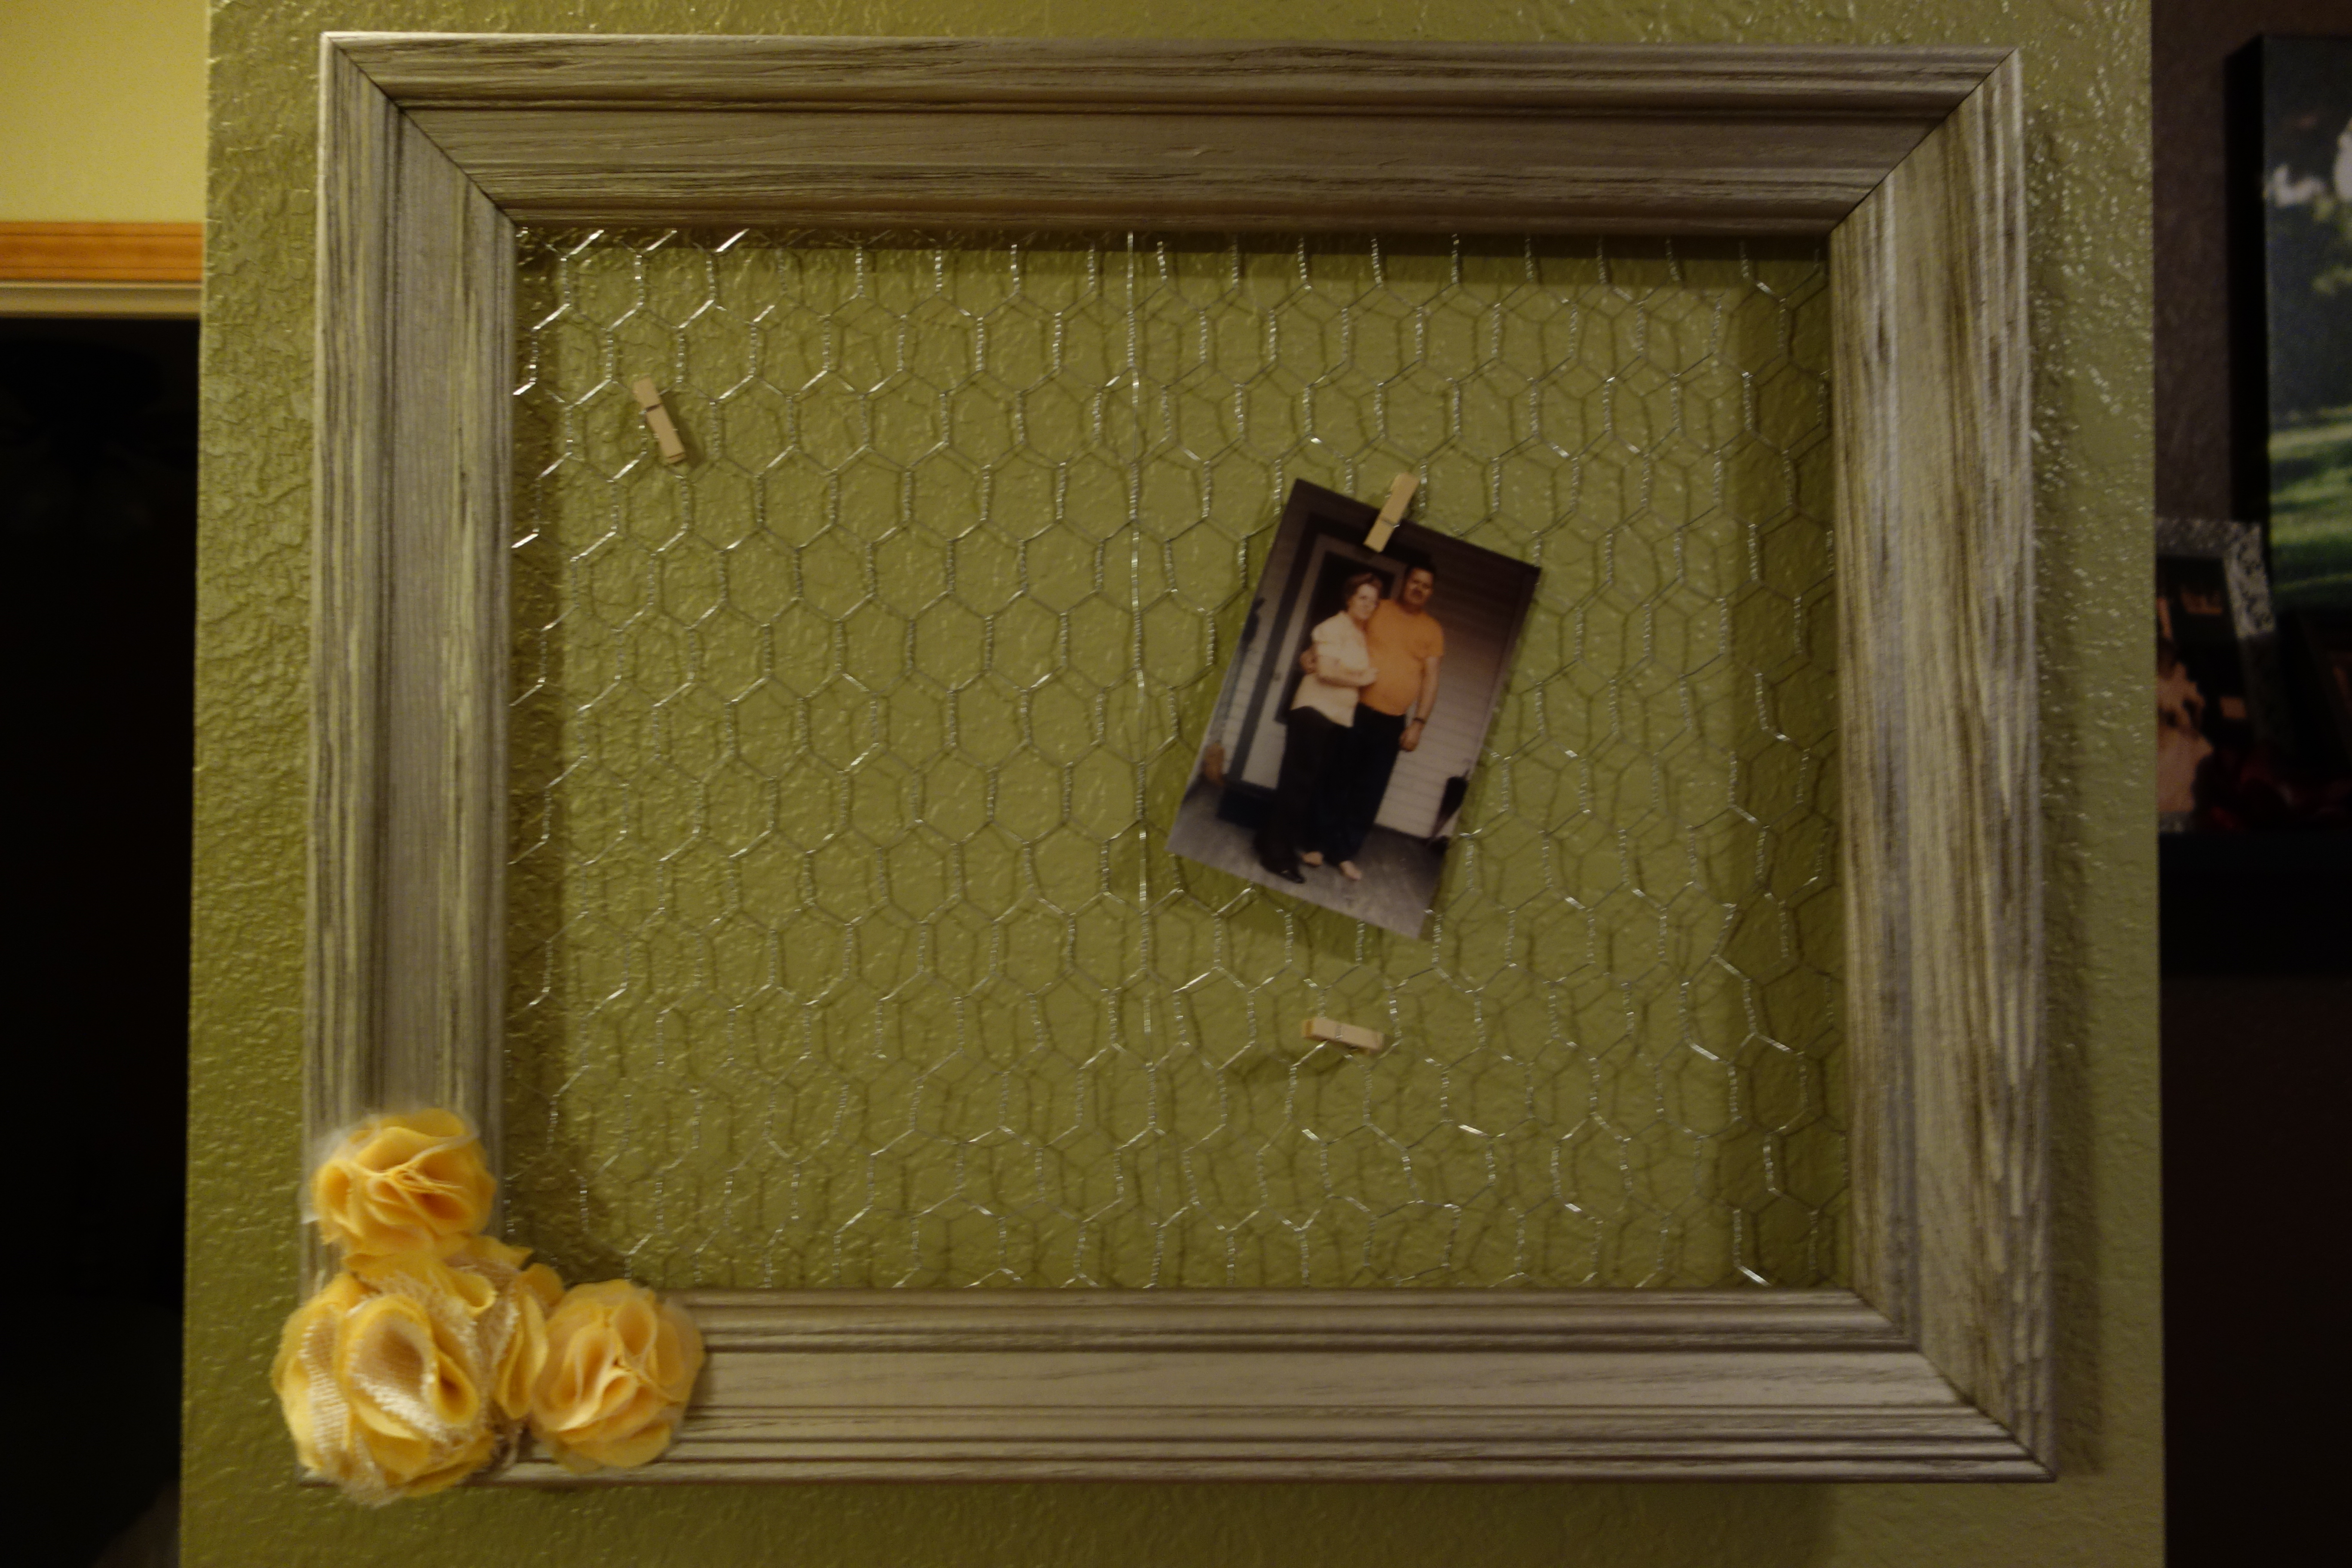
I’ve now completed two cabinet painting projects. The first one was our bathroom vanity. You can read about that here. The second one was our kitchen cabinets. This was a MUCH larger project than the bathroom vanity, but it was SO worth every bit of the 50+ hours it took to complete the project. Thankfully I had some help from a good friend and the hubs!

I used different paint for the kitchen cabinets than I did for the bathroom (per a recommendation from a friend’s mom who knows a professional painter), and boy, I’m glad I did!

I used Benjamin Moore Fresh Start primer and Sherwin Williams ProClassic paint. The picture below shows the primer in white, but I actually used the deep base version and had it tinted. My paint color was Stratus by Valspar. Sherwin Williams color matched it perfectly.proclassic paint

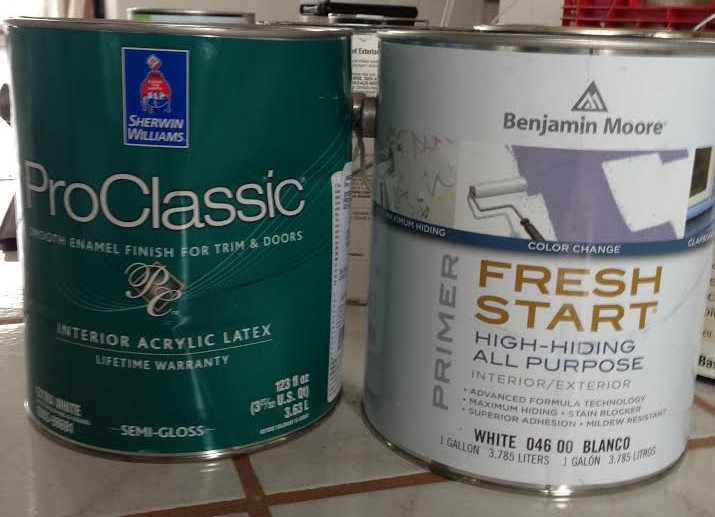
Ok, so the Sherwin Williams paint, it’s expensive (I paid $50 for one gallon, and that was with 30% off), but it was worth every penny! This paint is amazing. It goes on thick, pretty much self-levels so you don’t have to mess with it much, and dries without that tacky/sticky feel that some cheaper paints have. It also dries quickly. I highly recommend it for painting cabinets.  Continue reading »

Update: Brass Be Gone!

Two years ago at about the same time I started this blog (Wow – I can’t believe it’s been that long ago!), I spray painted the knobs and hinges on the interior doors of our home. In that post, I told you I would keep you updated, so here’s the update! Continue reading »

Bathroom Vanity Redo

A few months ago, my husband and I decided to redo the vanity in our guest bathroom. We already painted the walls and bought a new shower curtain a couple years ago, but we still needed to spruce up the vanity. I’ll share with you the process of painting cabinets Fallon-style (aka – I have no idea if I did this correctly, but I think the cabinets turned out great!).

Here are the before pictures: Continue reading »

Craft Booth…Take One

My dad and I participated in our first ever craft fair this past weekend. It was quite the experience, and we learned a lot!

Pictures of our booth are below. I was happy with it for our first ever booth display. It just seemed so overwhelming, though – too much stuff in too small of a space.

We learned from other vendors that it’s not so much about having a ton of items as it is about having a really eye-catching display. Which, of course, makes sense. After seeing other craft booths over the weekend, we now have ideas about how to make our booth more inviting.

We plan to do this again, but need time to recuperate. Craft Booth…Take Two may have to wait a year :). This was exhausting! Lol.

DSC02715

DSC02721

DSC02722

DSC02728

DSC02727

DSC02742

Check out my Shop to see the currently listed items.

What suggestions do you have about creating a successful craft booth?

DIY Personalized Ornate Frame

I have been looking all over for my inspiration picture and can’t seem to find it anywhere on my computer! Ugh. I guess I’ll just have to show you the final products by themselves.

Here are the personalized ornate frames I made for a couple individuals:

DSC02210

DSC02344

Here’s how to make it…   Continue reading »

For Sale

Recently, I began selling some of my crafts at a local store. I’m so excited! I hope to have an Etsy shop soon…we’ll see. Be sure to check back in the coming weeks to see if I’ve opened one :). Below are some of the items I took to the local store – chalkboards, chicken wire frames, earring and necklace holders, and ‘I love you because…’ dry erase frames.

Items for SaleItems for Sale


Here are some other items I’ve made…

Do you have any business tips for me???

Chicken Wire Frame

My dad and I are selling crafts at a festival later this year. Here is one item I plan to sell (if I don’t end up keeping it for my own house :)).

DSC01478

Simply staple chicken wire to a picture frame. The frame I used was about 24×21 inches from outer edge to outer edge. I did spray paint the picture frame first – I didn’t like the wood color it was originally, so I used a silvery colored spray paint. When I was finished, it looked too bland, so I added the fabric flowers.

This makes a great picture frame, as it allows you to quickly and easily switch out pictures as often as you like. You could also use it as a place to leave messages, love notes, lists of chores…the possibilities are endless :)!

I will definitely be making more of these.

Happy framing!

Good Company Always Welcome

My dad and I are participating (for the first time!) in a craft festival. We were just approved today to have our own craft booth. I’m so excited :)! Our main items for sale are upcycled windows and frames. So, my task this summer is to rummage for items we can use for crafting.

On my first major rummaging adventure last weekend, I found a gold mine of old windows. I bought 9 of them for $33.00 (that’s just $3.67 each).

Here is one window I created and plan to sell at the festival. The problem – I have no idea how much to ask  for it :/.

DSC01507

Below are step-by-step instructions, along with pictures of the process. Continue reading »

DIY Fluffy Fabric Flowers

This post from Girl Loves Glam was a great step-by-step guide for making fabric flowers. You only need a few supplies, most of which you likely have on hand – fabric, a hot glue gun, some type of circle to trace, a pen or marker, scissors, and a straight pin (optional).

I made two sizes of flowers and used three different fabrics. For the bigger flower, I used a yellow fabric and burlap. For the smaller flowers, I used the same yellow fabric and a white fabric. These flowers were used to add a little interest to the chicken wire frame I made (post coming soon – UPDATE: Here it is.).

DSC01467

These are two of the fabrics I used (burlap not pictured).

Continue reading »