Back in mid-May I began our kitchen makeover. It was quite the project, with the DIY pieces taking over 55 hours to complete. Yikes :/. I’m so happy with the finished product, though!
I’ll give you a quick before and after photo before explaining all the changes we made.

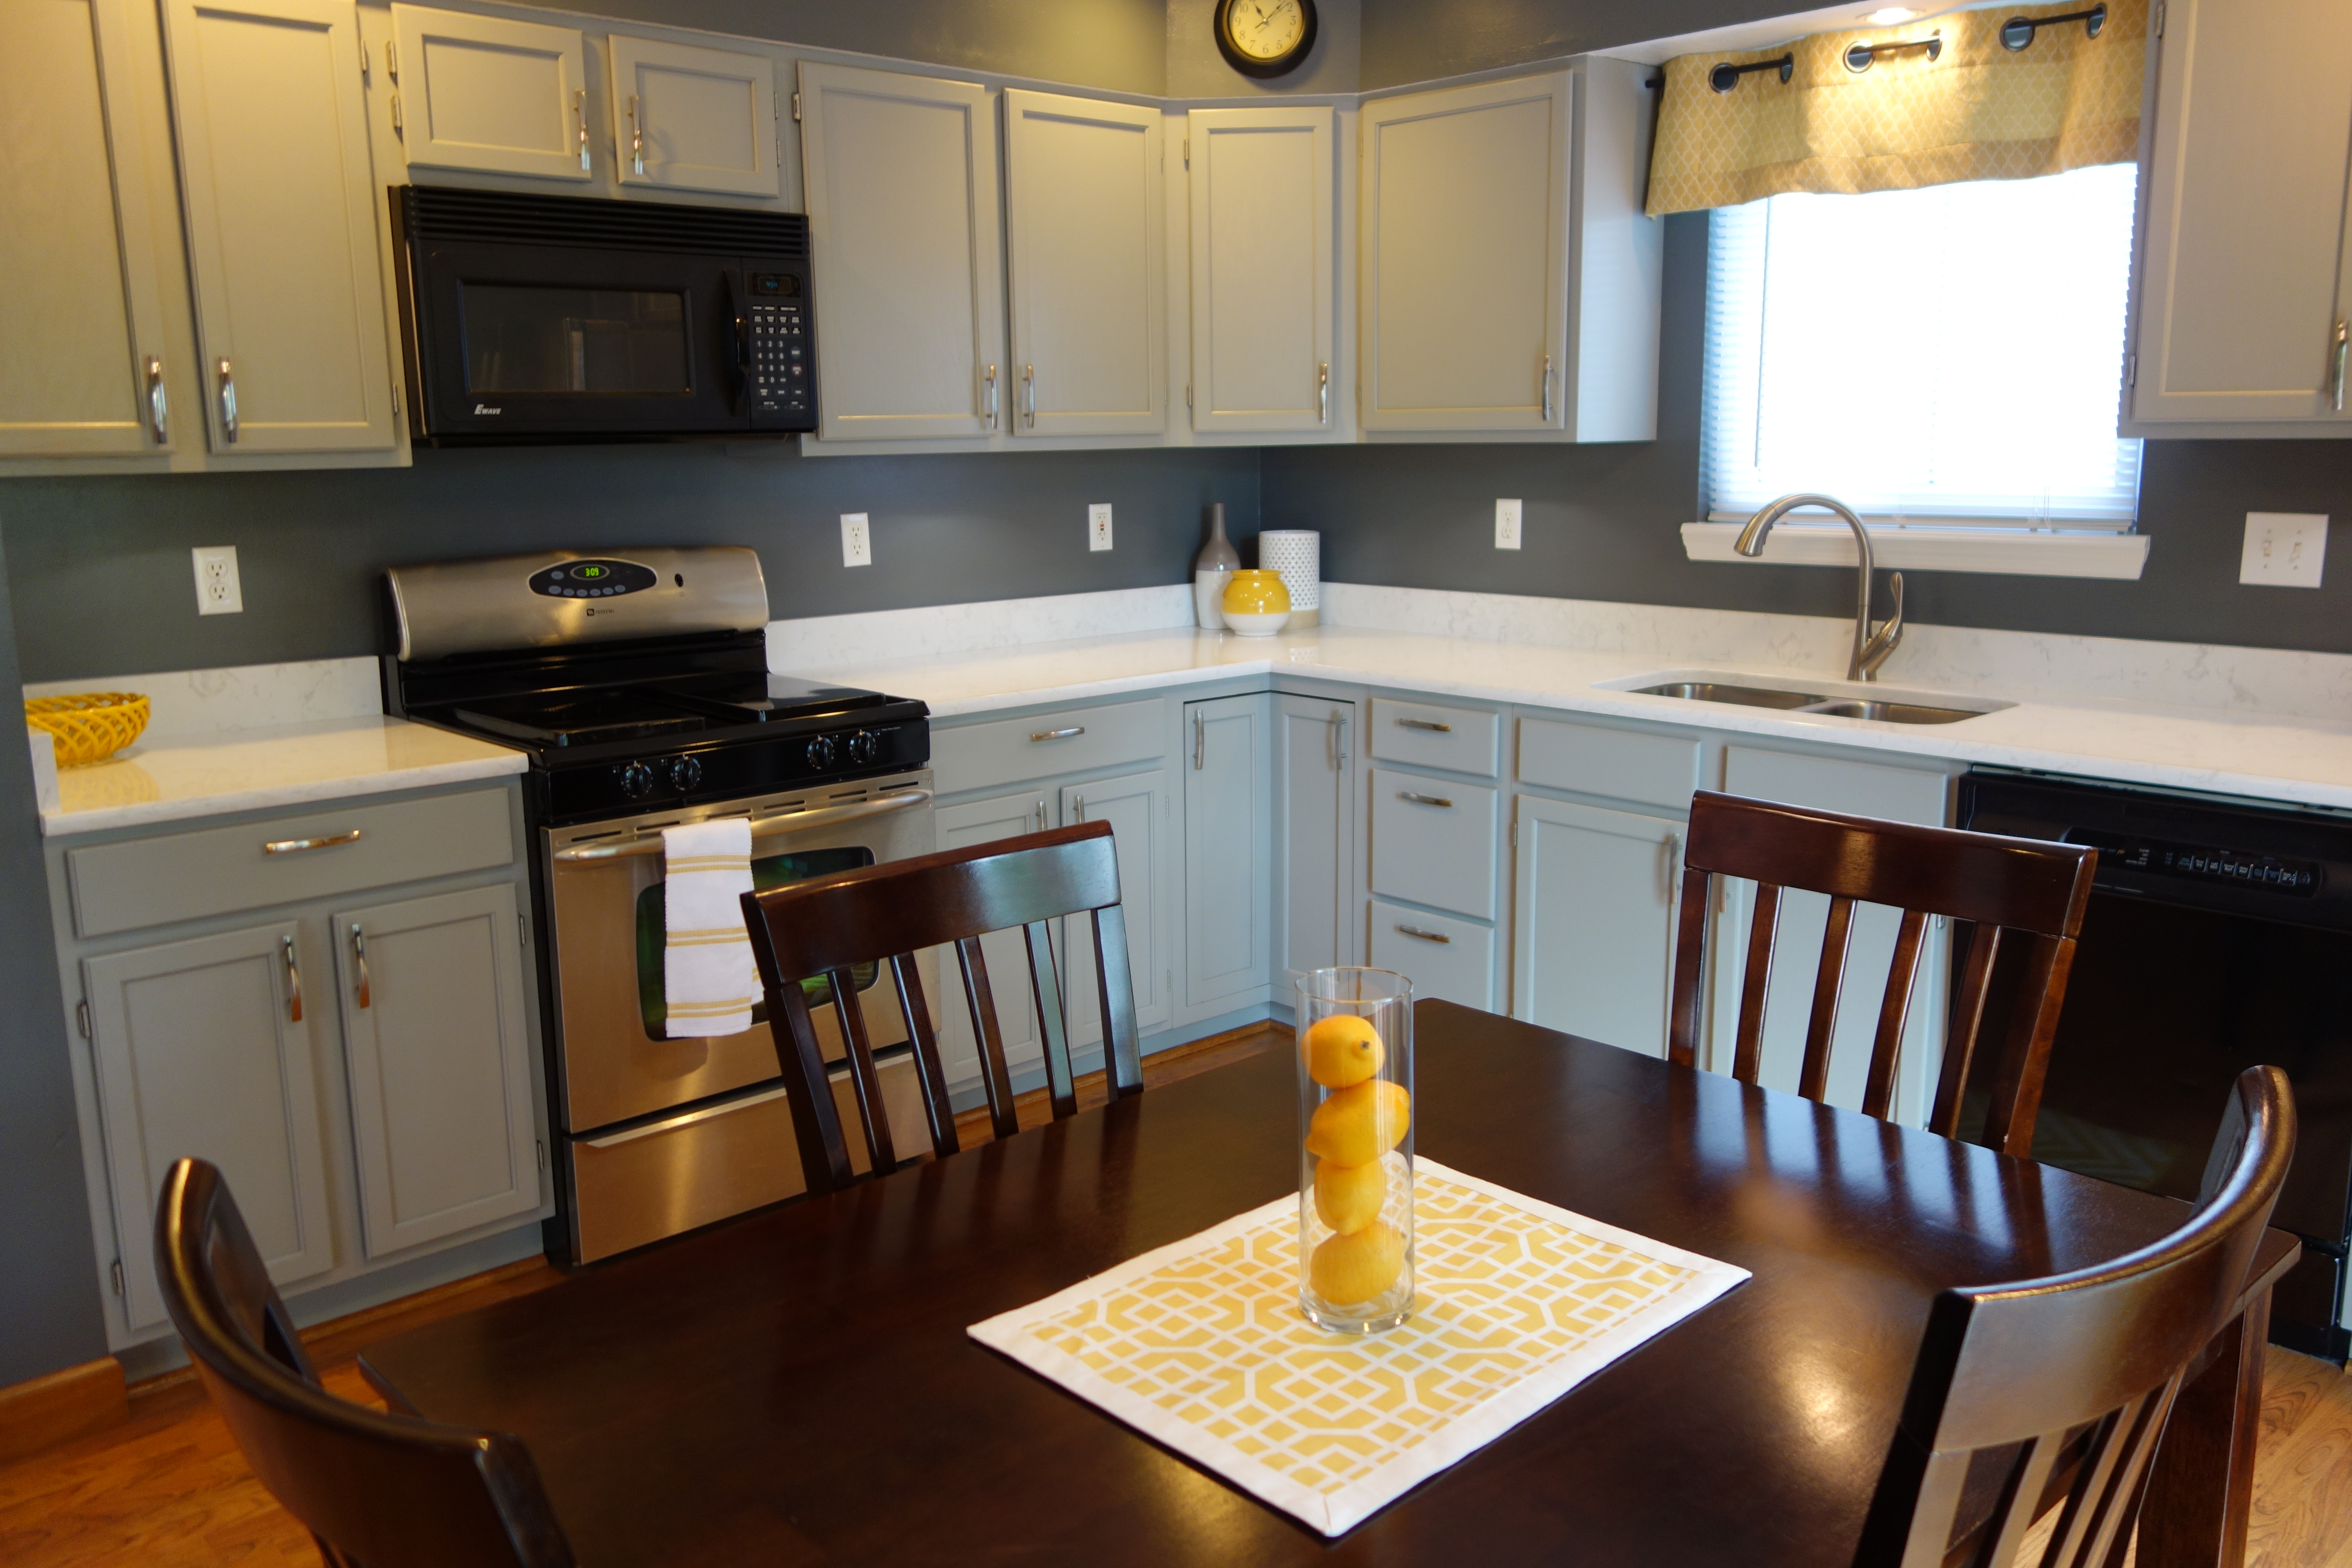
I just love it :). Ok, now for all the changes…
- Cabinets: The cabinets got a facelift with new paint and hardware. This took the majority of the time, about 46 (wo)man hours. Our cabinets didn’t have hardware, so we had to buy new. I was able to spray paint the hinges, though, which saved quite a bit of money. It took about three cans of spray paint. I also added battery-powered, under-cabinet, LED lighting. I love it!
- Walls. The walls got a fresh coat of dark gray paint called Falcon by Valspar. Painting the walls took about 10 hours.
- Windowsill. I painted the windowsill also. It was already white, but sort of a dingy-looking white. A fresh coat of paint I already had on hand made it look so much better.
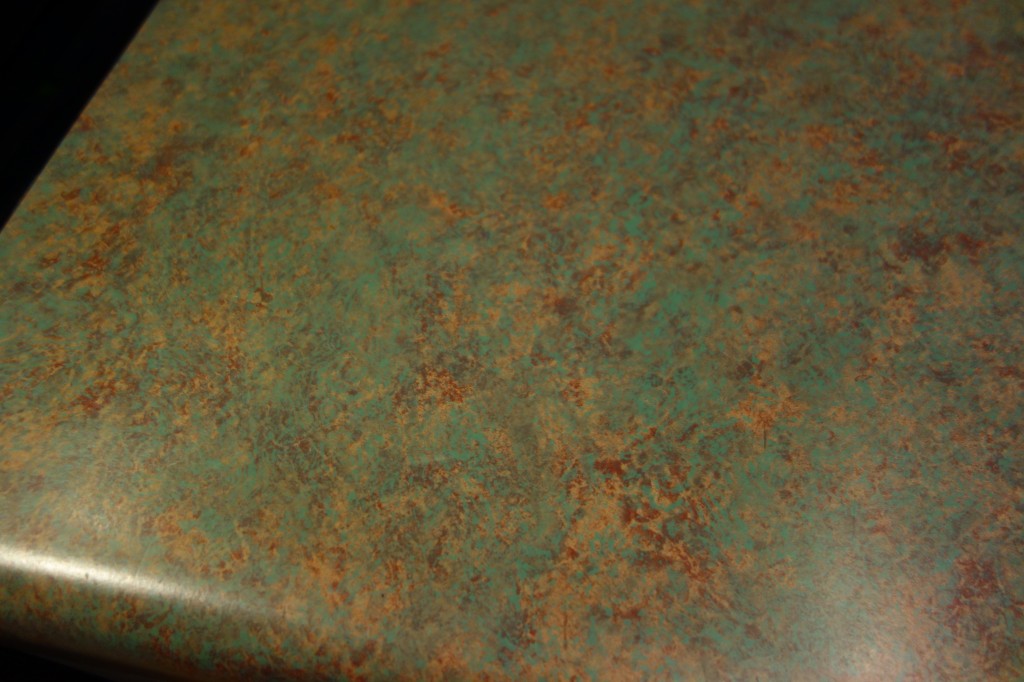
- Countertops. We also bought new quartz countertops from a local shop, which I just love. Our old laminate tops were coming apart at the seams, literally. To save money, we decided to remove the old tops ourselves (yes, just the two of us). Let me tell ya, those suckers are heavy! I wish we would have videotaped that project, I’m sure it would have been hilarious to watch. We also saved money by installing the faucet and garbage disposal ourselves after the new tops were installed. This was relatively easy, but a bit time consuming – it took us about two or three hours to complete.
- Window Treatments. It proved to be more difficult to find yellow window treatments than I expected. In fact, the ones I finally settled on were ones I didn’t expect to like when I first bought them from JC Penny. I actually had to buy three curtain panels, even thought I only wanted two panels and one valance. According to the sales clerk, they do not sell/make grommet top valances anymore. To make the valance, I bought the shortest panel available and had it hemmed. I had to finagle the panels for the sliding glass doors a bit, too. They were 84” long and just a little too short (like my old ones that I never had fixed), so I also had the seamstress lengthen those a couple of inches. It made all the difference. No more high-water curtains.
- Curtain Rods. I spray painted the curtain rod above the sink with oil rubbed bronze spray paint I had leftover from a previous project. The curtain rod above the door is new (from Target), though. We open and close those curtains so often I figured the spray paint would wear off too easily.
- Accessories. I added some new accessories, including a chalkboard. I can’t believe I’m admitting this, but I broke down and bought a chalkboard instead of making one. SMH. I just loved the frame and didn’t have the patience to hunt at rummage sales for a cool frame I could make into a chalkboard. Terrible, I know! Also, I didn’t intend to keep the rug that’s in front of the sink (it’s too big), but that didn’t go as planned. I had the rug on the floor for a day or two, tags still on, trying to decide if I liked it or not. Well, I came home and found it snagged. Our cat must have gone into spaz mode, as he often does, and decided the rug was something to attack. Sigh. So I’m stuck keeping a rug I didn’t want to in the first place that now has snags in it. Oh well :).
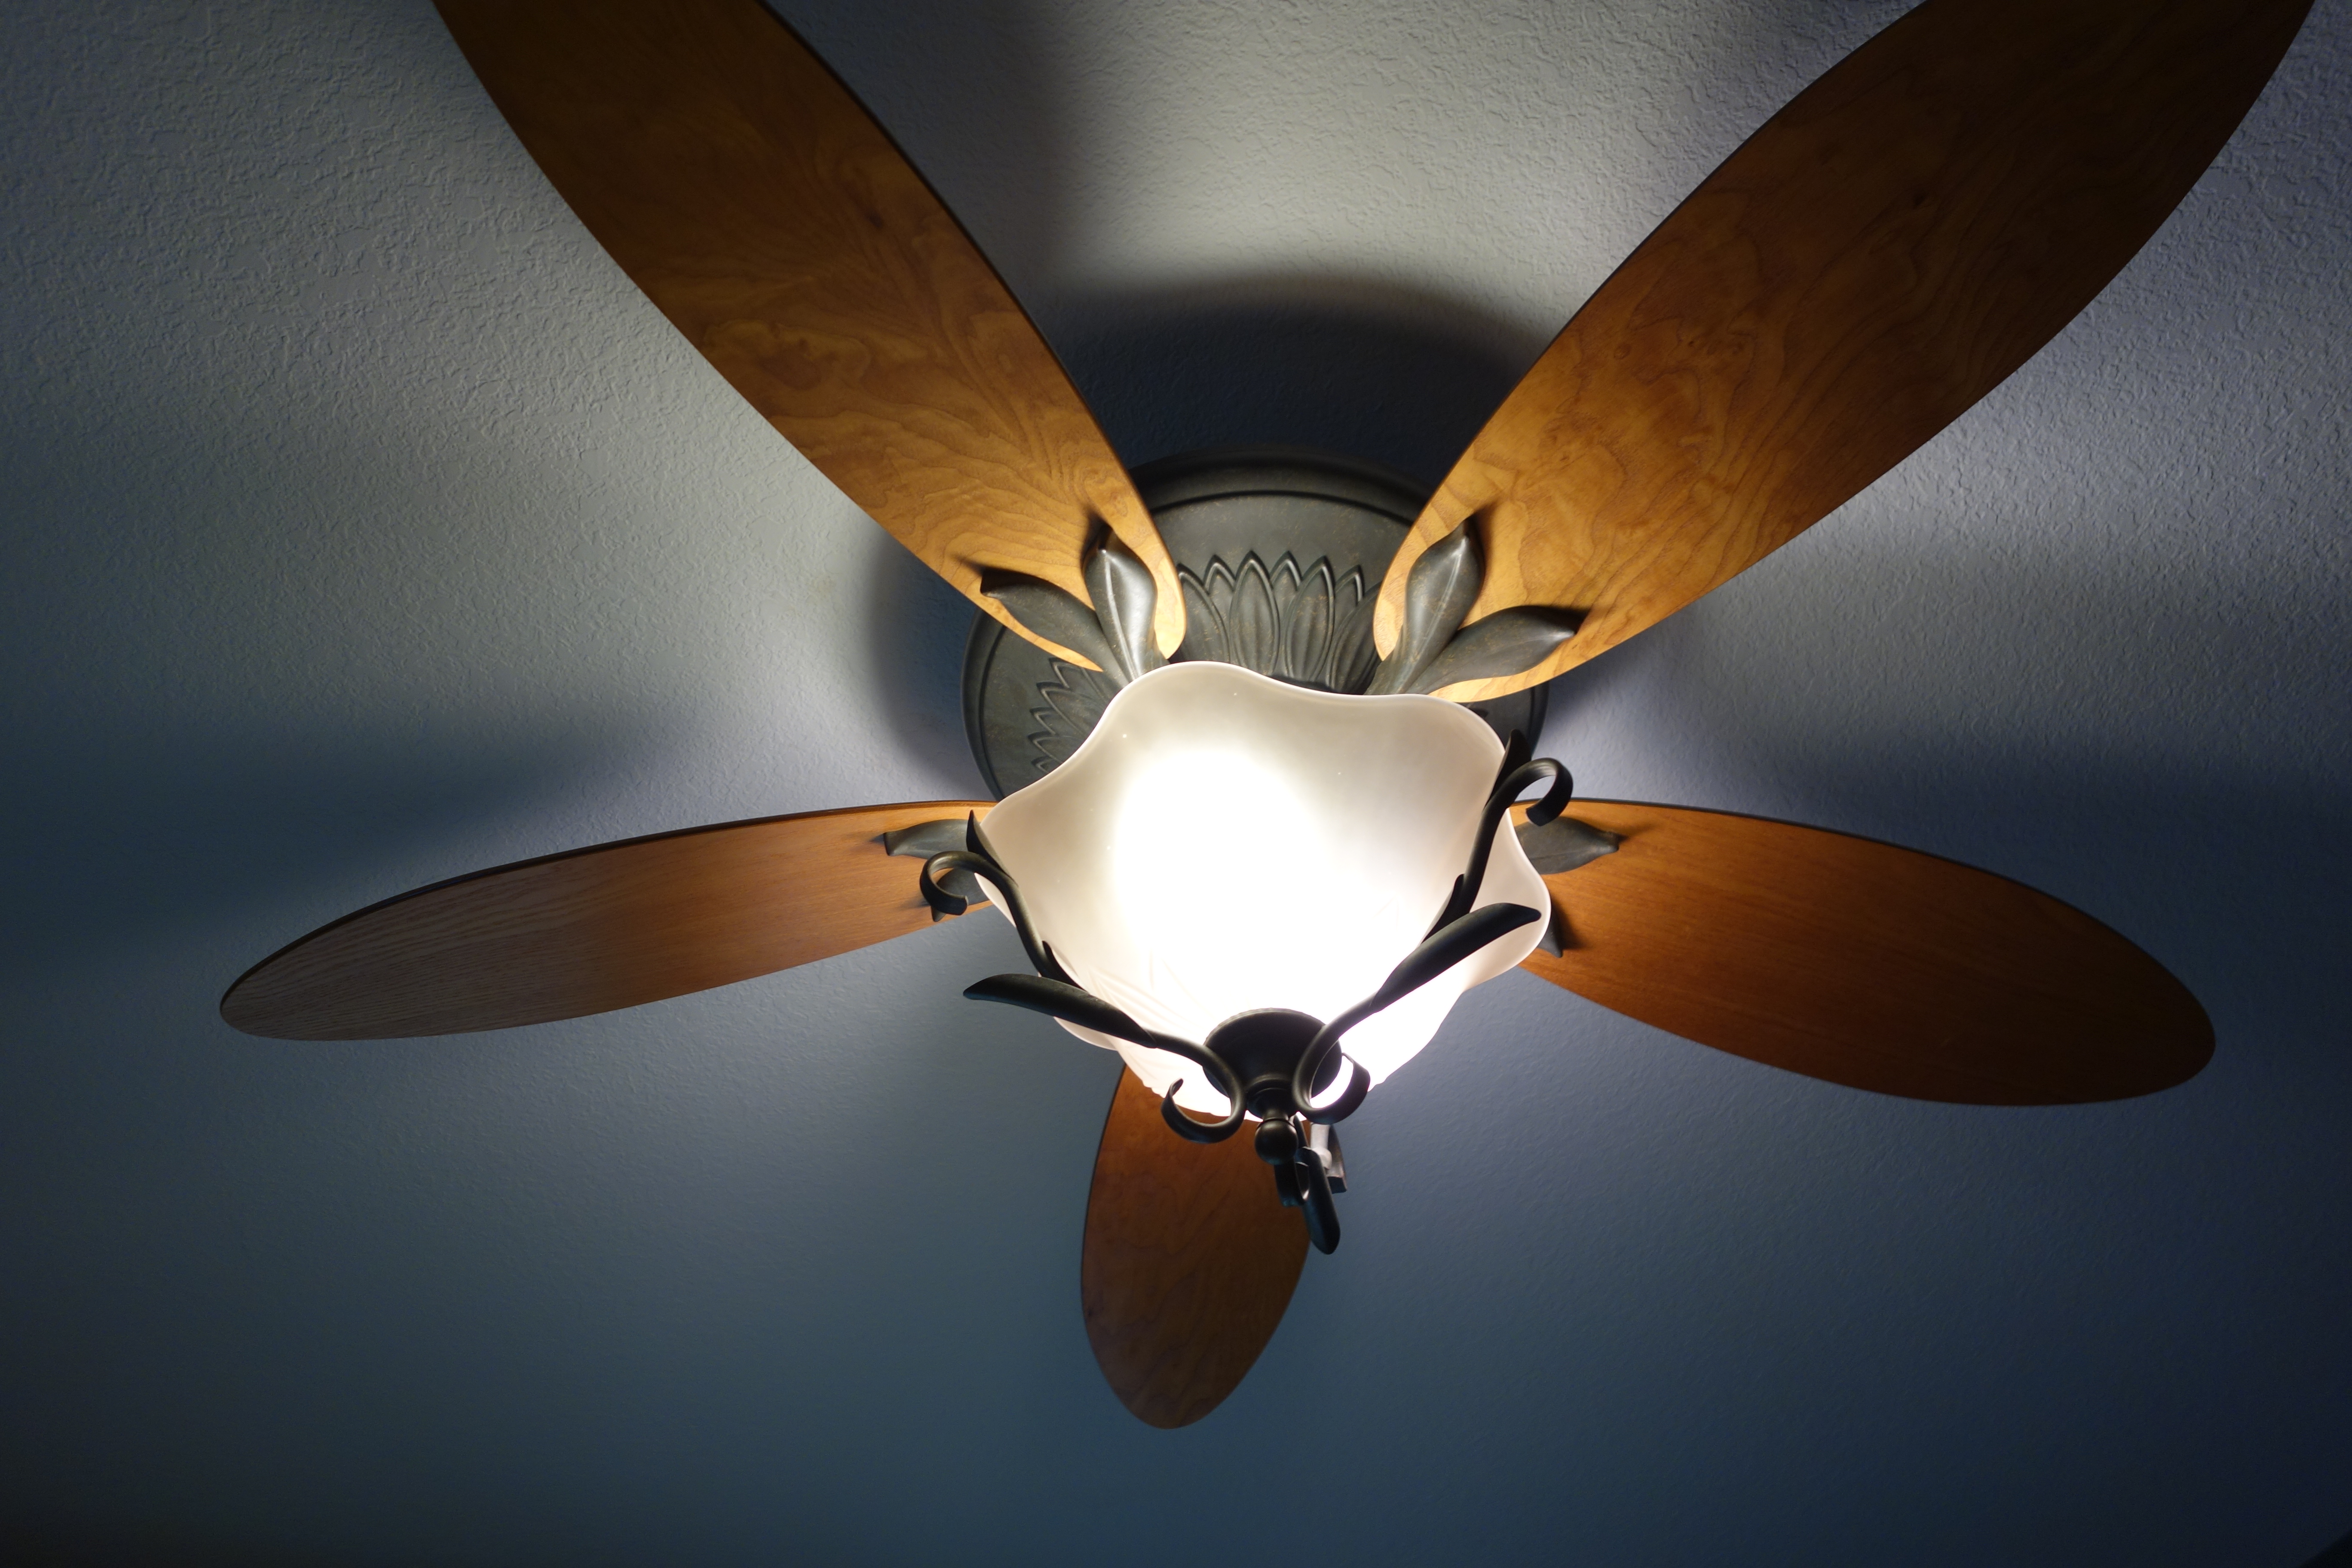
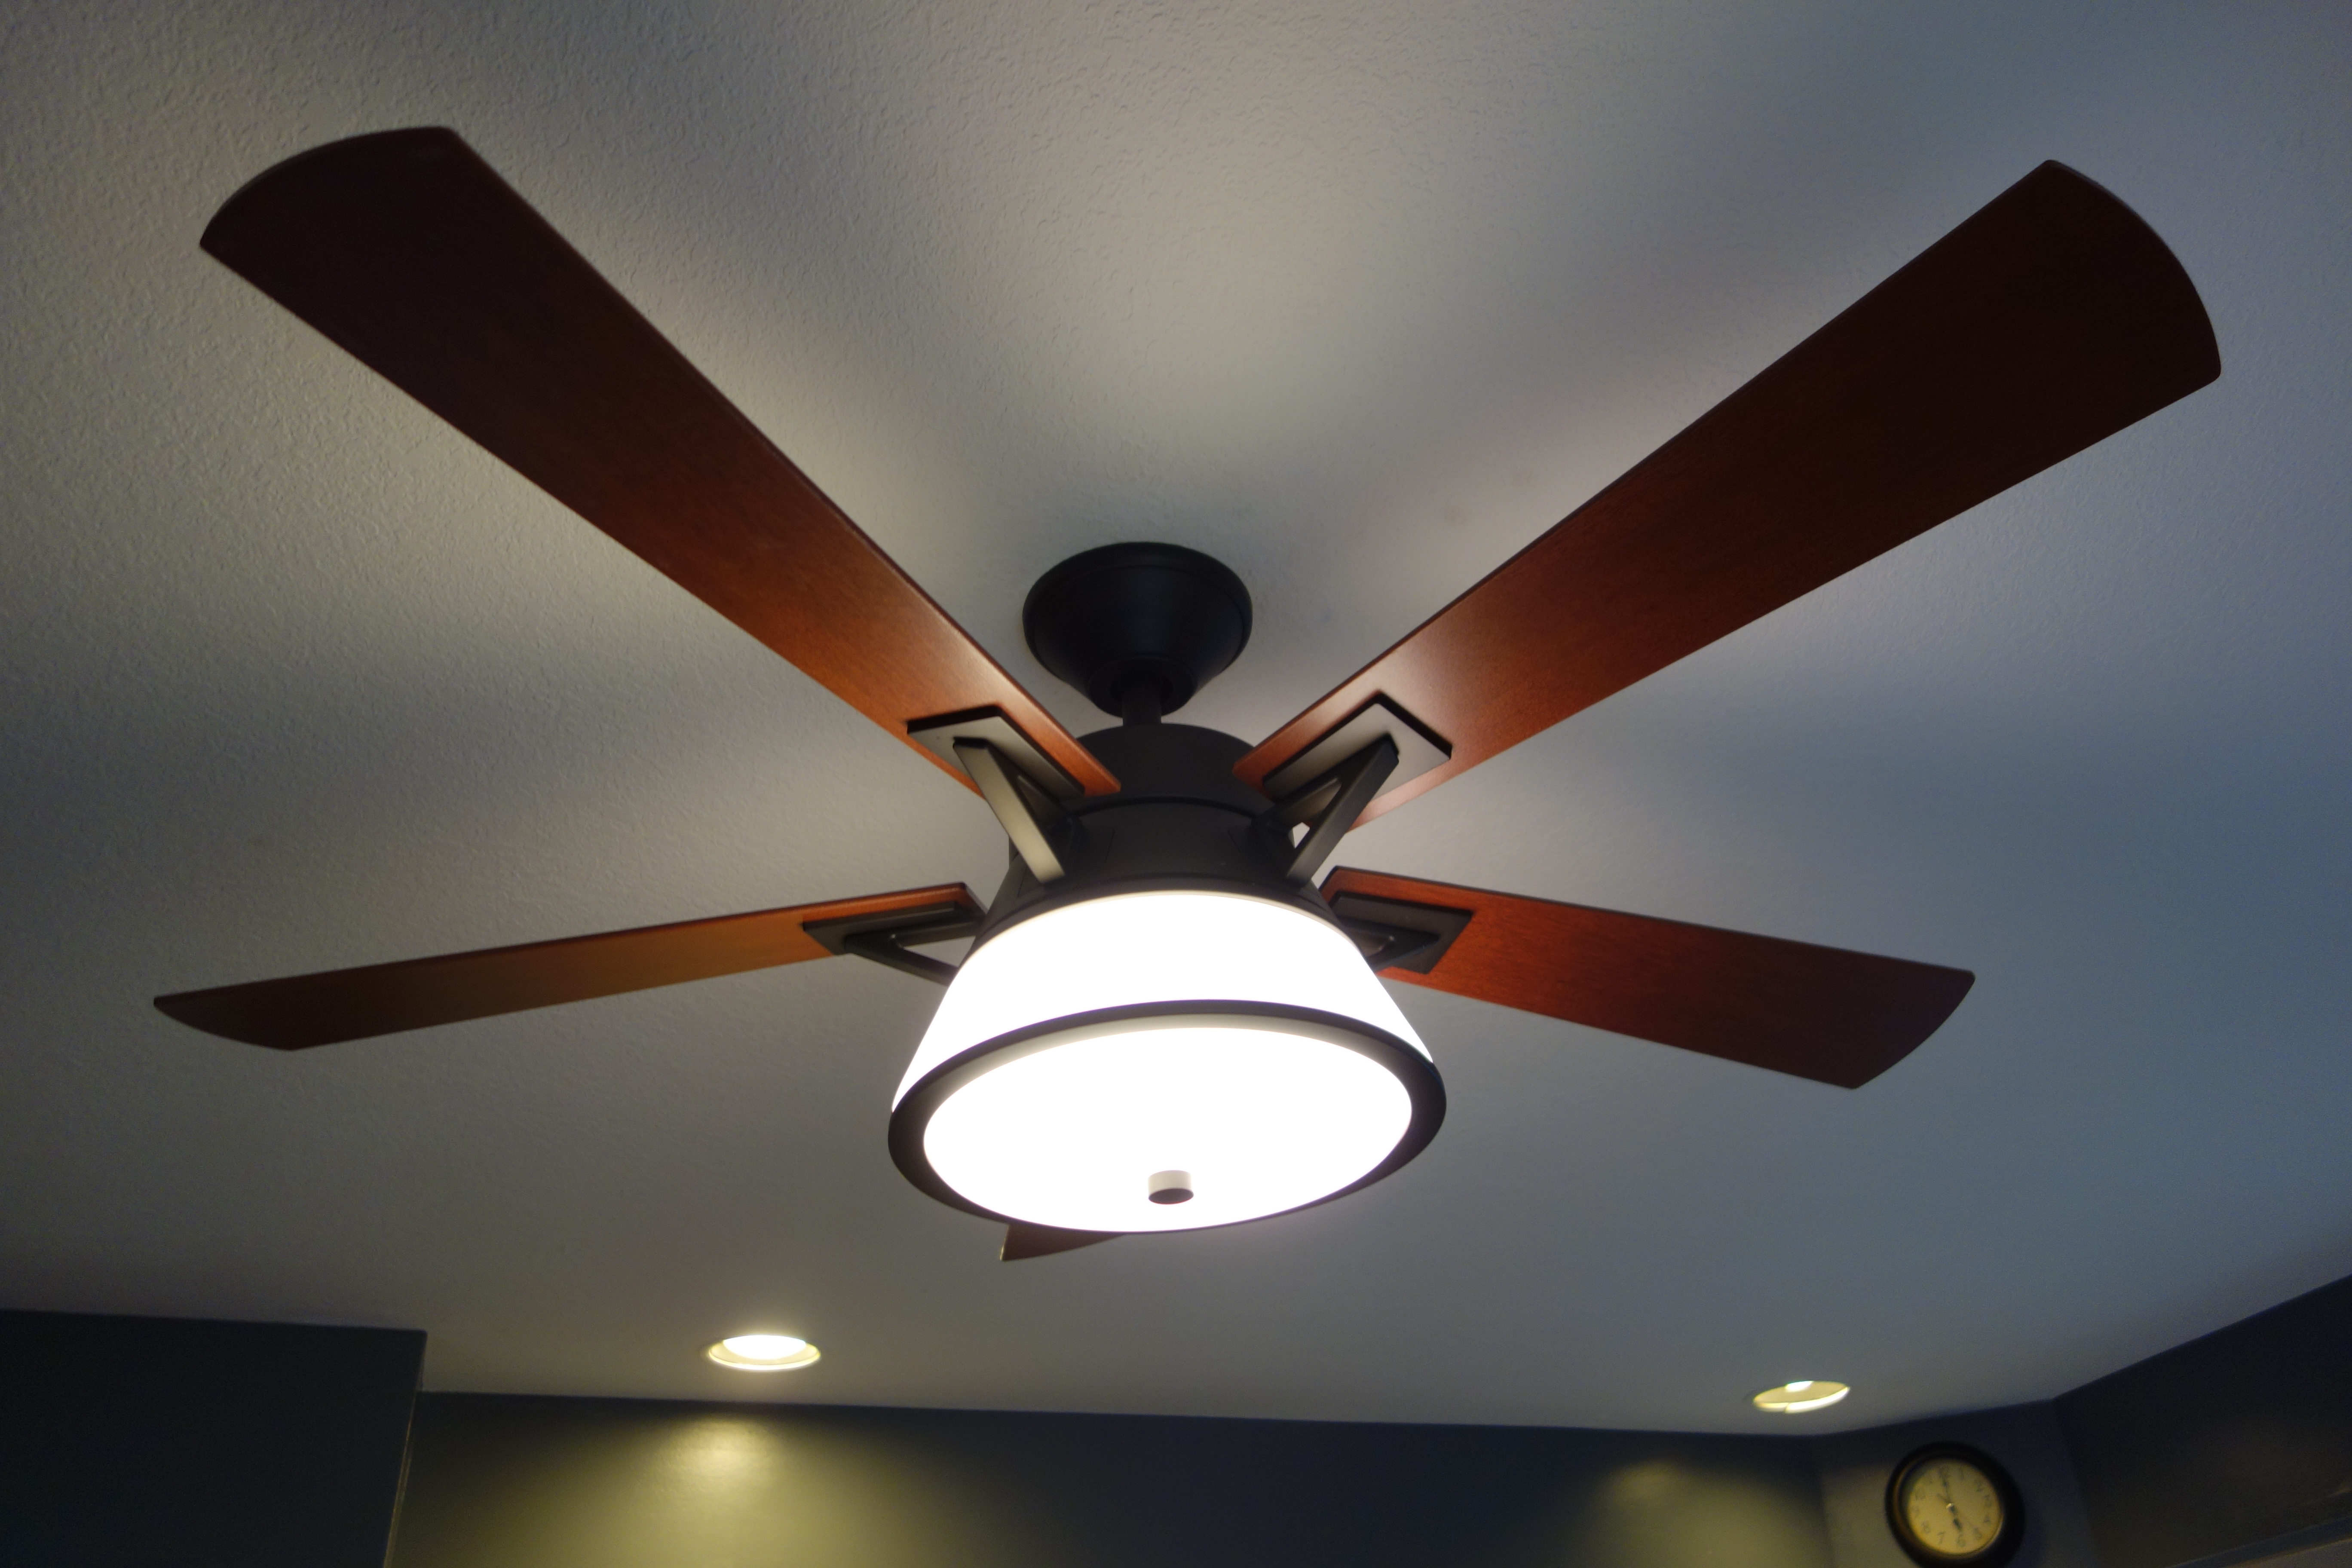
- Ceiling Fan. We also installed a new fan from Home Depot. This took about an hour and a half. Every time we install a new light or fan, it always seems to take that long. After installing five or six fixtures, you’d think we would be faster. Apparently not!
Time for the fun part – all the pictures!
Old Counters:
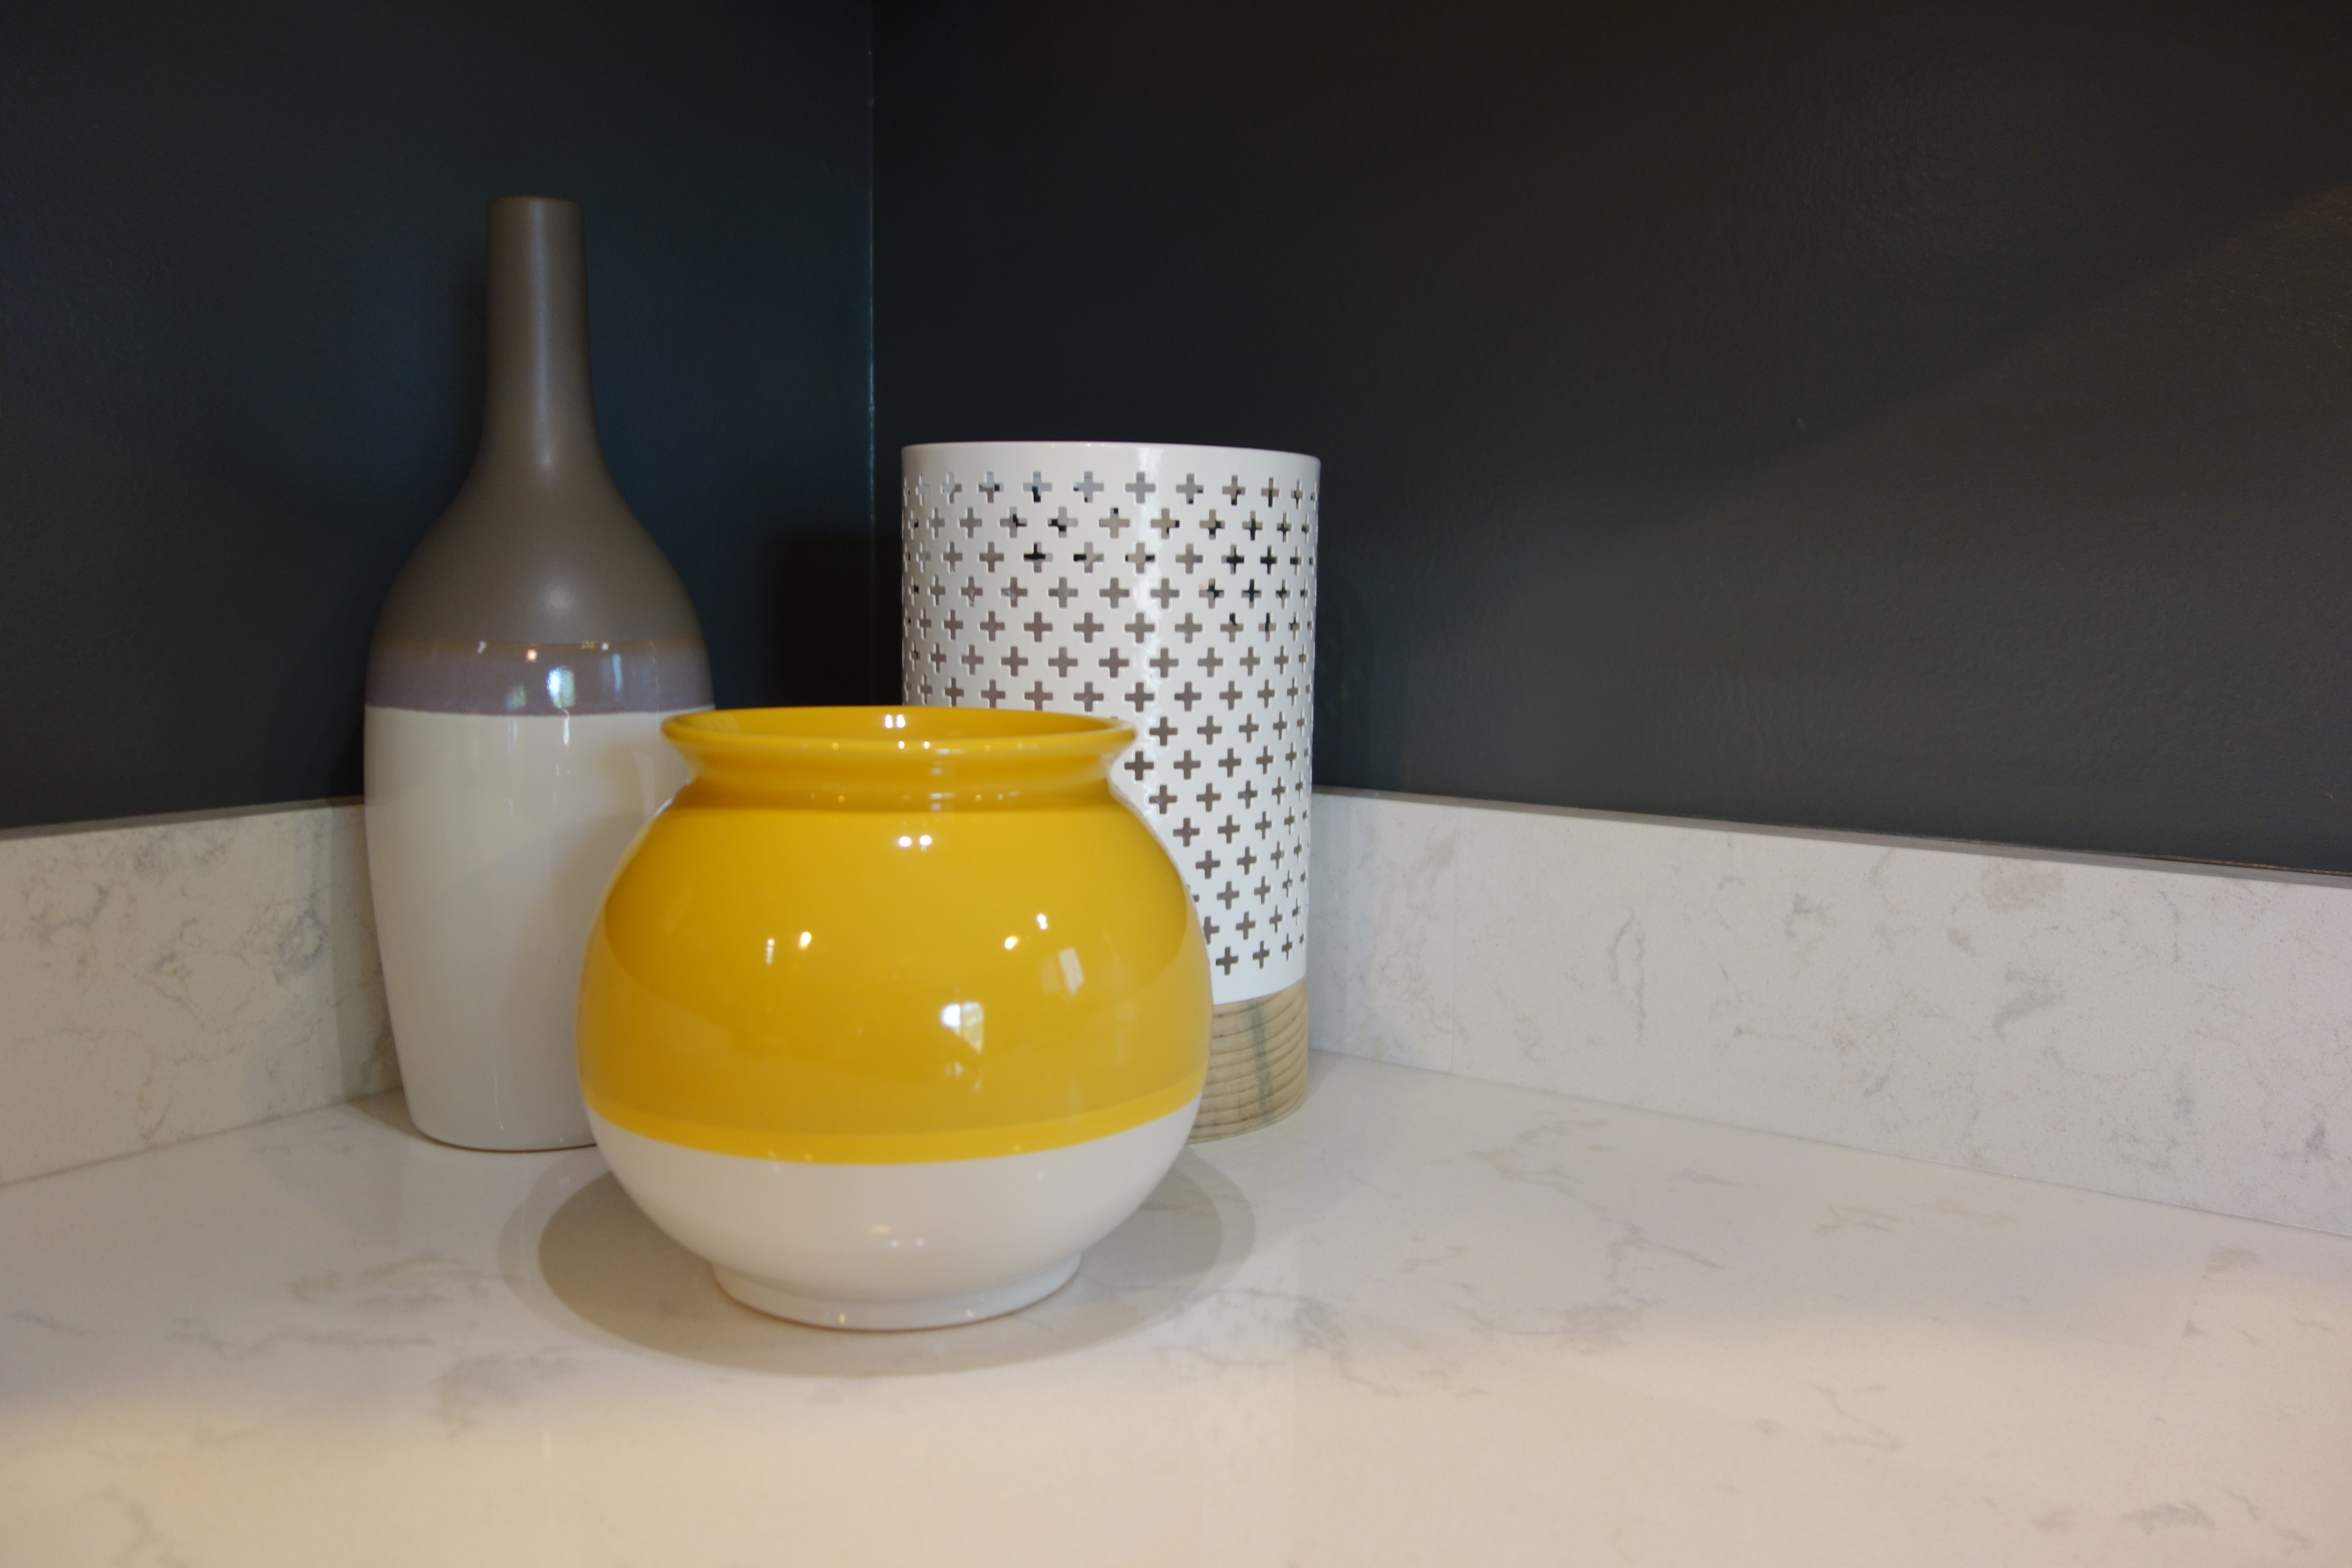
New Counter and Accessories: I use the yellow bowl and white cylinder for storing fruits, onions, and garlic. It works really well. The white cylinder is actually a candle holder, I believe.
Old Window Treatments and Wall Decor:
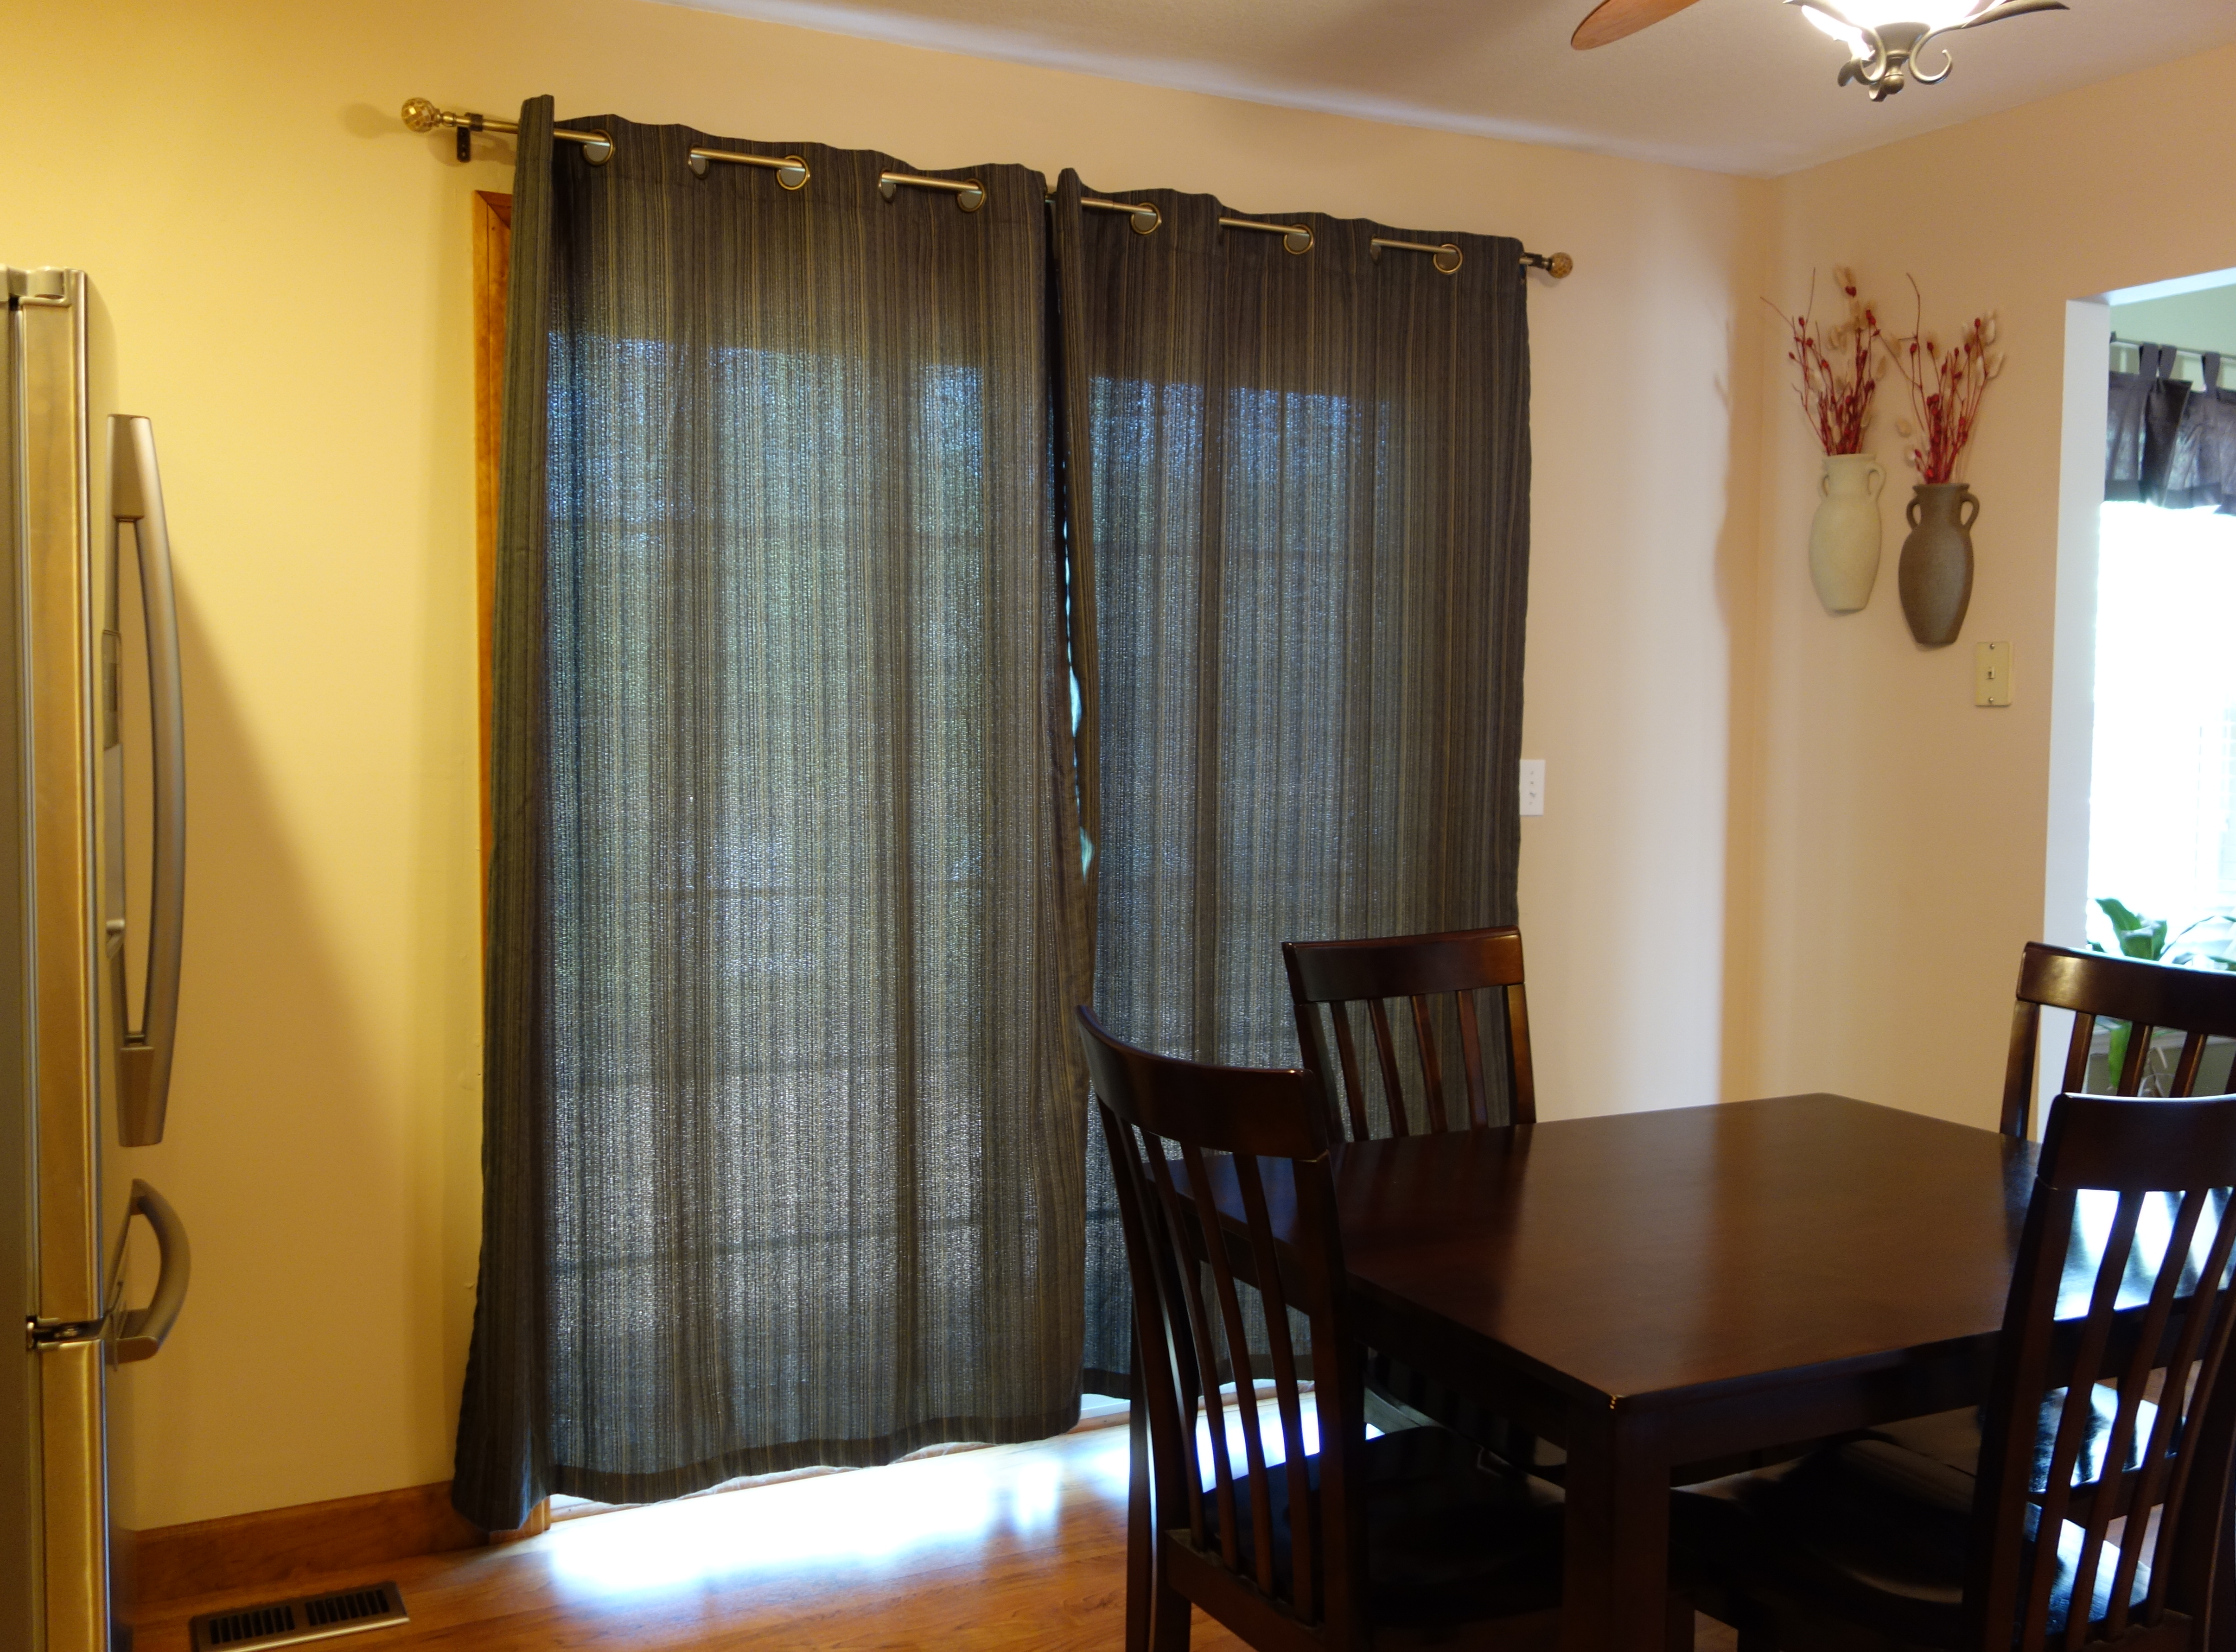
New Window Treatments and Wall Decor:

Old Fan:
New Fan:
Before:
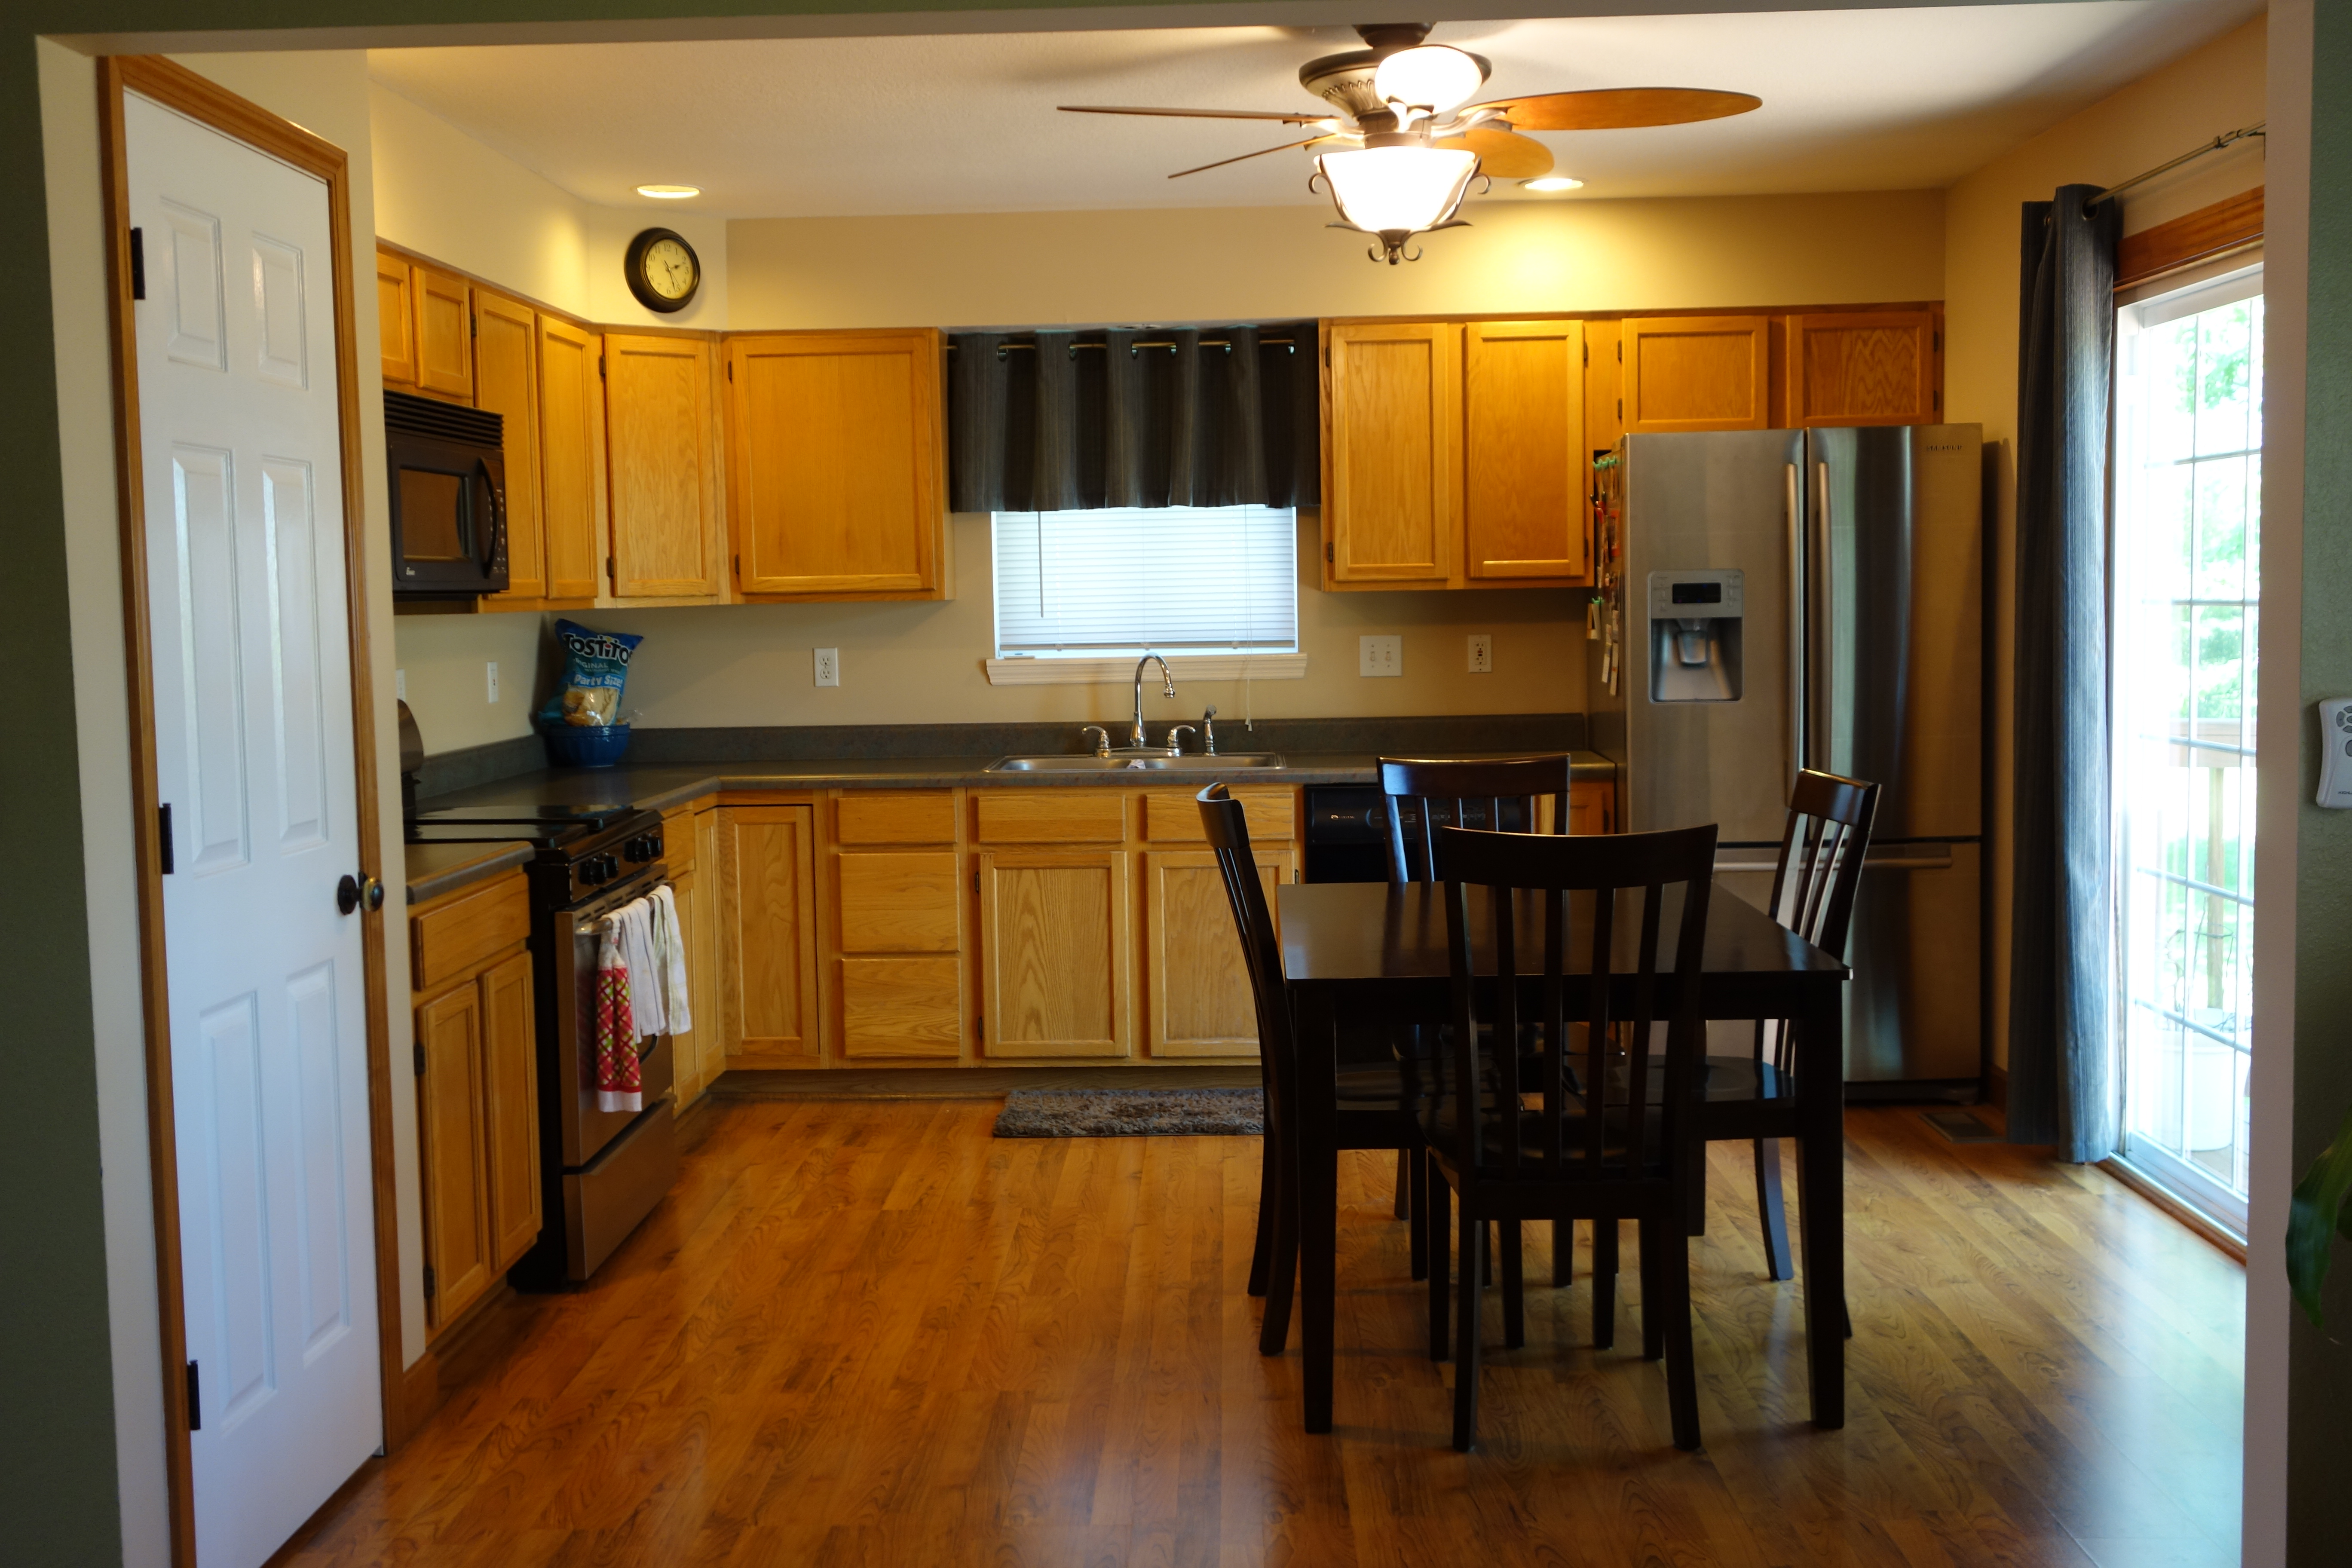
After:

Before:
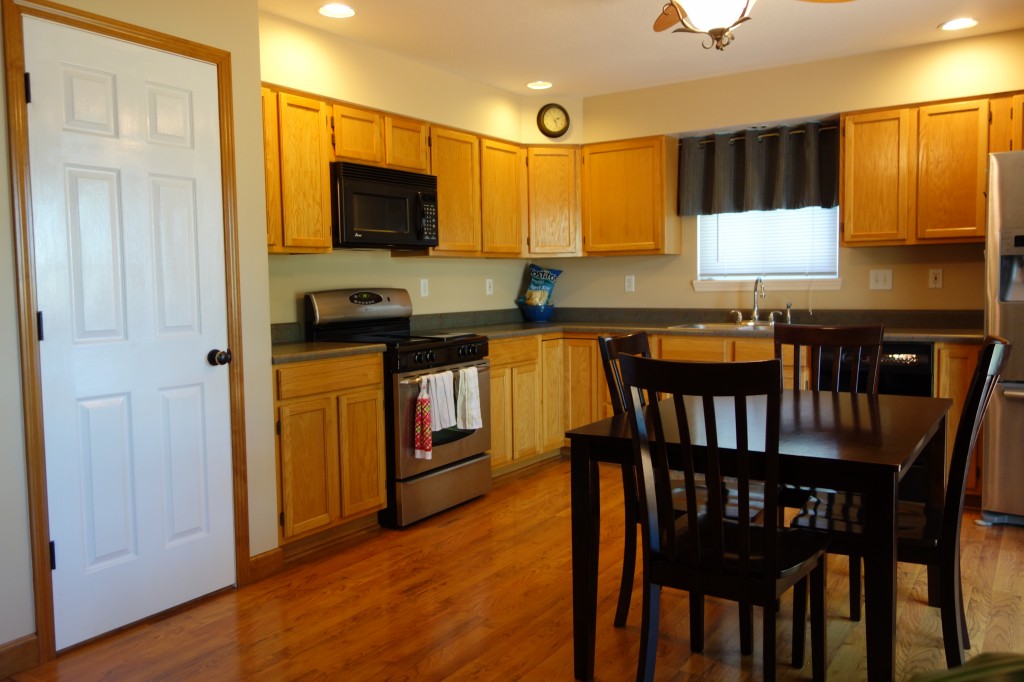
After:
On to the next project :)!
