Lazy Girl Fitness

Think you don’t have time to exercise? Check out these Lazy Girl Fitness posts! She has some pretty great ideas for anyone who is always on the go. And, even if you aren’t always on the go, these are some great ways to be a little more active throughout the day. I’ve done the calf raises while brushing my teeth – I felt the burn!


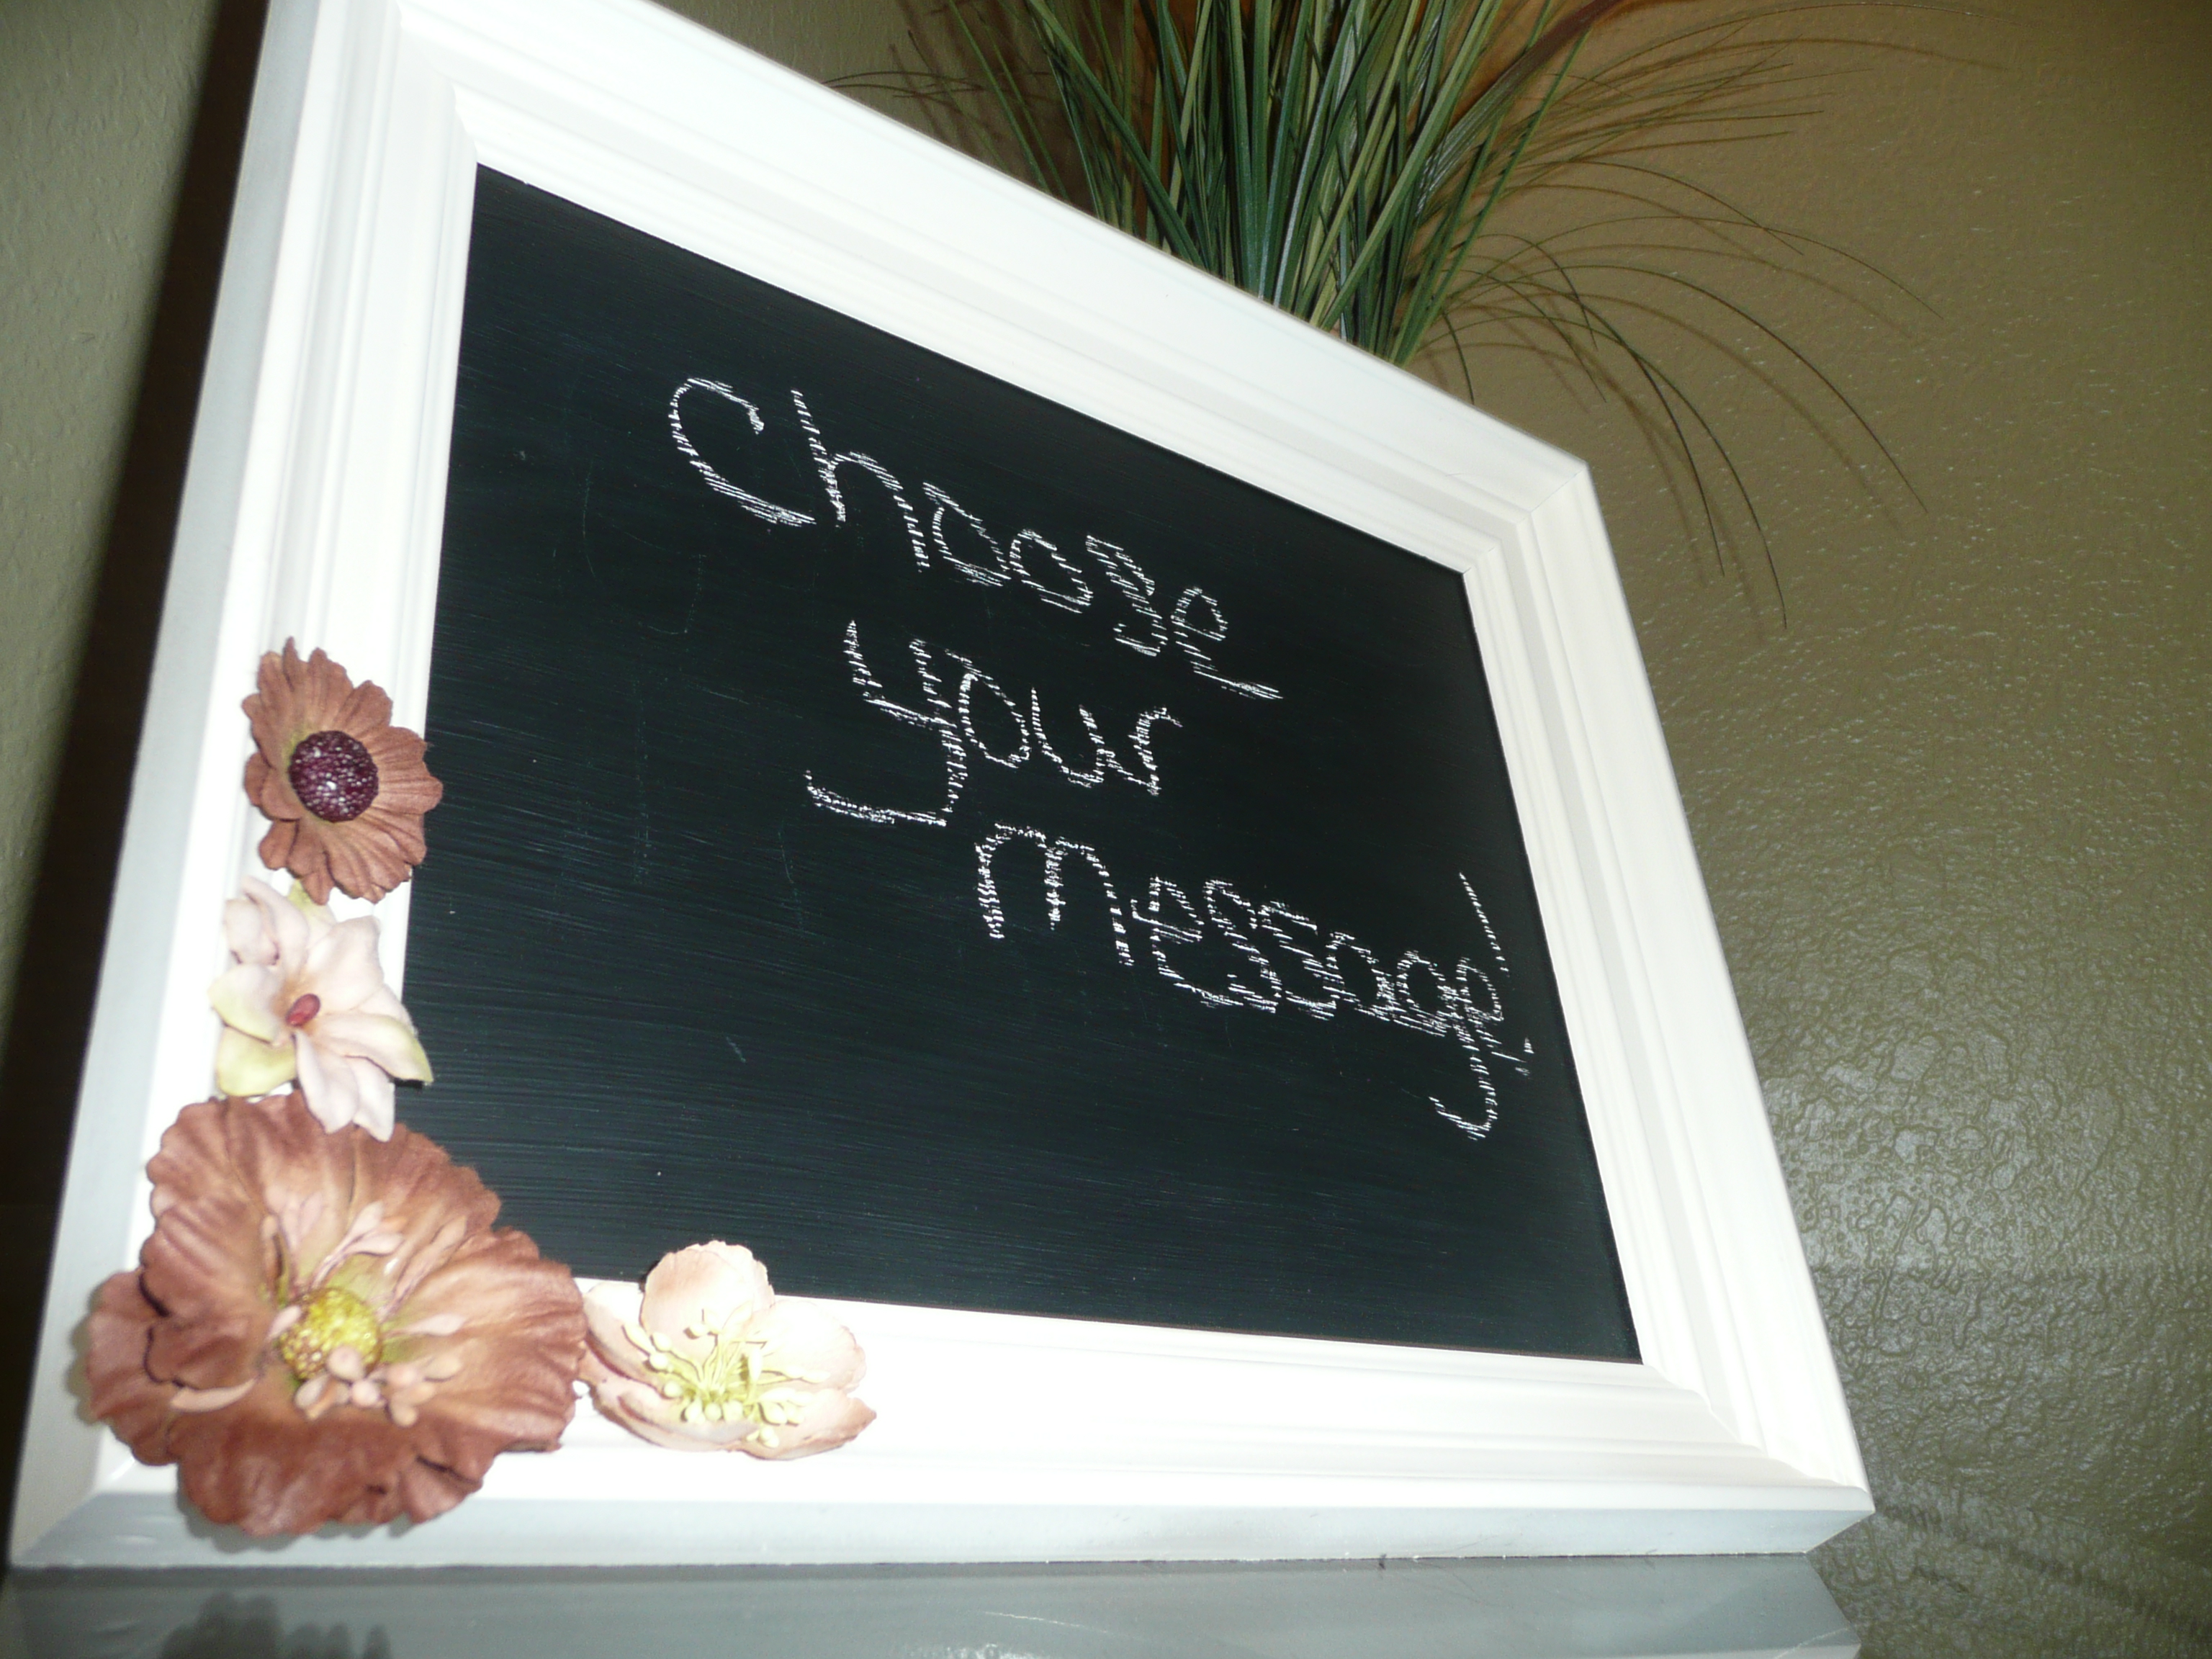
DIY Chalkboard

Picture frames are coming out of my ears, so I decided to get creative for my friend’s bridal shower. For her shower, I’m in charge of prizes! I’m so excited! 🙂 Using Pinterest as my inspiration, this is what I created:

Continue reading »

Slow-Cooker Time Conversions

I planned to wake up bright and early one day a few weeks ago to make beef stew in the slow-cooker. However, that ‘bright and early’ plan didn’t quite work the way I planned. By the time I was ready to throw everything into the slow-cooker, I didn’t have time to cook the food for 10-12 hours on low as the recipe called for (unless we wanted to eat supper at 10:00pm, which wasn’t very appealing to me!). Instead of eating at bed-time, I looked for a slow-cooker conversion chart online and discovered a couple helpful websites.

This website simply gives you the high/low slow-cooker conversions (pictured to the left), plus other slow-cooker information that is probably helpful, I just didn’t have the time to read it.


This website gives you time conversions for a conventional oven, in addition to the high/low slow-cooker conversions, which I thought was super helpful!

I just love the slow-cooker. It makes cooking sooo easy! I’ll share some of my recipes one of these days.

What slow-cooker tips and tricks do you know?

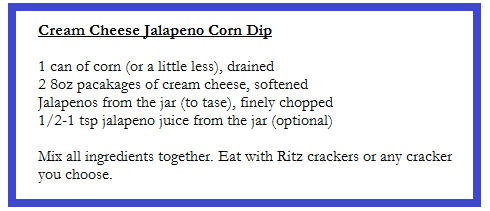
Cream Cheese Jalapeno Corn Dip

This is another simple, yet really good, recipe with only three ingredients. A coworker of my dad’s gave him this recipe, and then my dad passed it along to me.

You actually need two cream cheese packages even though the picture only shows one.

  • 1 can of corn, drained (or a little less)
  • 2 8oz packages of cream cheese, softened (I typically use regular, but you could use low-fat or fat free instead)
  • Jalapenos from the jar (to taste), finely chopped

Make sure the cream cheese is somewhat softened before making the dip, either leave it on the counter for a while or put it in the microwave for a few seconds (take OFF the foil wrapper before doing this). The cream cheese is nearly impossible to work with if you try using it right after pulling it from the fridge.

I probably use 1 to 1.5 tablespoons of finely chopped jalapenos for my dip. I’ll also add a little, maybe a teaspoon or so, of the jalapeno juice from the jar to spice it up. I’m not a fan of super spicy food, so my dip is pretty mild. Just remember, you can always add more jalapenos, but once they’re added, you can’t take them away!

Mix all the ingredients together and eat with crackers – I use Ritz crackers. It might be good with tortilla chips, too.

Try it out. Let me know what you think!
Spice Up Your Vases With Paint

This is the last in a series of three posts regarding our master bedroom decorations. To see the other parts of the project, click here (tricks for deciding décor placement) and here (making your own decorative canvases).

Originally, this is what the finished wall décor looked like:

It just didn’t seem quite finished. It was too boring and needed more color. Pinterest is always full of pins about painting your own vases, so I decided to give it a try.

Continue reading »

Office Redo – Part II

A couple weeks ago, I posted here about beginning my office redo project. Although I still have a long way to go, I have finished painting. Woohoo! (For some helpful painting tips, check out this post.)

Dark wall color (accent wall) = Sensual Jade
Light wall color = Madison Avenue
Both from Lowes

The plan is to put a small collage of frames on the accent wall. I’ve been playing around with layouts and think I have finally decided on one. Check back for the finished look!

Decorative Canvases for Little $$

It took me a couple years to decide what to put on our bedroom walls, but it was worth the wait! I love the decorations we have now. View this post to see the very beginnings of this project.

The REALLY good news is that this project only cost $25-$30 (That’s FOUR canvases for only $25-$30! Can you believe it?!). At department stores, I’ve see 12”x12” canvas prints cost $20 or more a piece! Mine were MUCH cheaper, not to mention, fun to make :).

Supplies

  • 12” x 12” canvas – I used 4 for this project
  • Mod Podge
  • Scrapbook paper of your choice – I used decorative paper for the face of the canvas and solid paper for the sides of the canvas
  • Paint, any color you wish – I used leftover paint I had from redoing the bedroom
  • Paper plate large enough to put a glob of paint on and to also dab your spouncer brush to remove the excess paint
  • Spouncer sponge brushes (see pic below) or just a really small regular sponge brush to use for painting the canvas edges
  • Watercolor paint brush, optional (I used this a little when painting the edges of the canvas, but it’s probably not necessary)
  • Small/medium sized sponge brush to use for the Mod Podge
  • Paper Trimmer Cutter, such as this

This was my inspiration and guide for the project, but the link doesn’t work anymore :/. I completed this project a while ago, but I think I can remember all the steps – we’ll see! Continue reading »