My dad and I are participating (for the first time!) in a craft festival. We were just approved today to have our own craft booth. I’m so excited :)! Our main items for sale are upcycled windows and frames. So, my task this summer is to rummage for items we can use for crafting.
On my first major rummaging adventure last weekend, I found a gold mine of old windows. I bought 9 of them for $33.00 (that’s just $3.67 each).
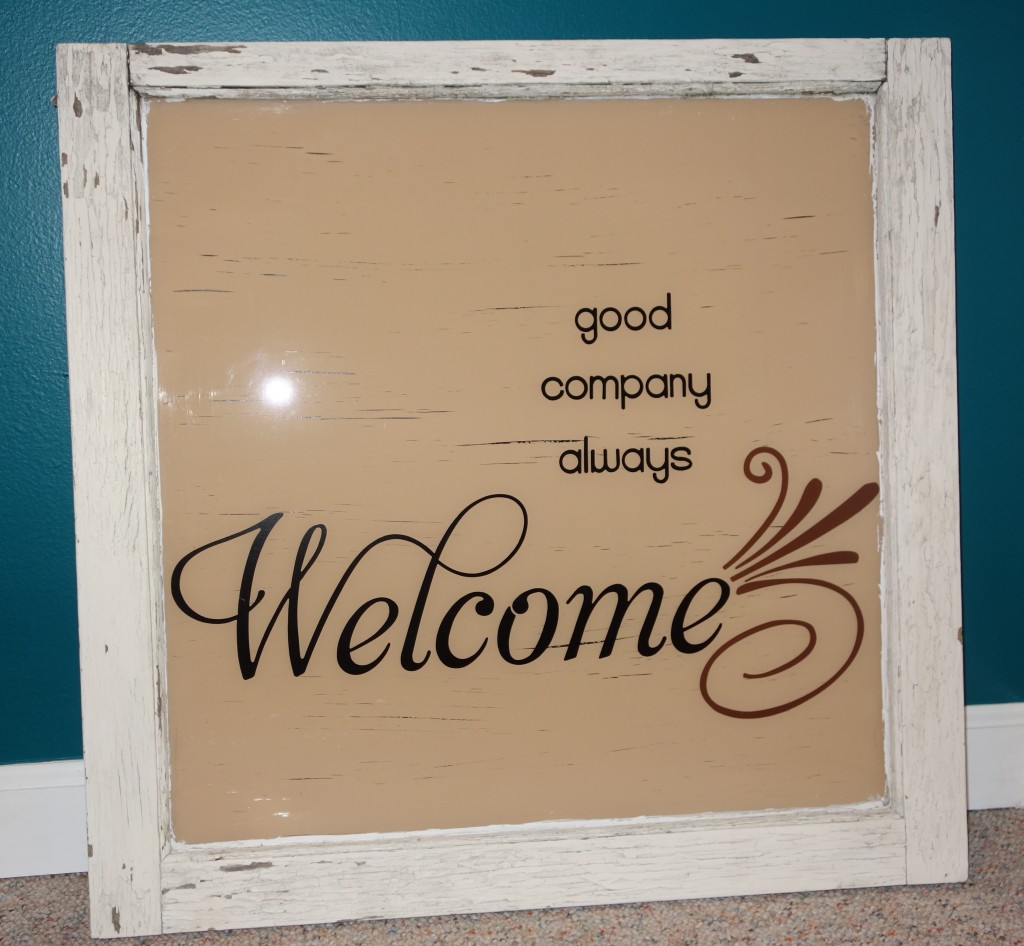
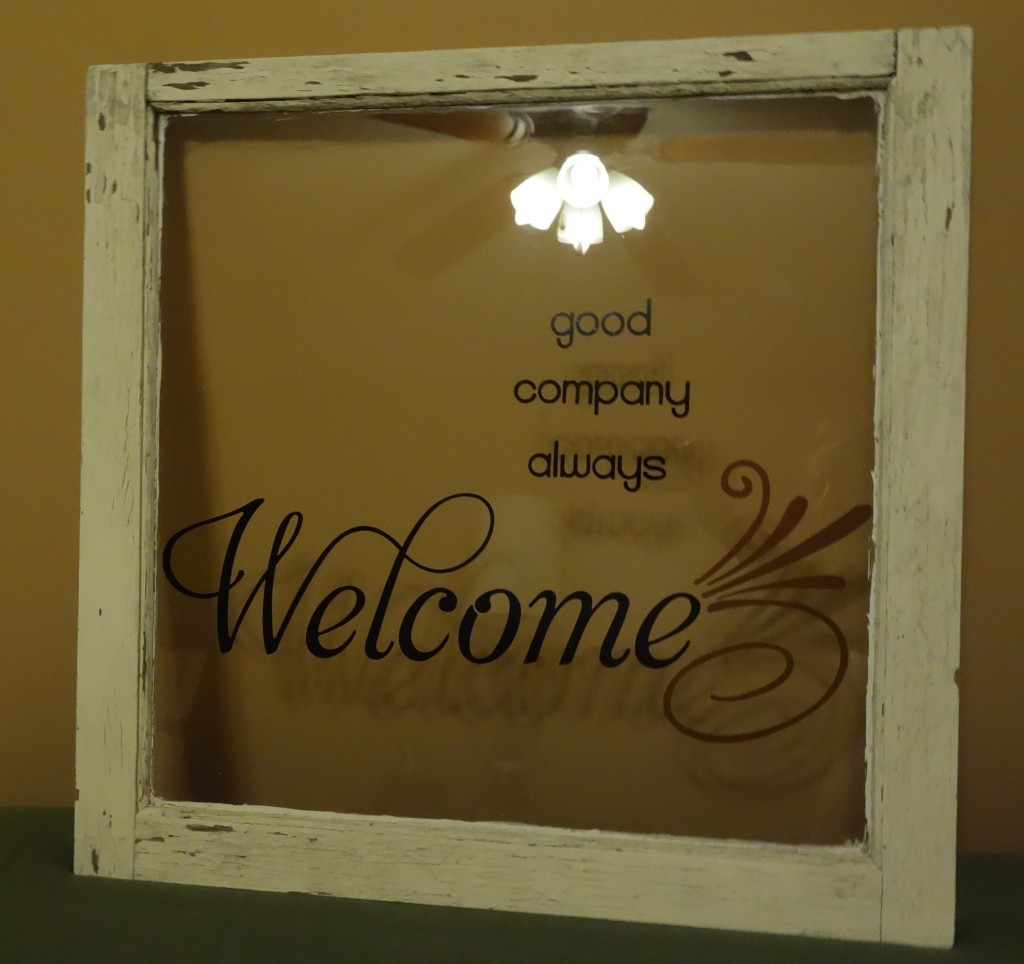
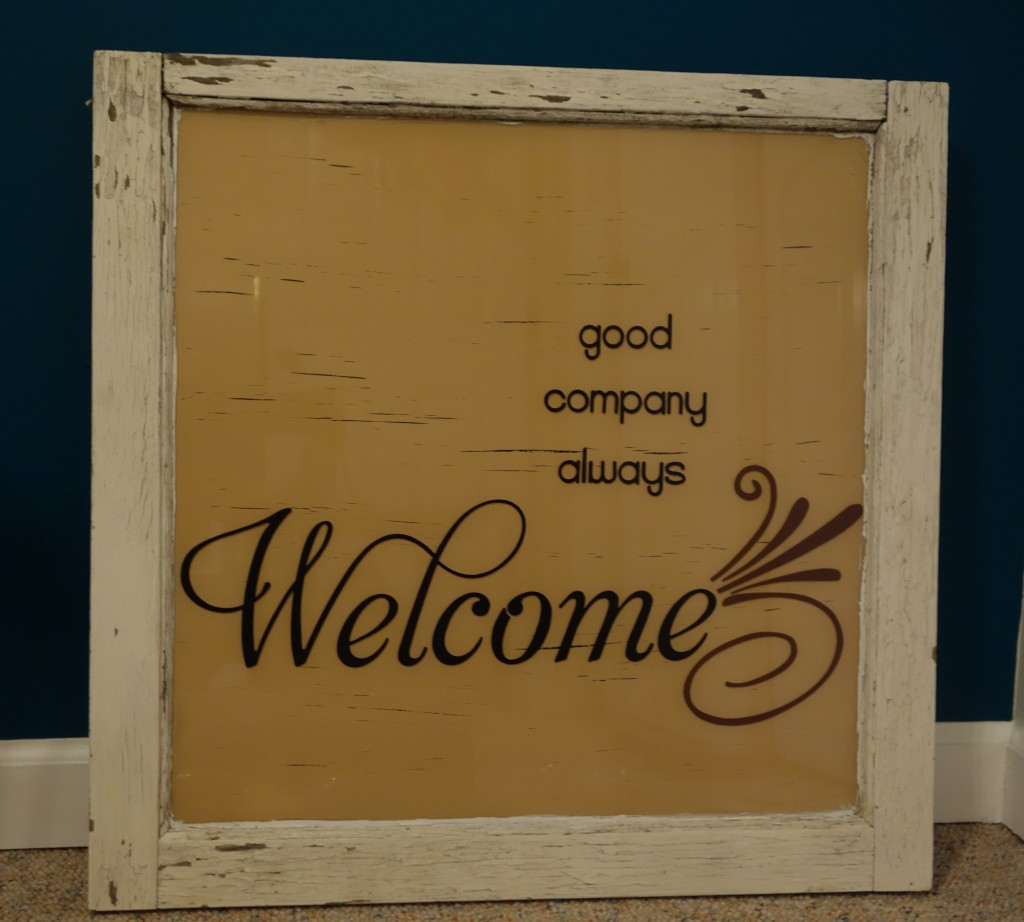
Here is one window I created and plan to sell at the festival. The problem – I have no idea how much to ask for it :/.
Below are step-by-step instructions, along with pictures of the process.
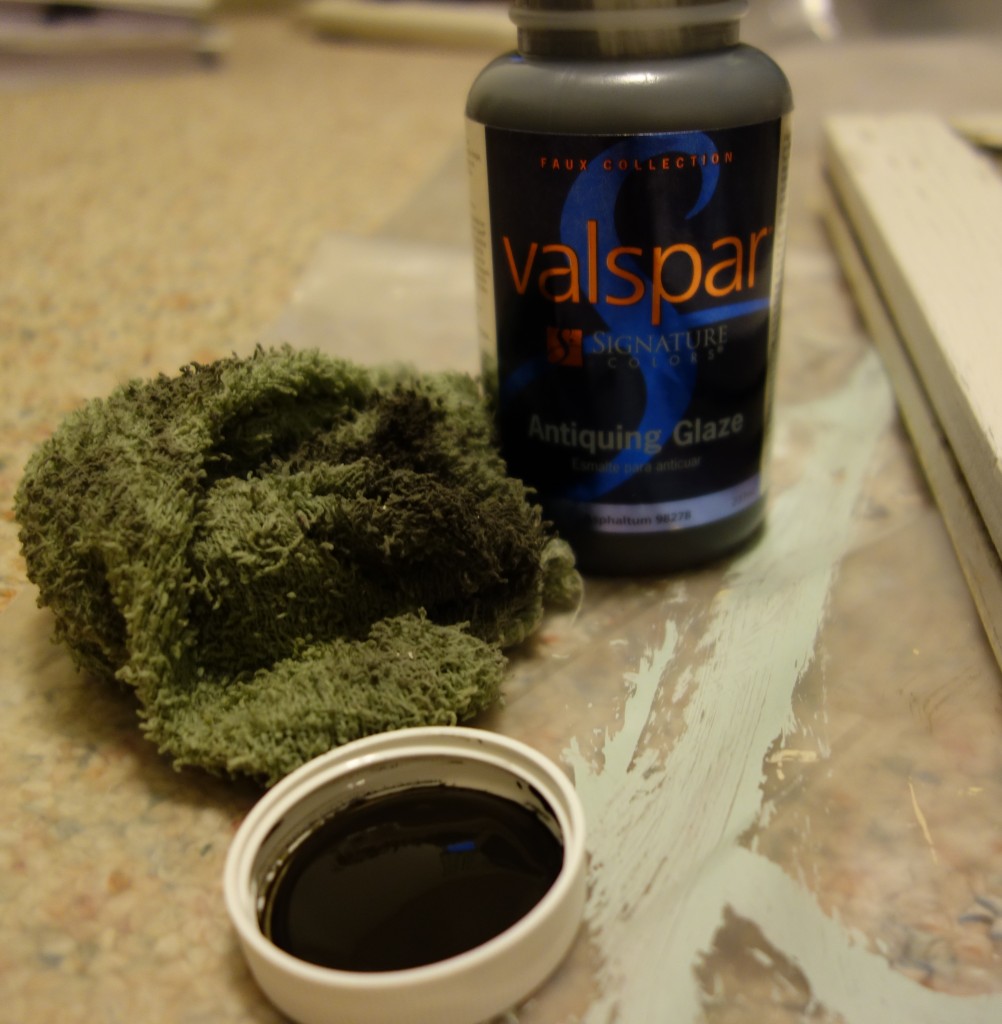
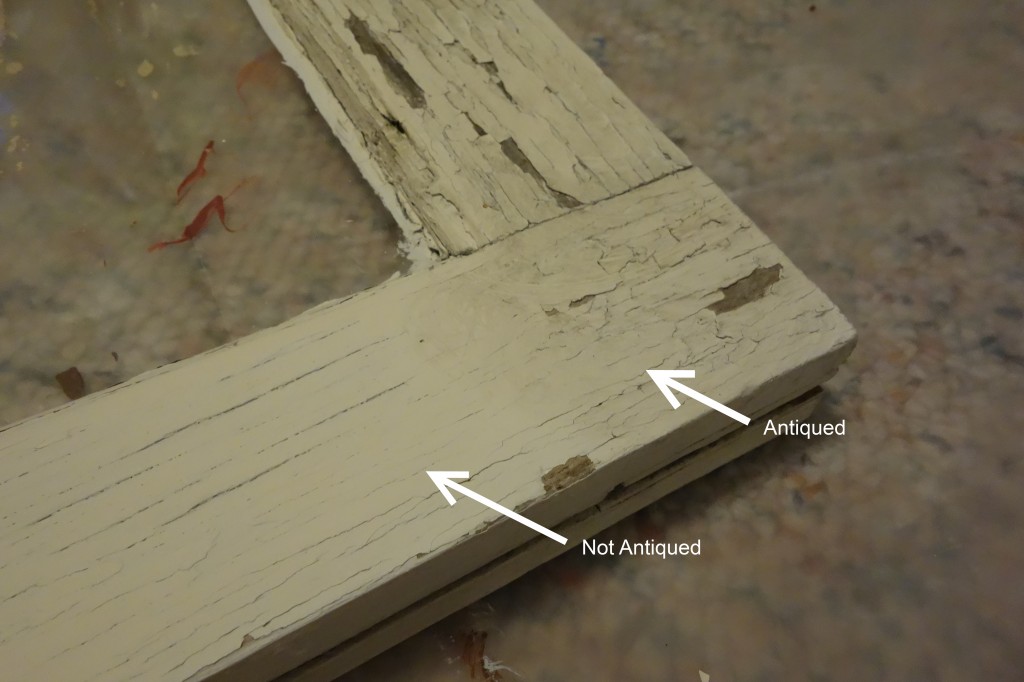
Clean and sand the window frame to remove any dirt and loose paint, then antique it if you wish. I used Valspar Antiquing Glaze from Lowes (about $9.00 for 8 ounces, but you’ll barely use any of it).
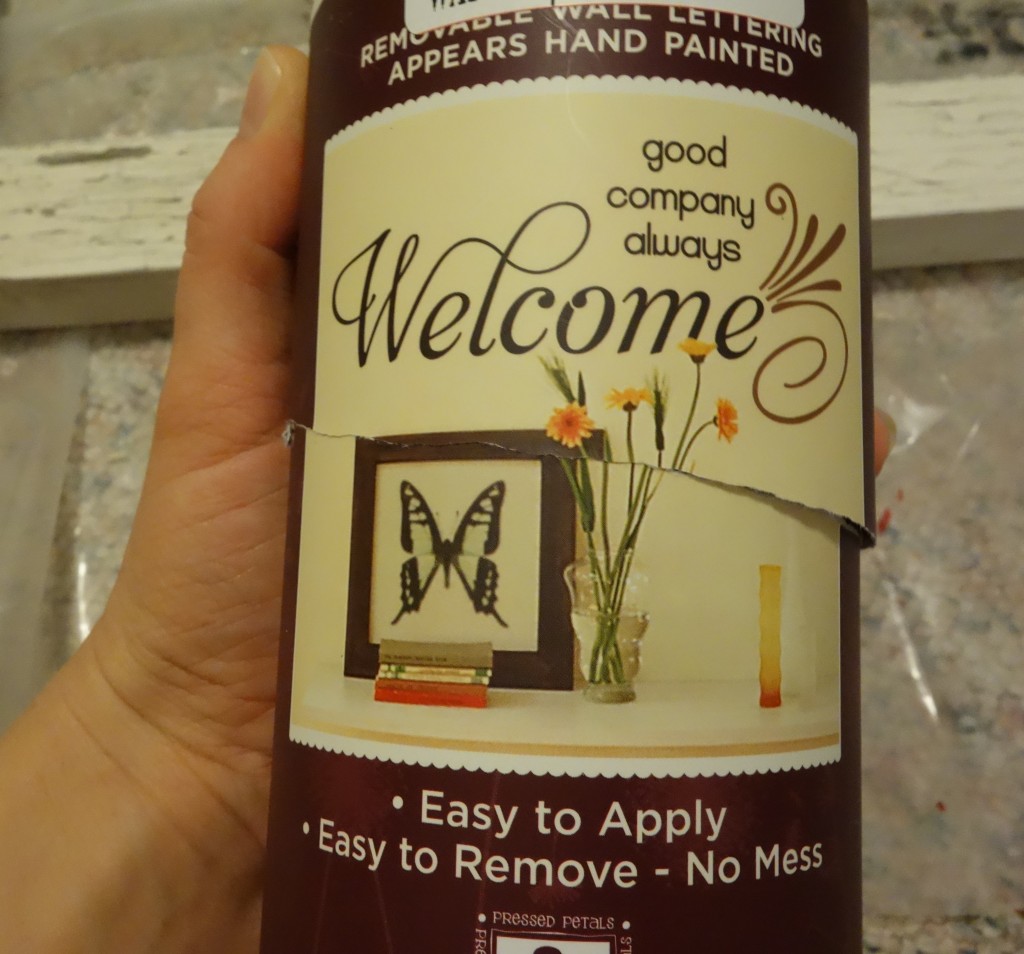
Clean the window and apply the lettering. I found the lettering on clearance at Wal-Mart for $7.00.
You could be done at this step (it would look like the picture below). However, I wanted a little more color.
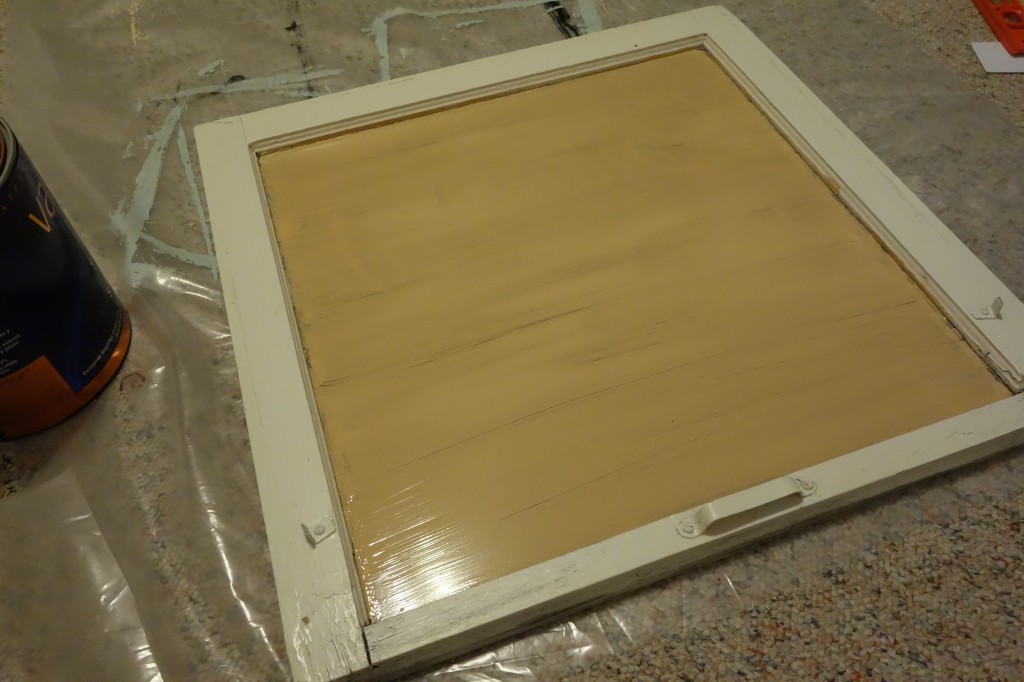
Paint the back of the window (1 to 3 coats, depending on the look you’re going for) with whatever color you wish. I have lots of leftover paint from various projects, so I just picked something neutral. The picture below is what it looked like after one coat.
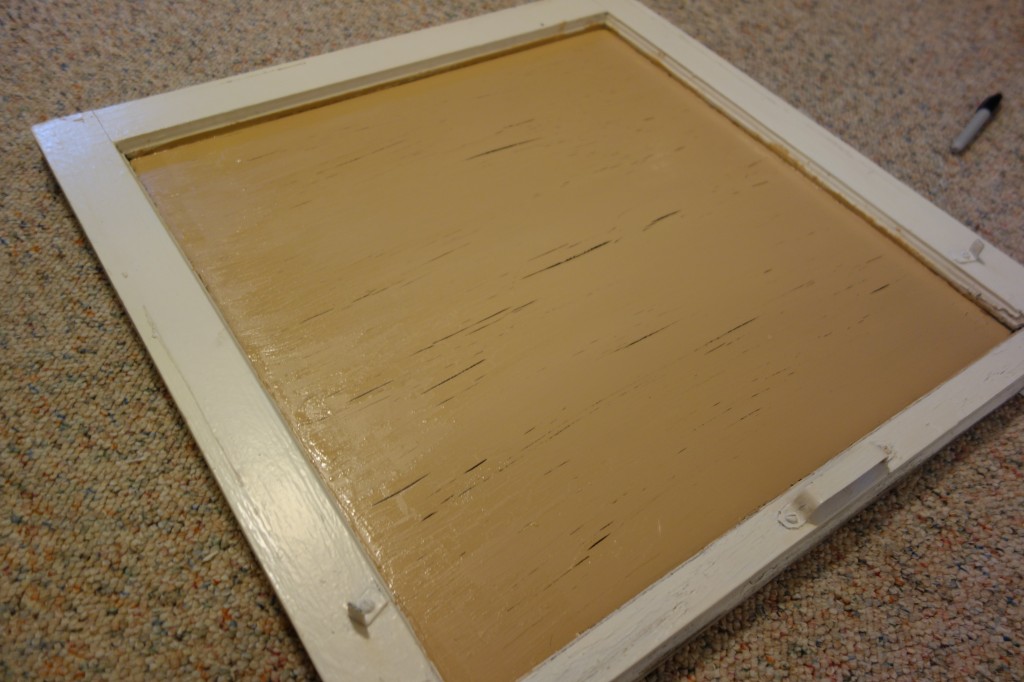
The paint I used on the back is regular wall paint and will easily scrape off the window. To help prevent this from happening, I applied clear acrylic finish as the top coat. The picture below is after three coats of paint and one of acrylic finish.
My intention was to have a solid background color. You see those crackles in the paint? I didn’t want those. Because of the paint I used, though, I couldn’t get rid of them. And, actually, I ended up really liking the crackles! It gives the background a distressed look which goes along with the distressed look of the window frame. Yay!
I’m on the hunt for some knobs to put on the bottom of the window. It would be cute to hang this by a front entrance and use the knobs for hanging keys, umbrellas, or guests’ coats, etc. For now, though, I’ll call it finished.
Total cost – about $12.00. Not too shabby.
What window projects have you completed?
