A few months ago, my husband and I decided to redo the vanity in our guest bathroom. We already painted the walls and bought a new shower curtain a couple years ago, but we still needed to spruce up the vanity. I’ll share with you the process of painting cabinets Fallon-style (aka – I have no idea if I did this correctly, but I think the cabinets turned out great!).
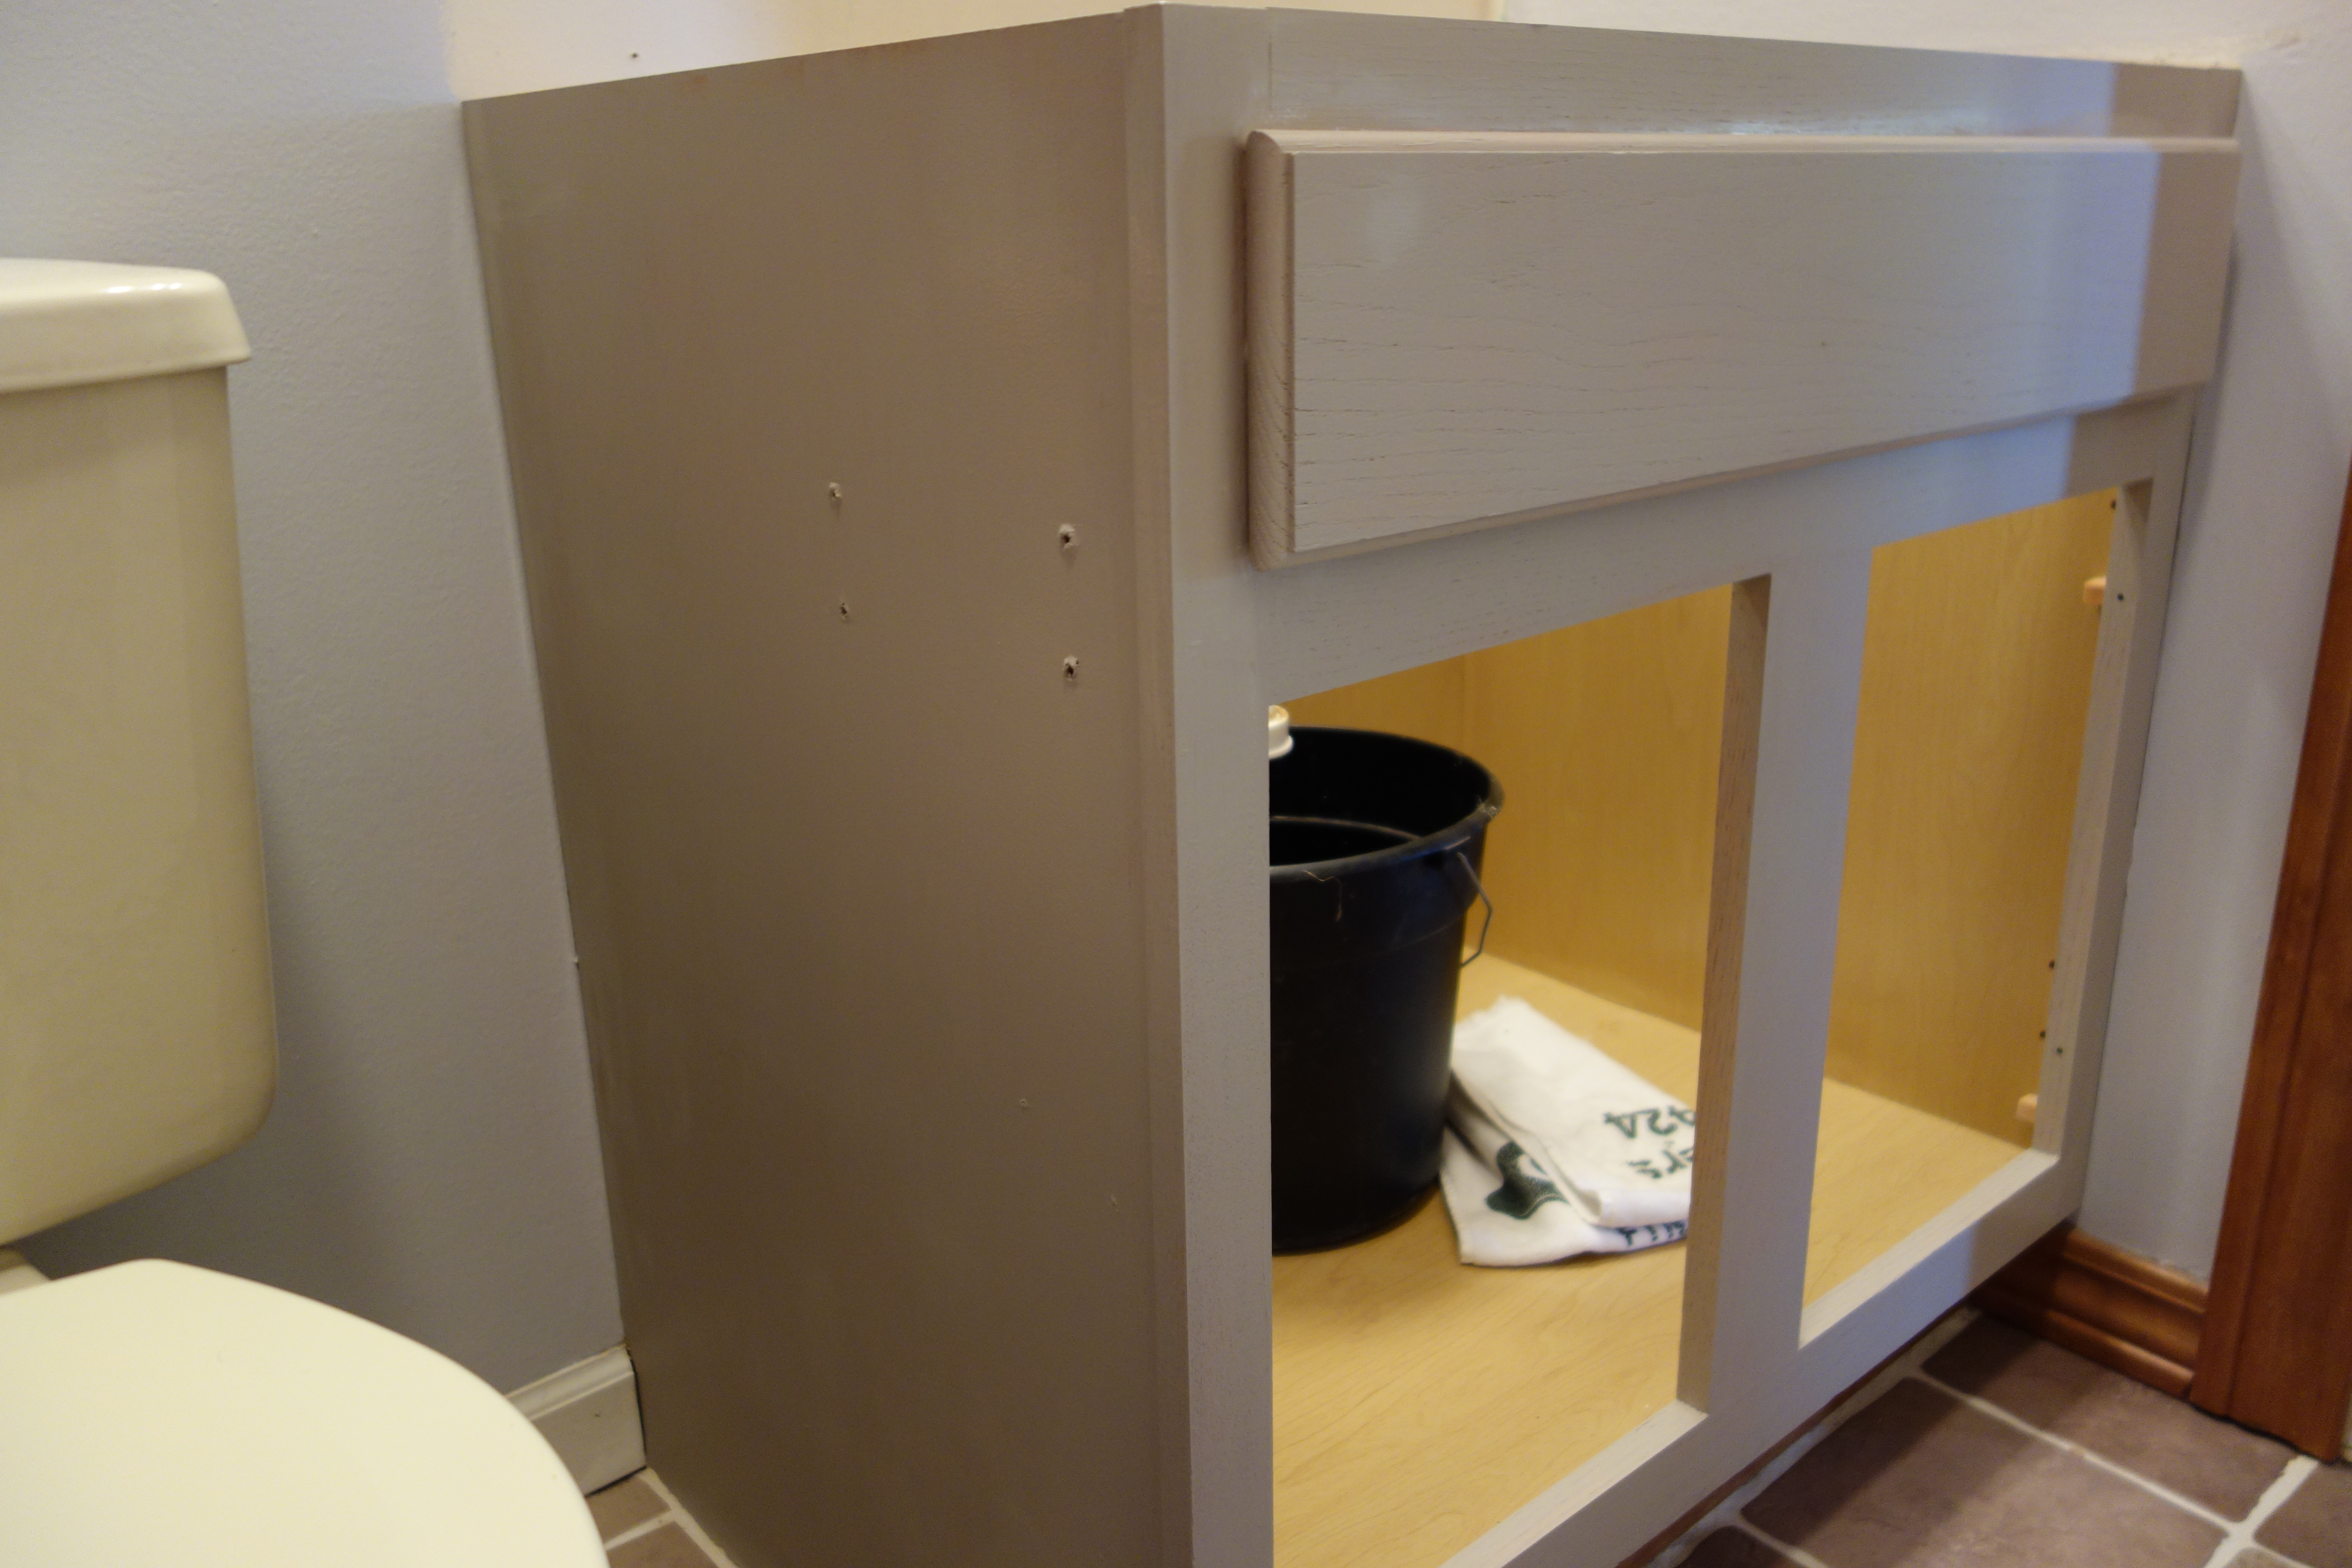
Here are the before pictures:
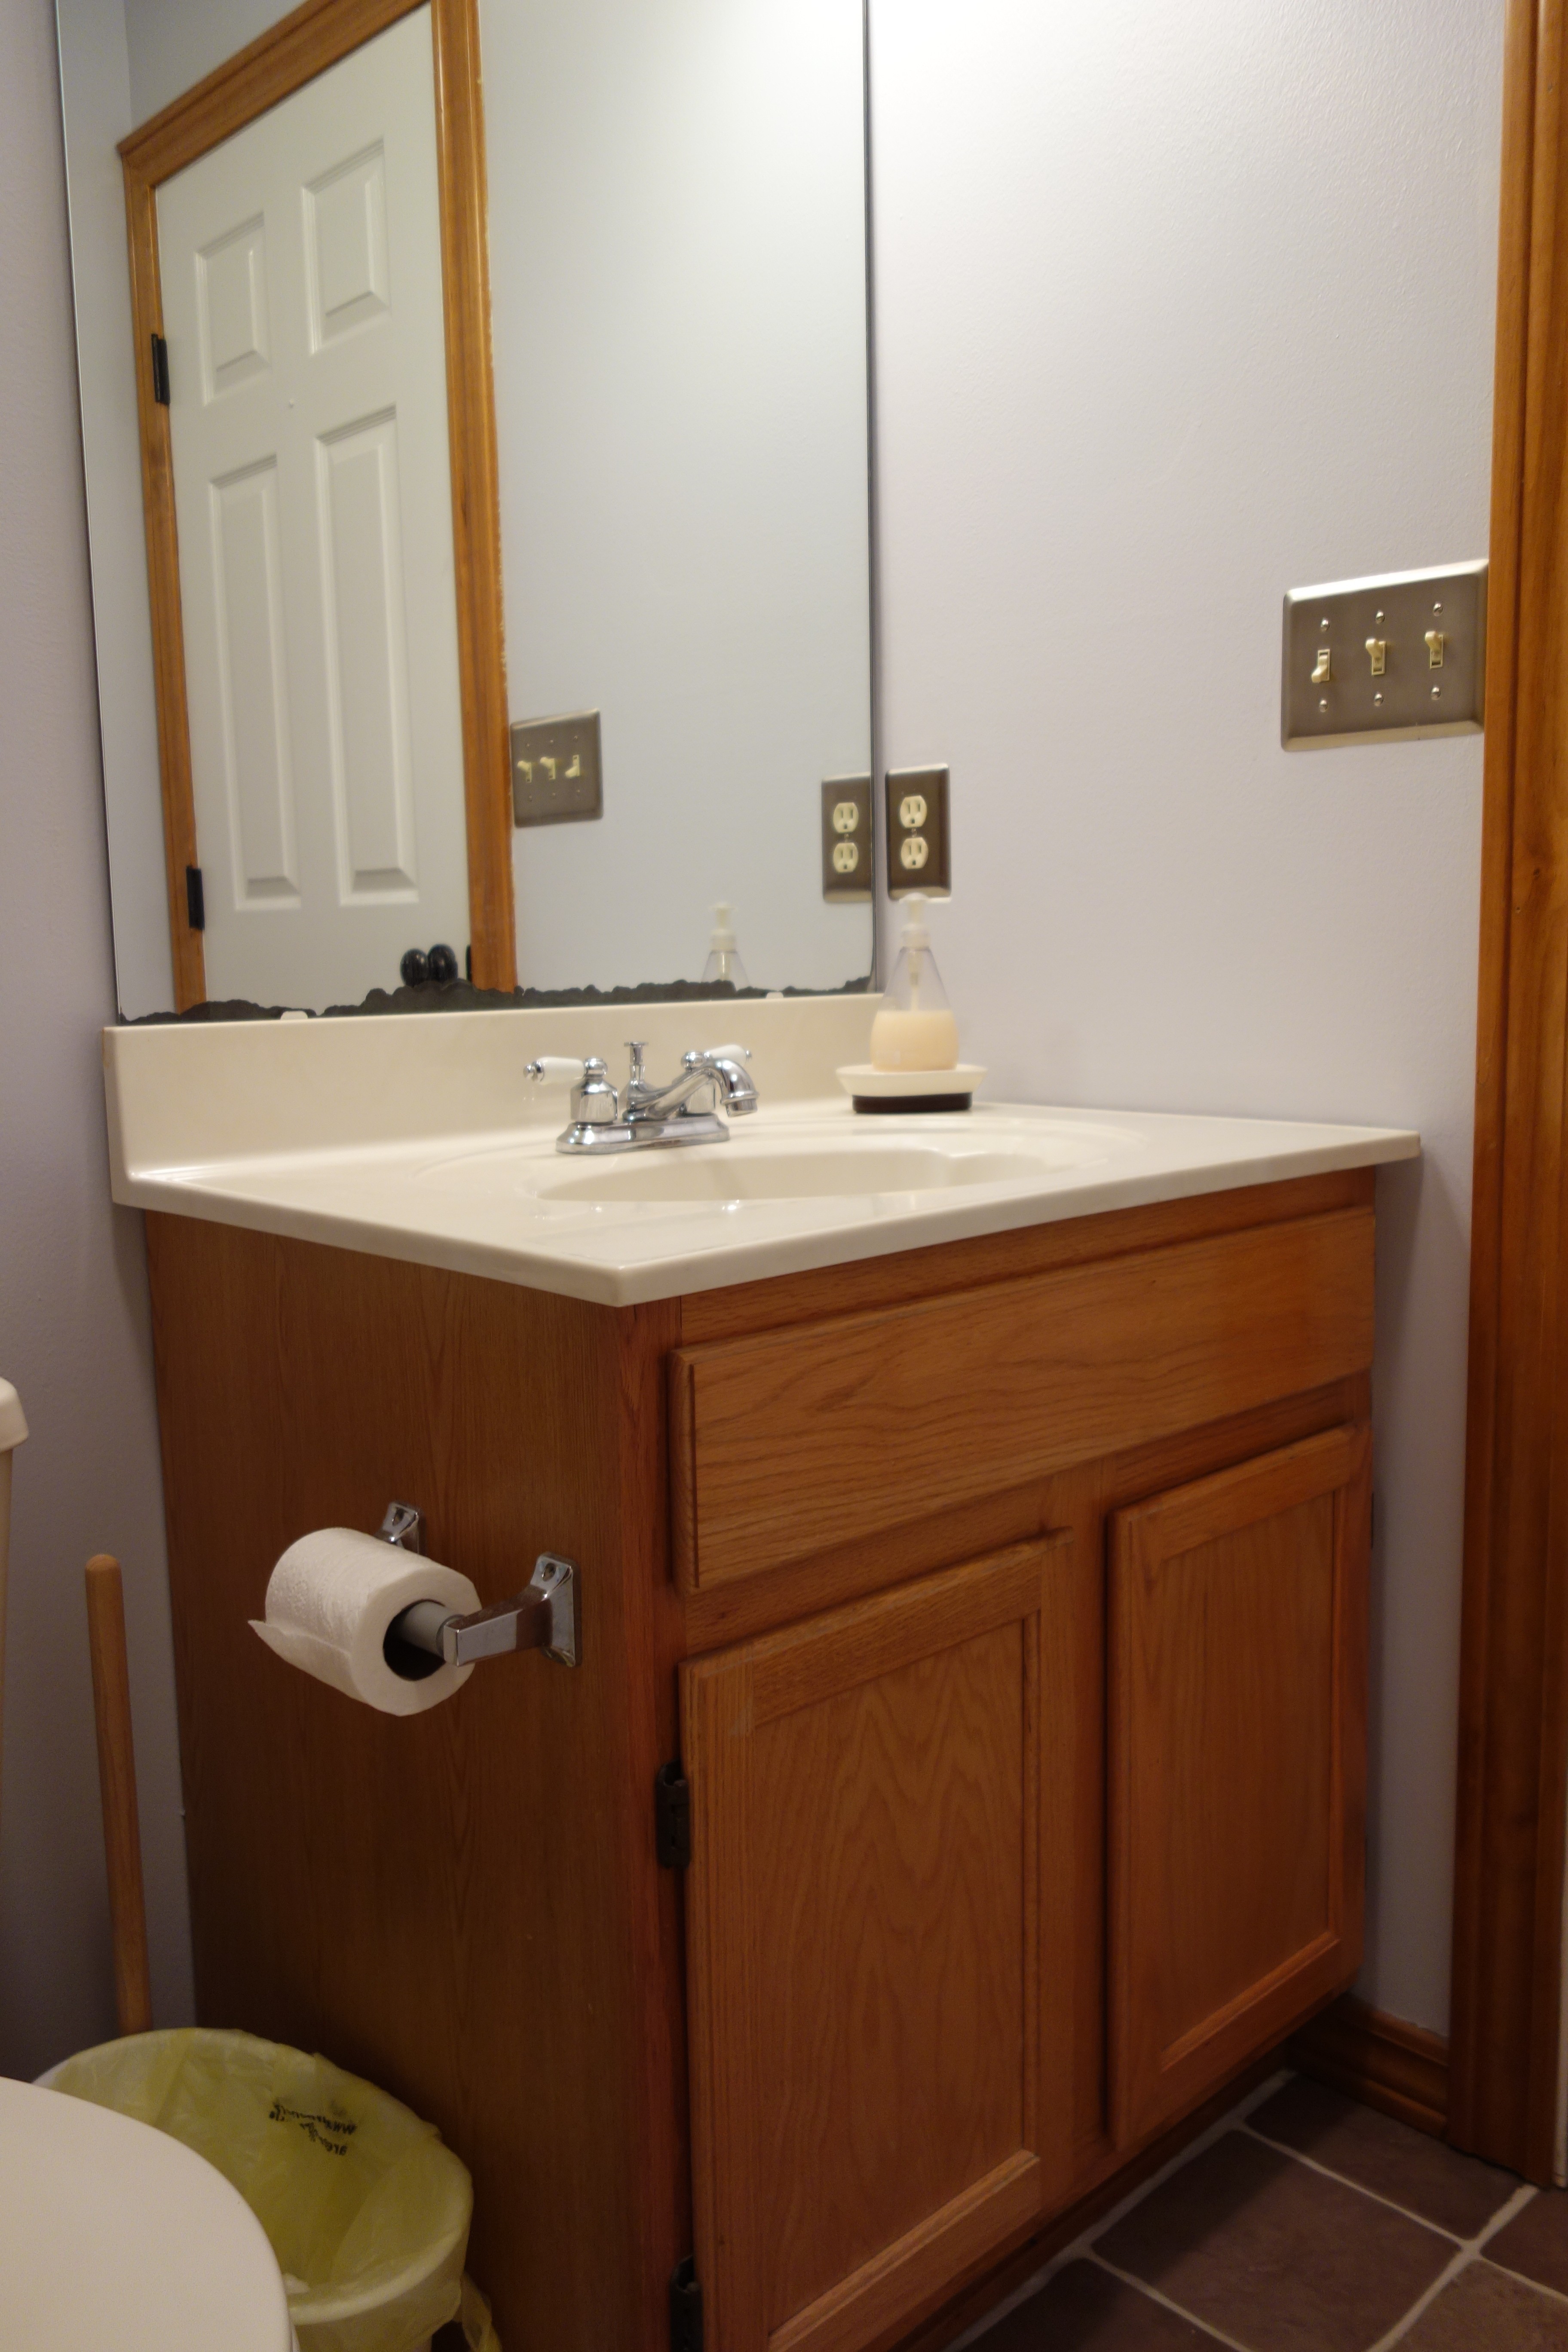
In the picture above and below, you can see the bottom of the mirror is damaged.
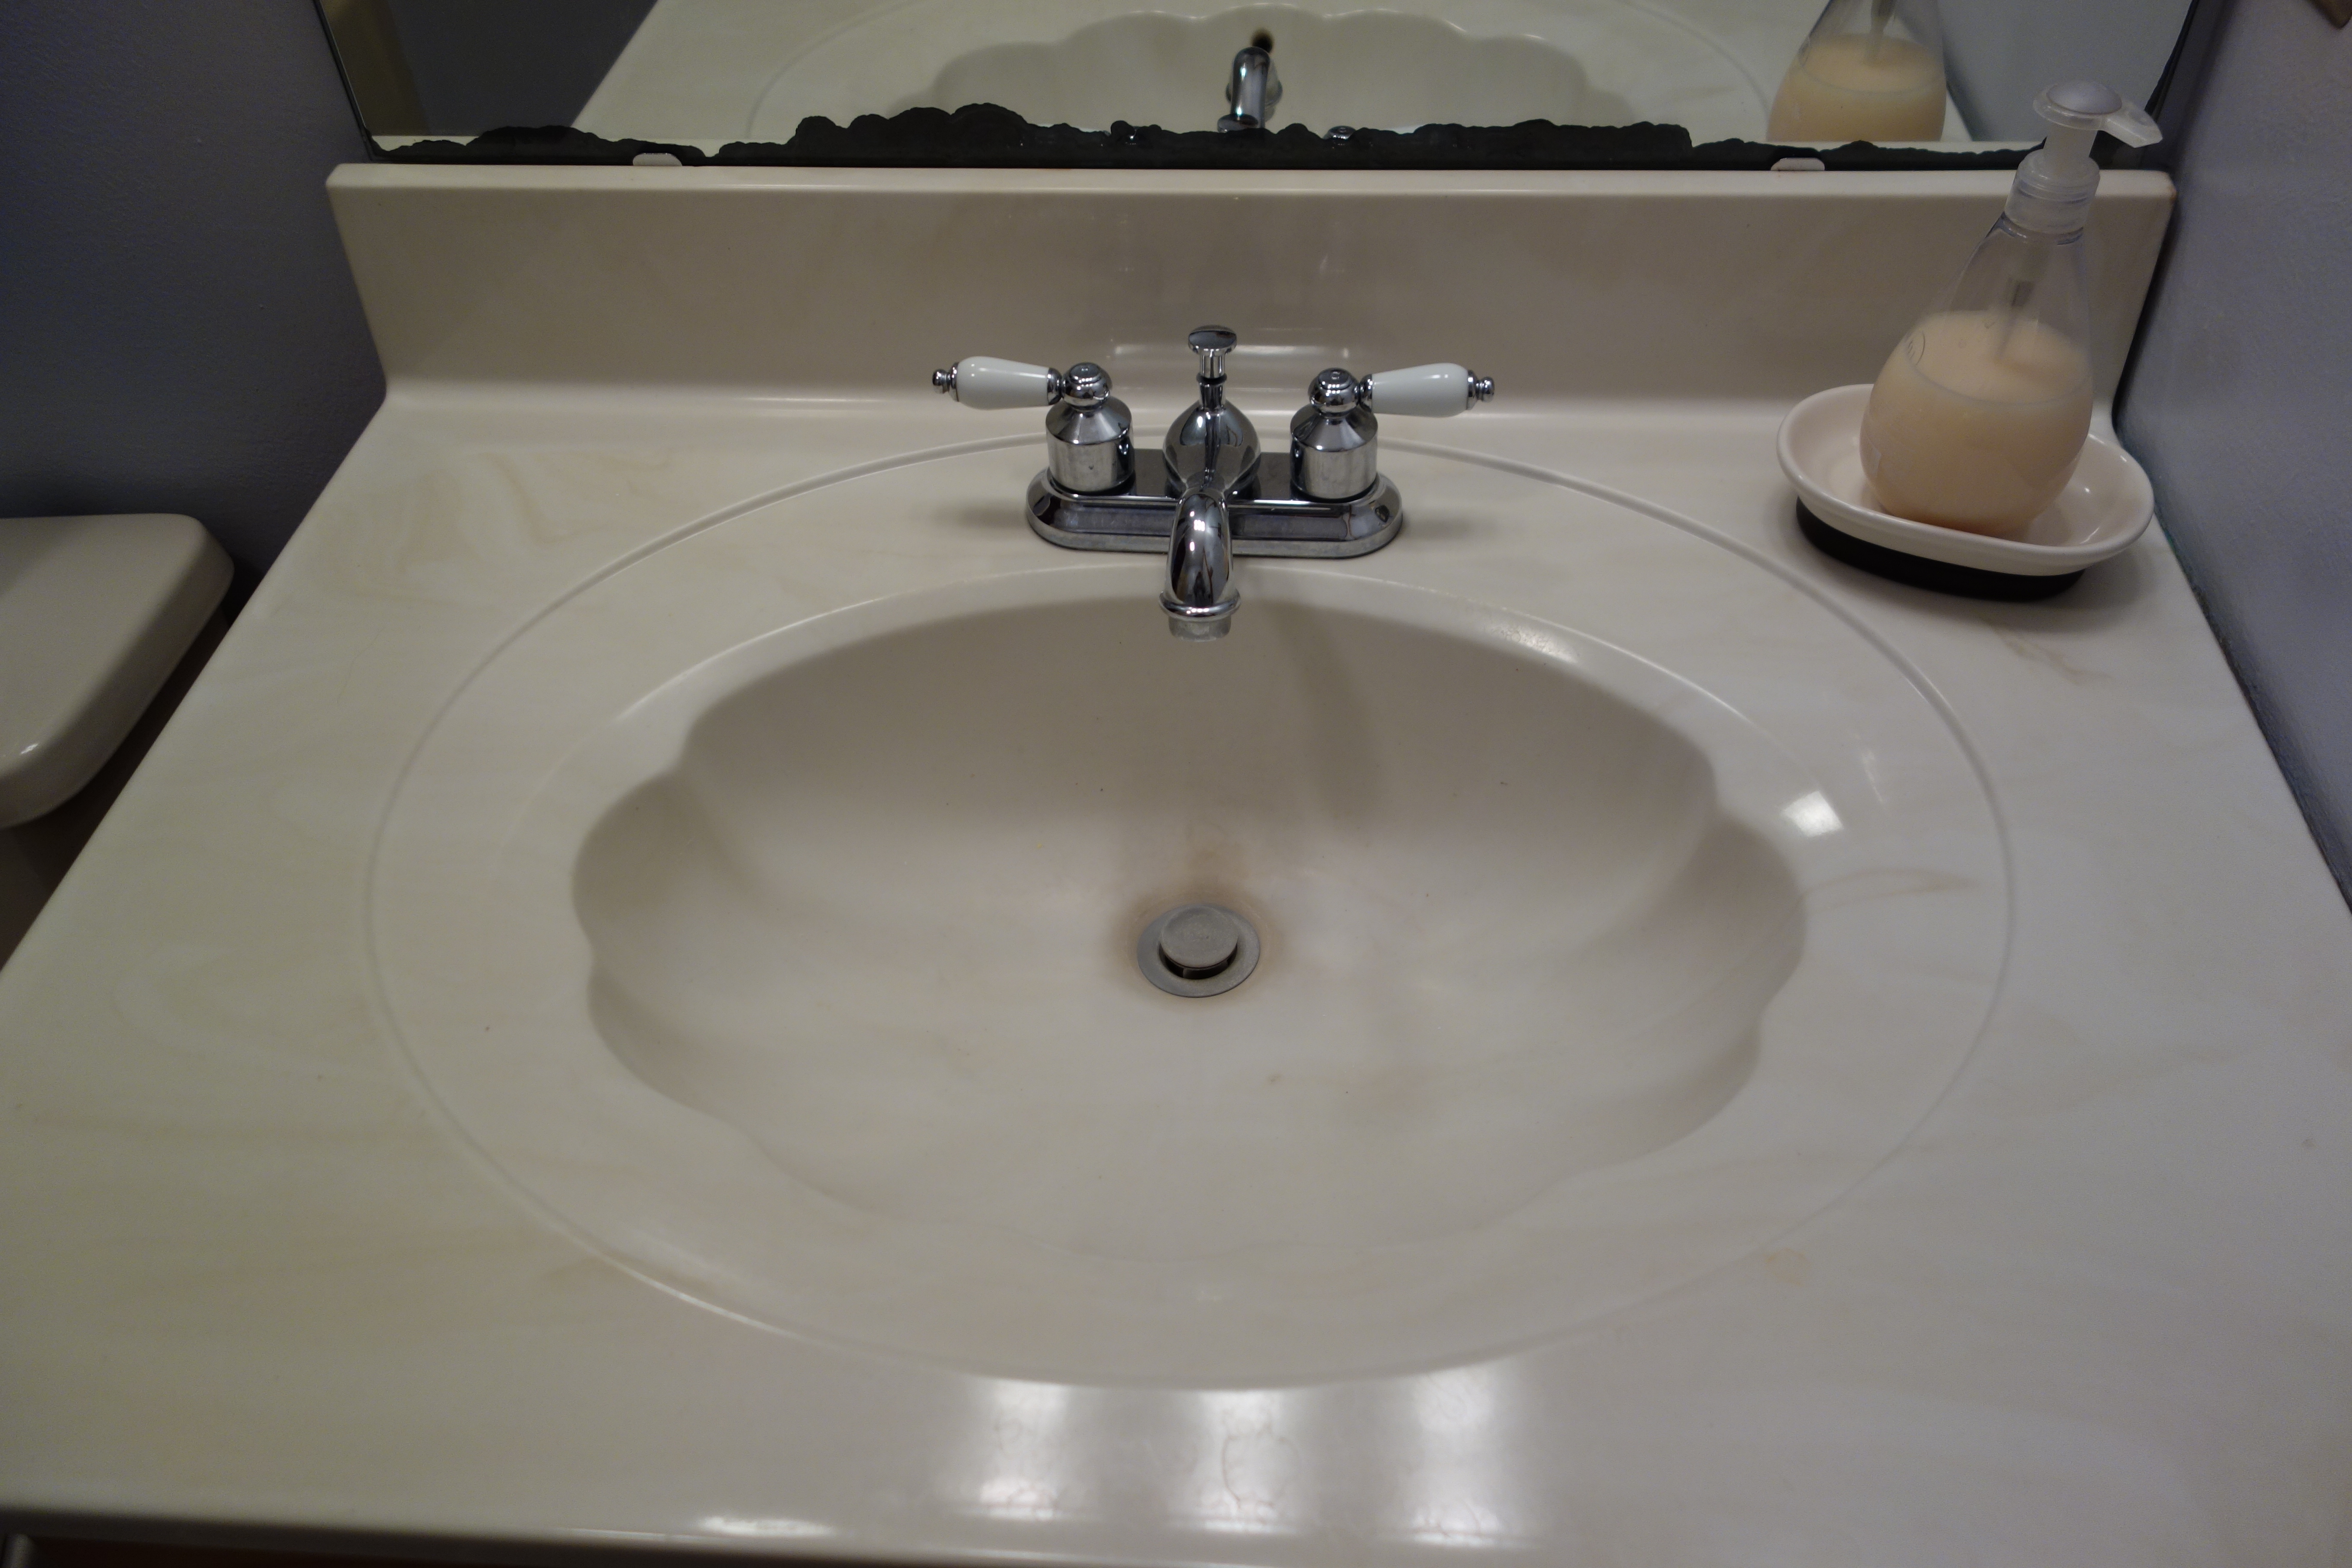
In the picture above you can see the shell-shaped sink (not exactly our style :)).

If you look really closely in the picture above, you can see Buster‘s paw under the door. I shut the door to take pictures of the bathroom, and he thought he needed to be in there too :).
Ok, now on to painting cabinets…
Before painting the cabinets, I removed the doors and cleaned them. I also cleaned the cabinets and hinges. Read about cleaning hinges here.
To clean the cabinets and doors, I used mineral spirits.
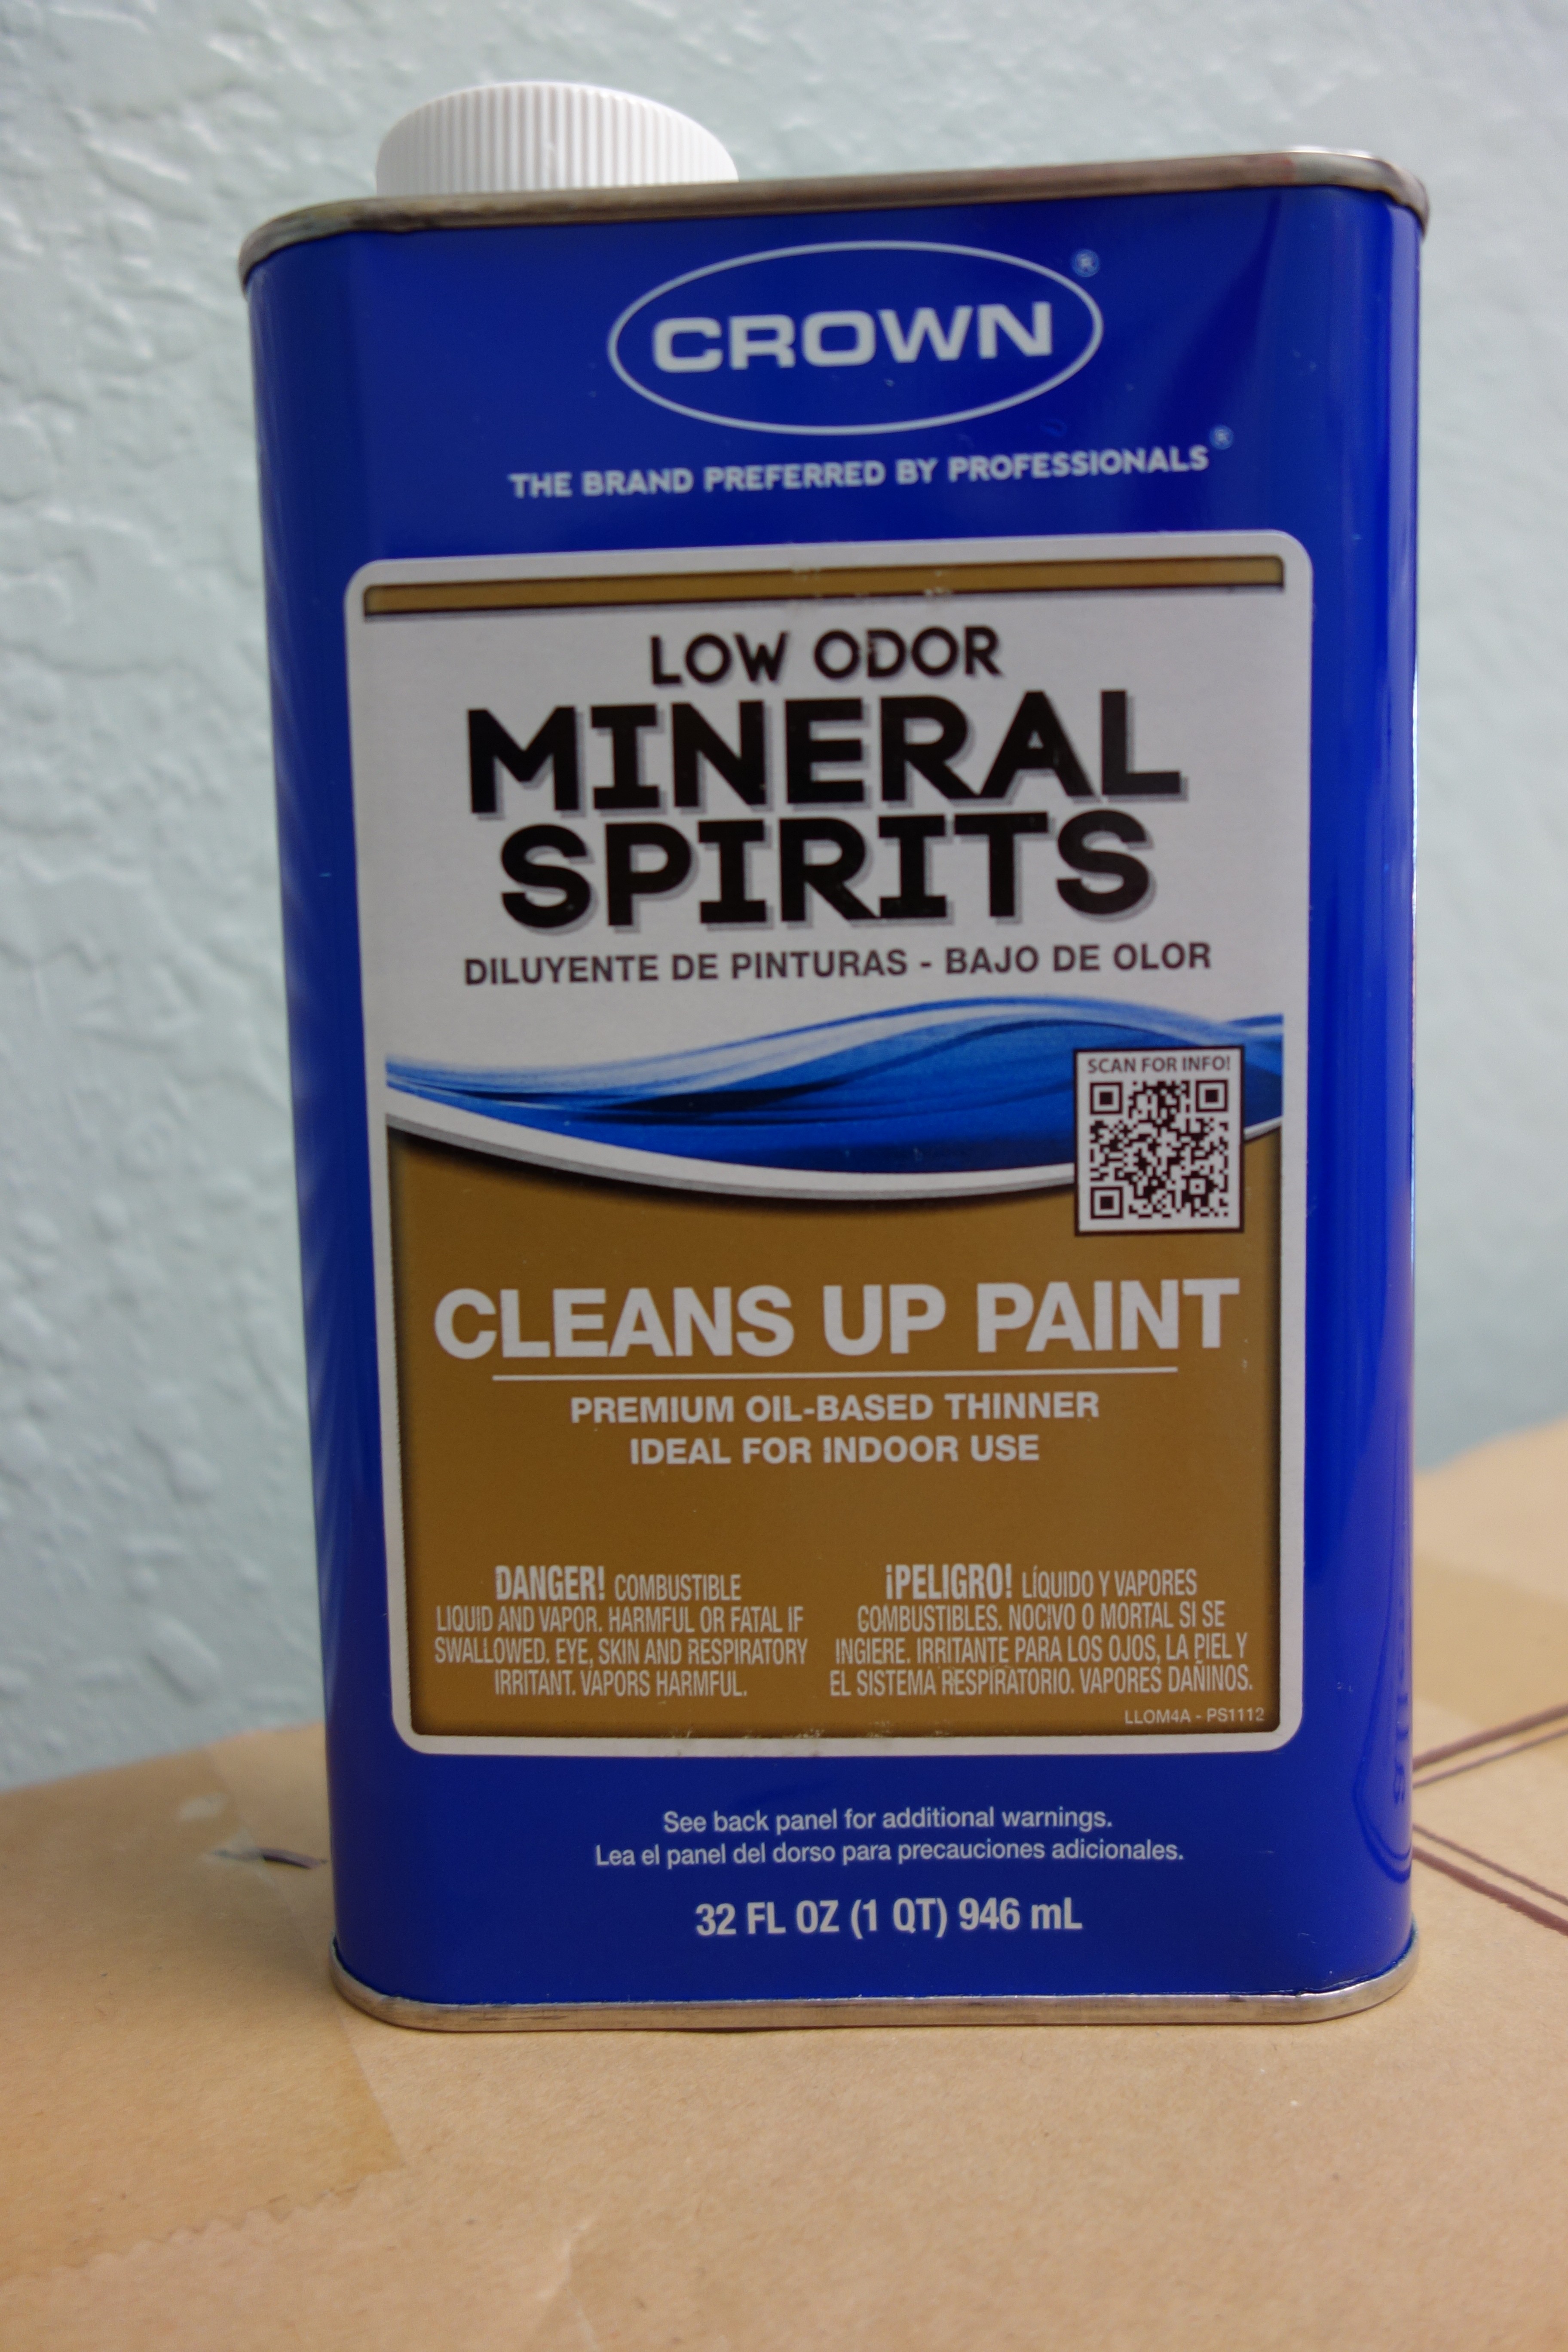
I really had no clue what I was doing, so I wiped off the mineral spirits with a damp cloth and then used a dry cloth to dry the cabinets and doors. A friend told me later that it’s not necessary to rinse the mineral spirits off with water – just let it dry/evaporate.
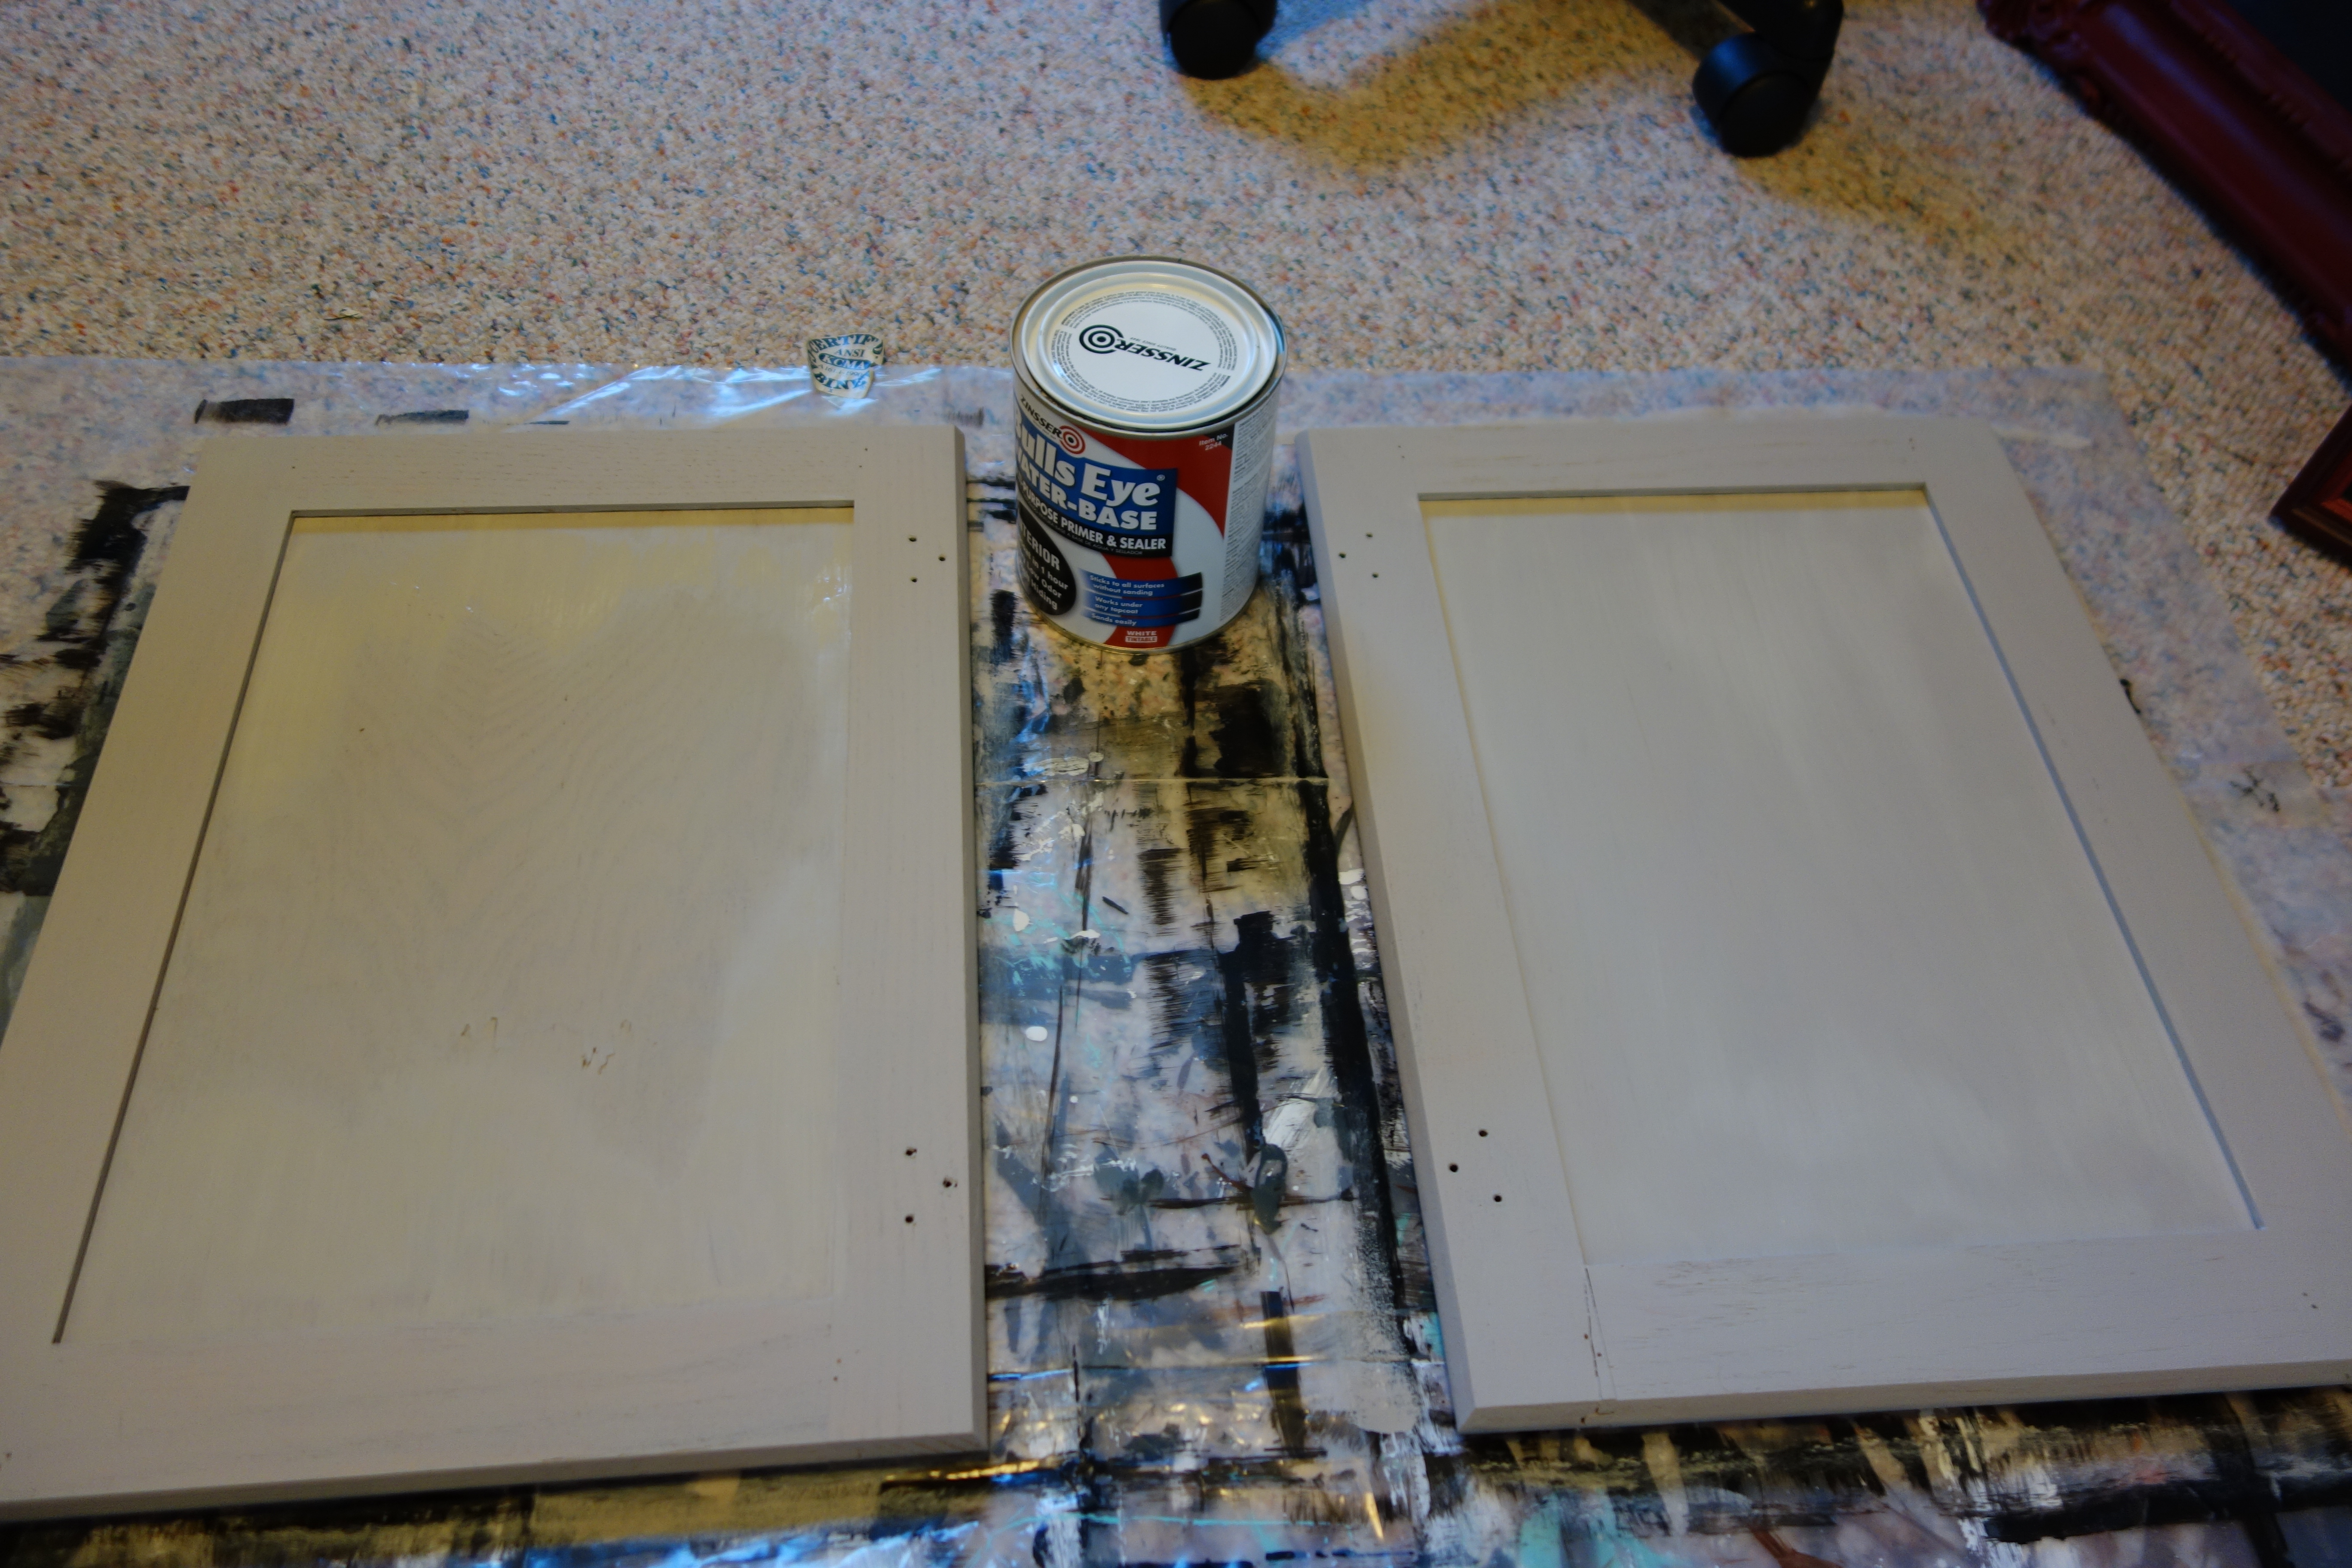
After the cabinets were dry, I primed them using Zinsser primer (pictured below). I used two coats of primer.
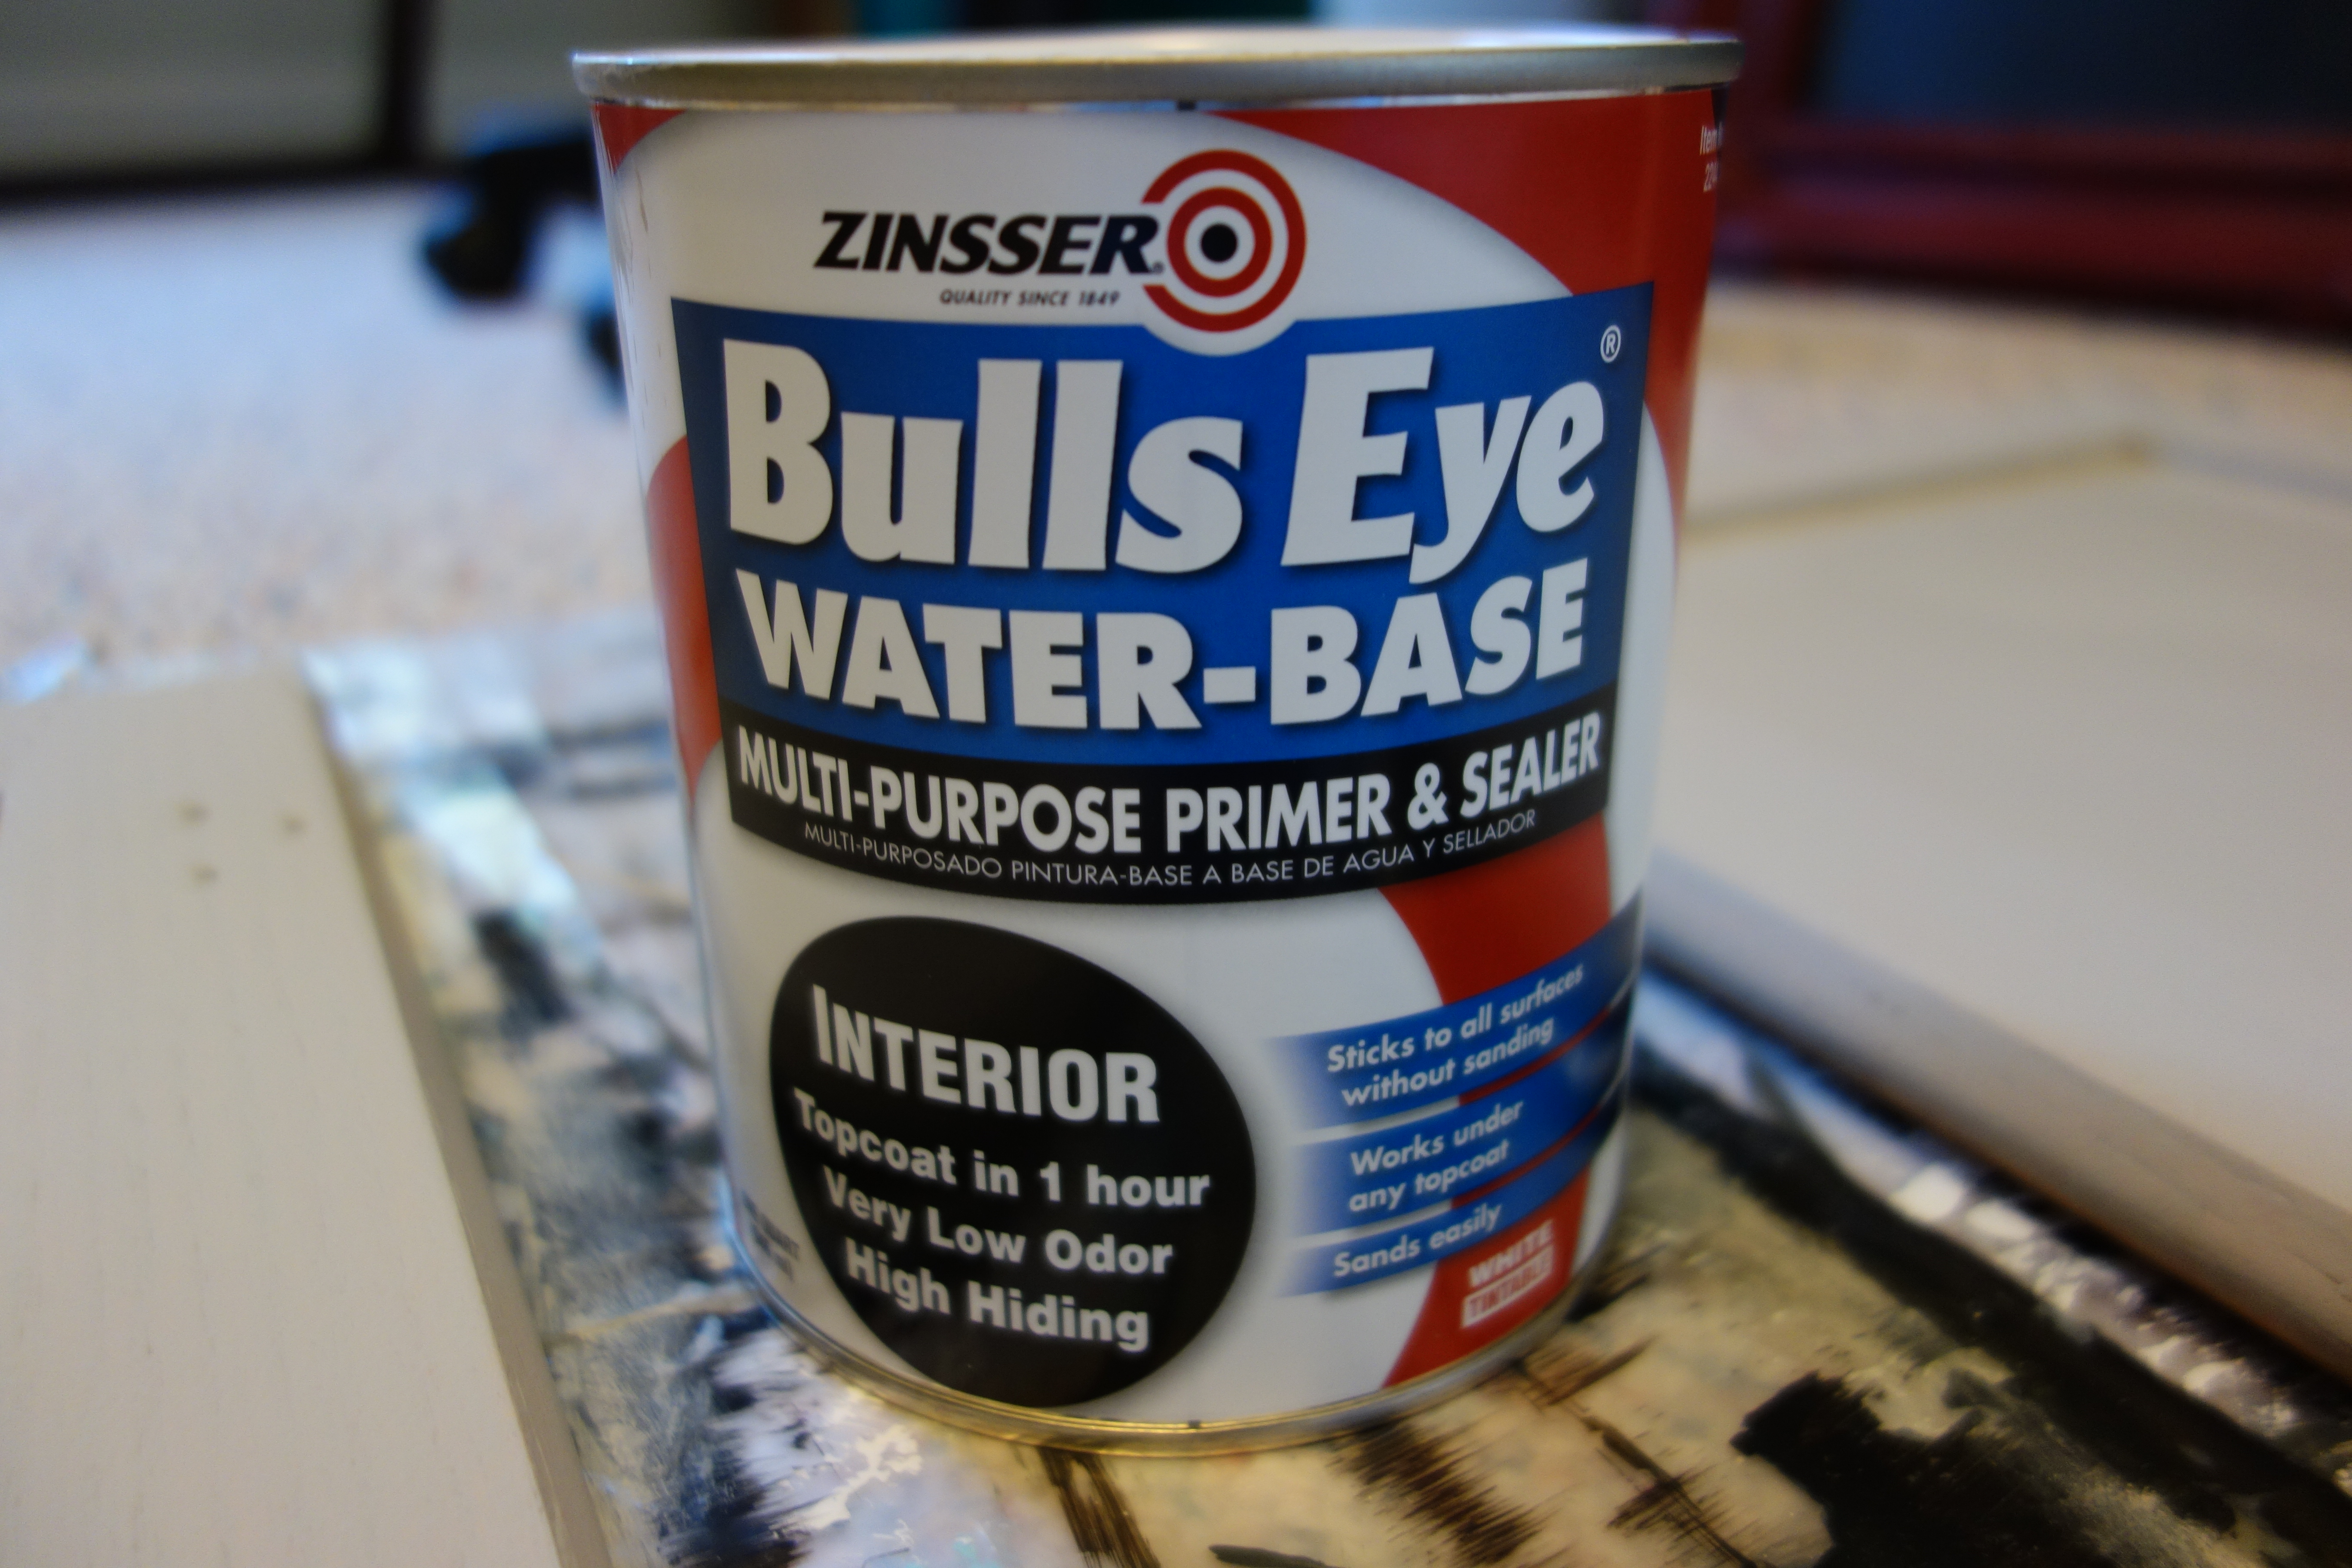
Since my cabinets were going to be dark brown, I had the paint person at Lowes tint the primer. This made it a little darker so I didn’t have to use as many topcoats of brown paint. Notice the cabinets and doors pictured below are a light tan – this was the tinted primer.
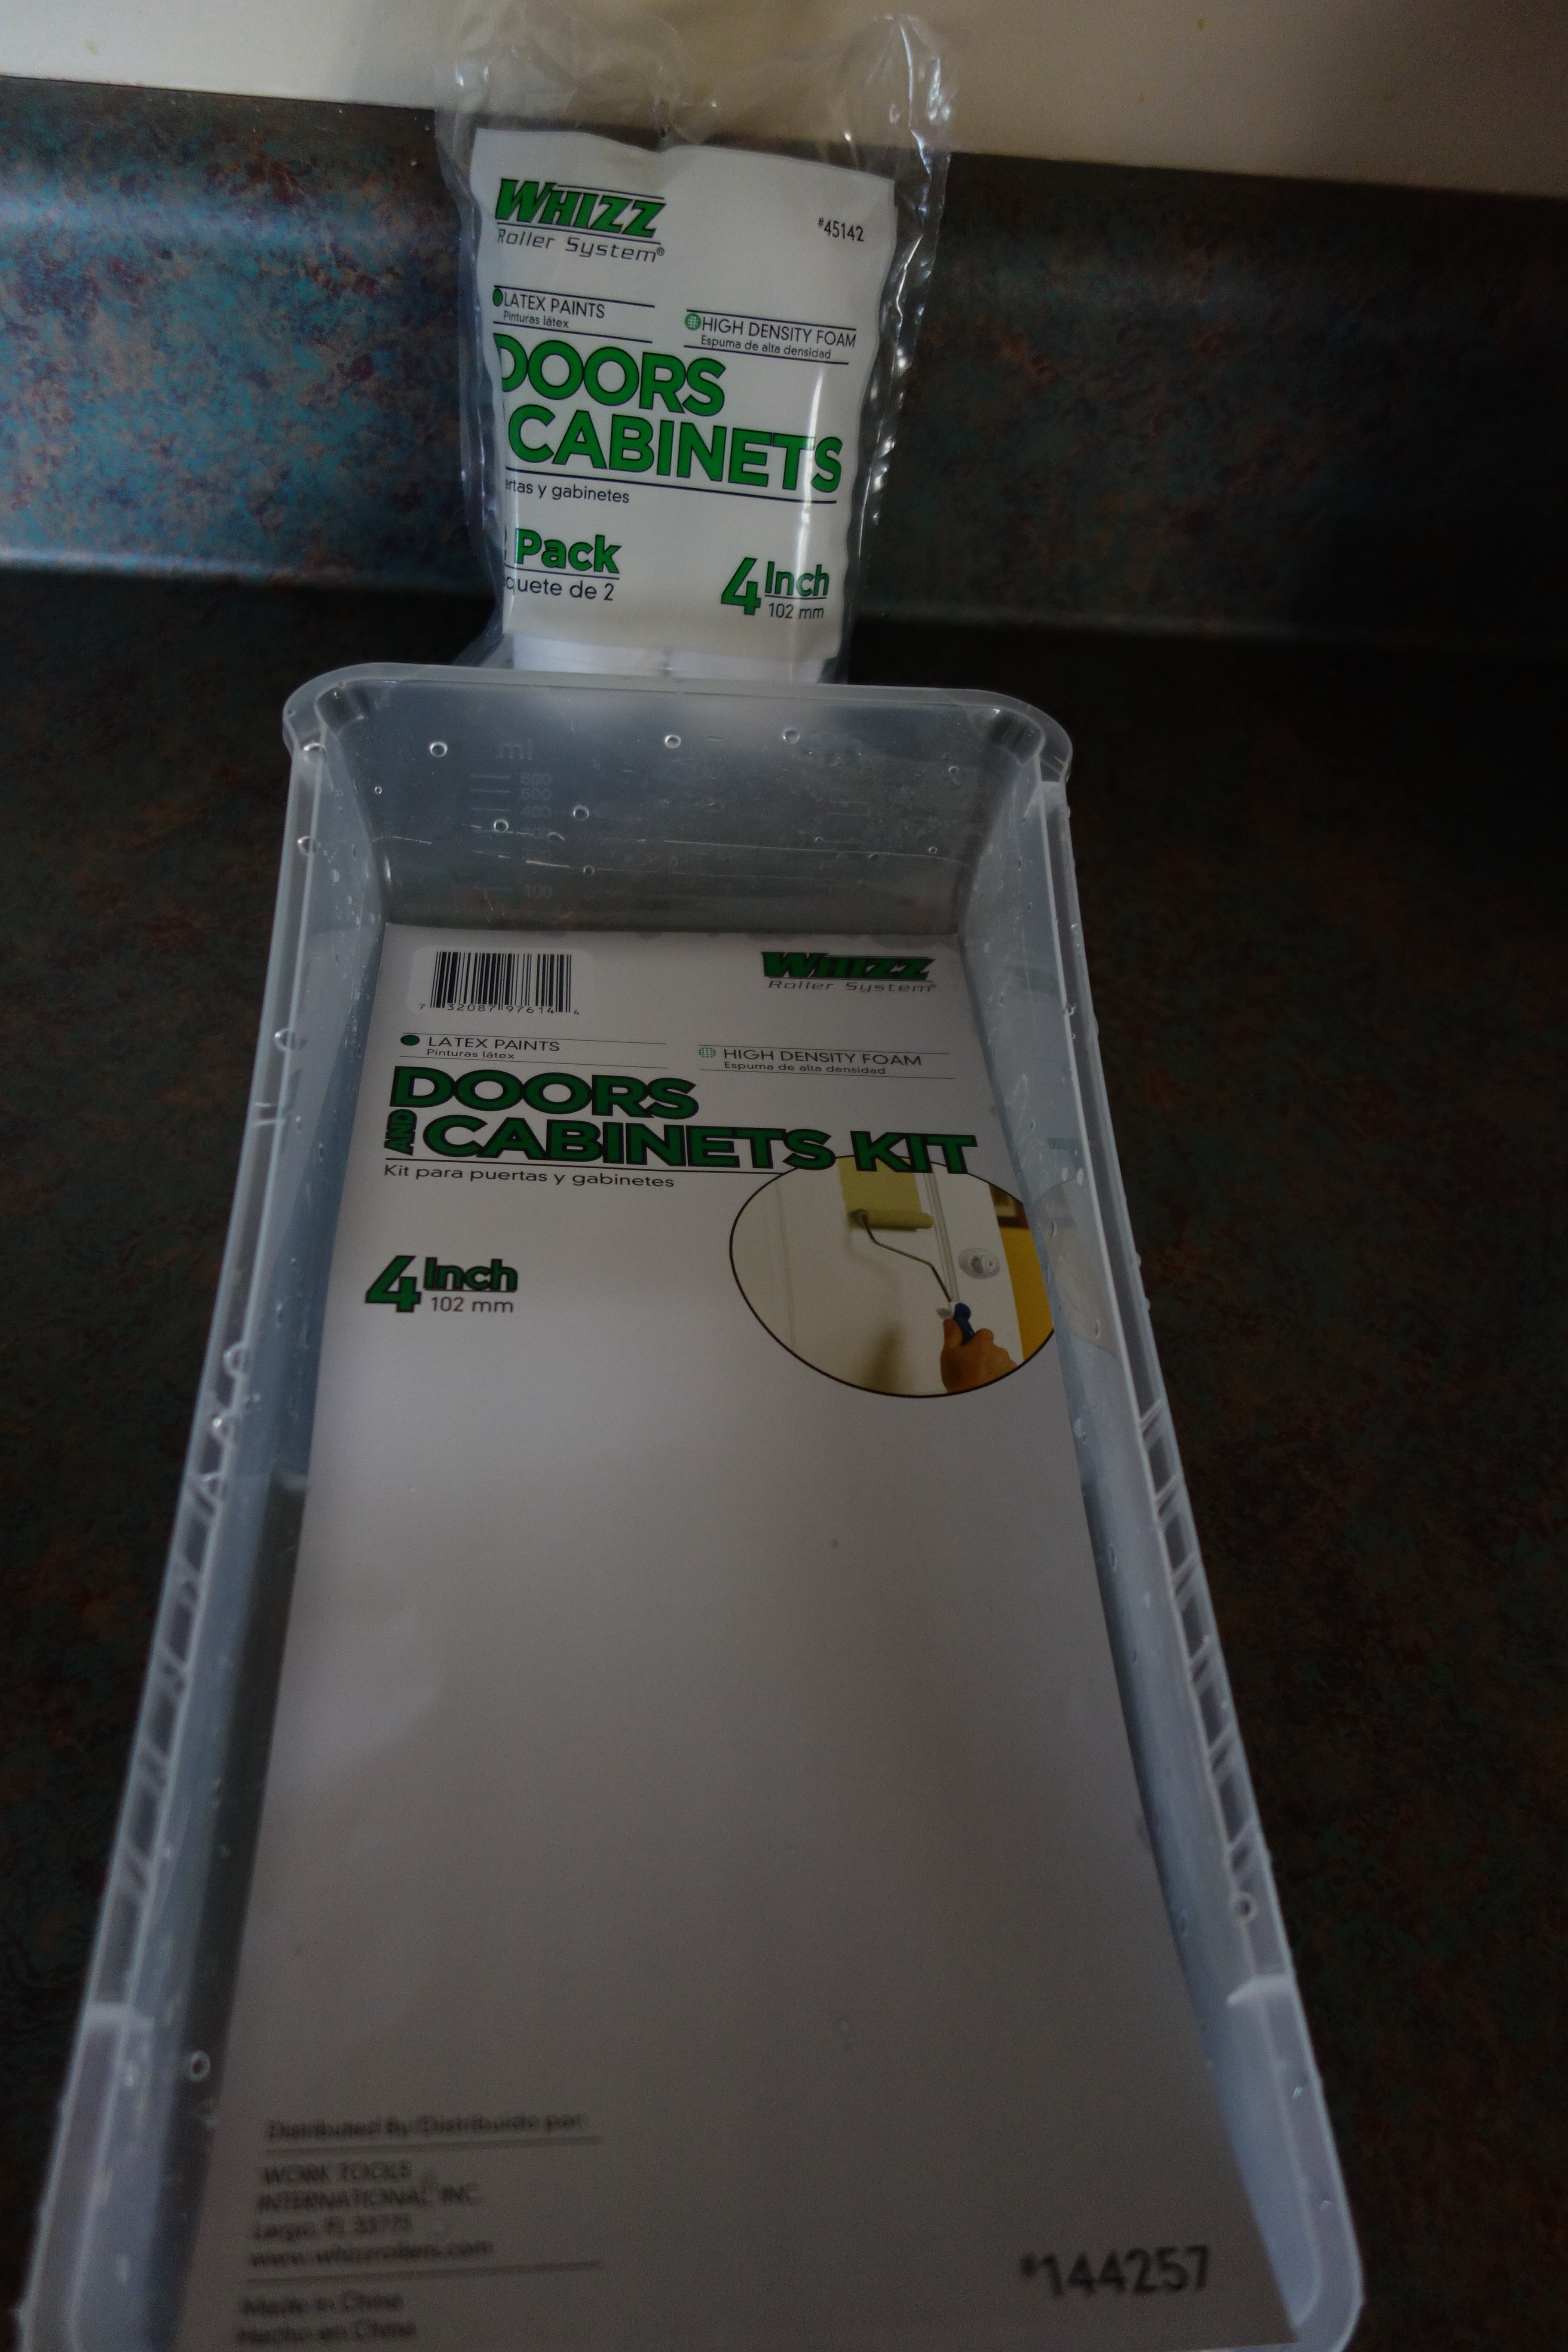
I used a Purdy brand paintbrush to get in all the crevices and small rollers (pictured below) to paint the rest of the cabinet and doors. I used two coats of paint and touched up other areas that didn’t seem to get covered with the two coats. When you are painting, be sure to watch for drips! Drips make the cabinet look really sloppy. Click here for more painting tips.
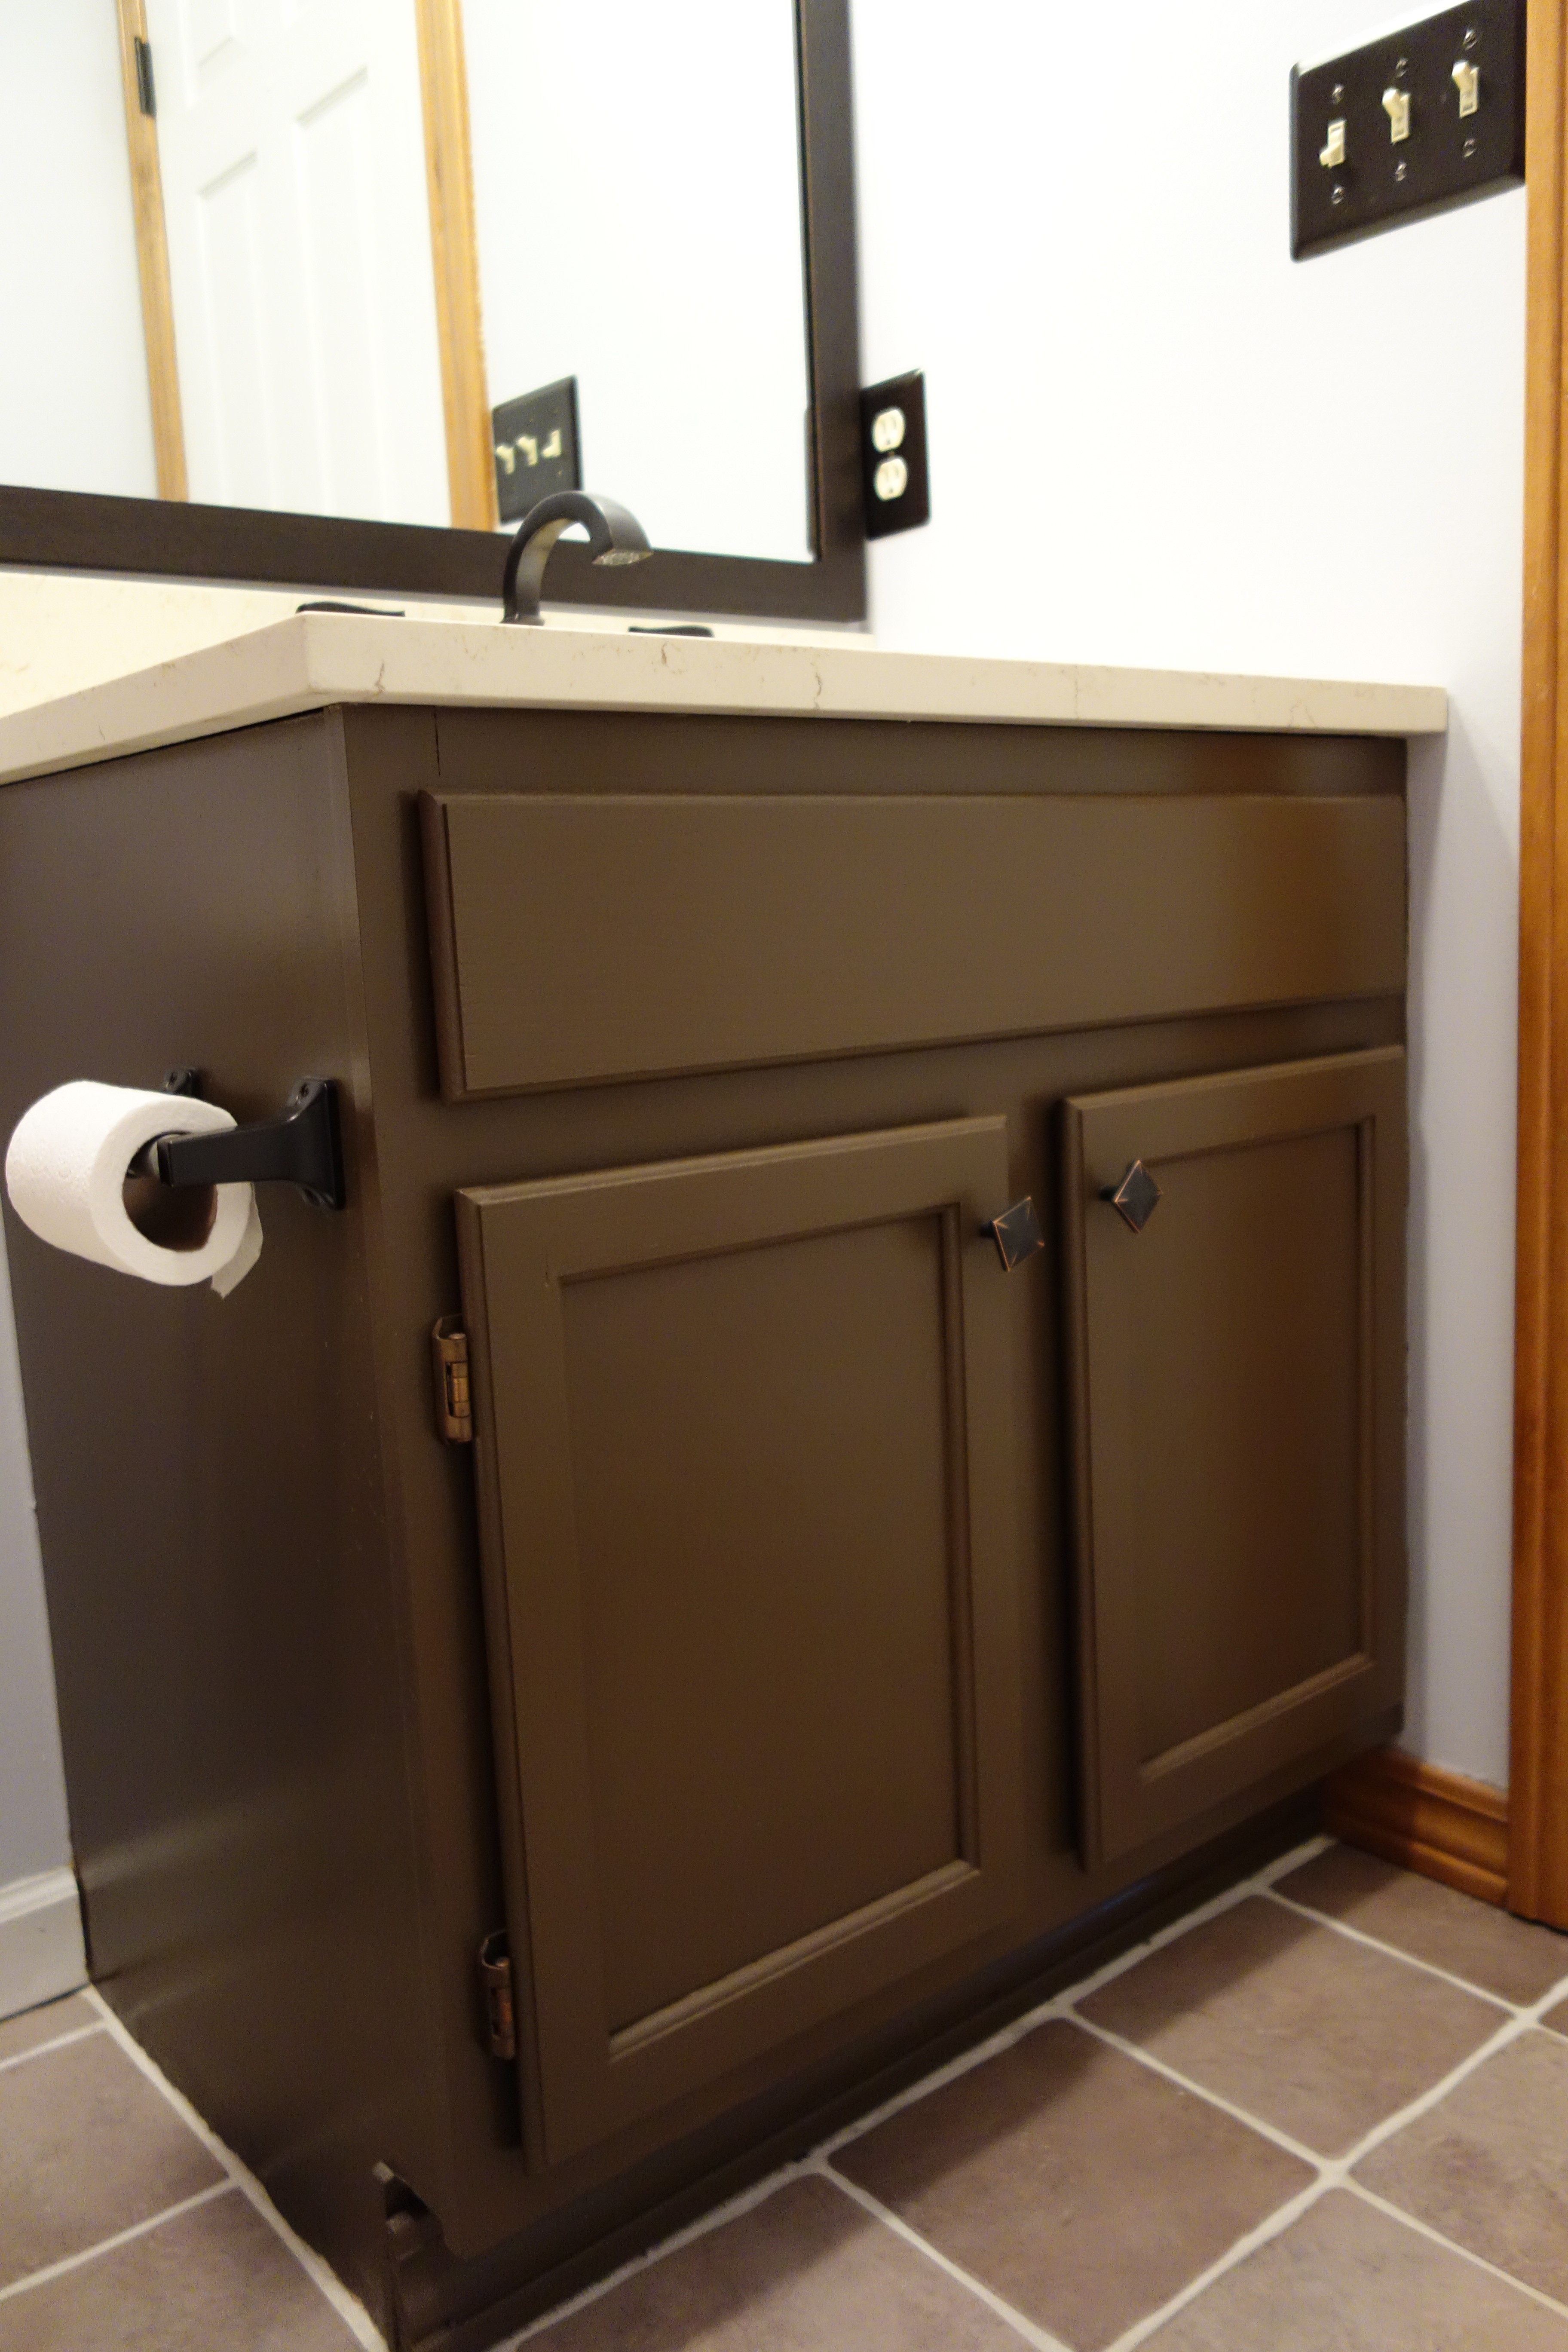
After the doors were dry, we added knobs. This was relatively simple, although we didn’t get them quite even :/. Oh well. Once the paint on the cabinets and the doors were dry (I waited a few days), we put the doors back on the hinges and were finished! I just love the new dark brown cabinets.
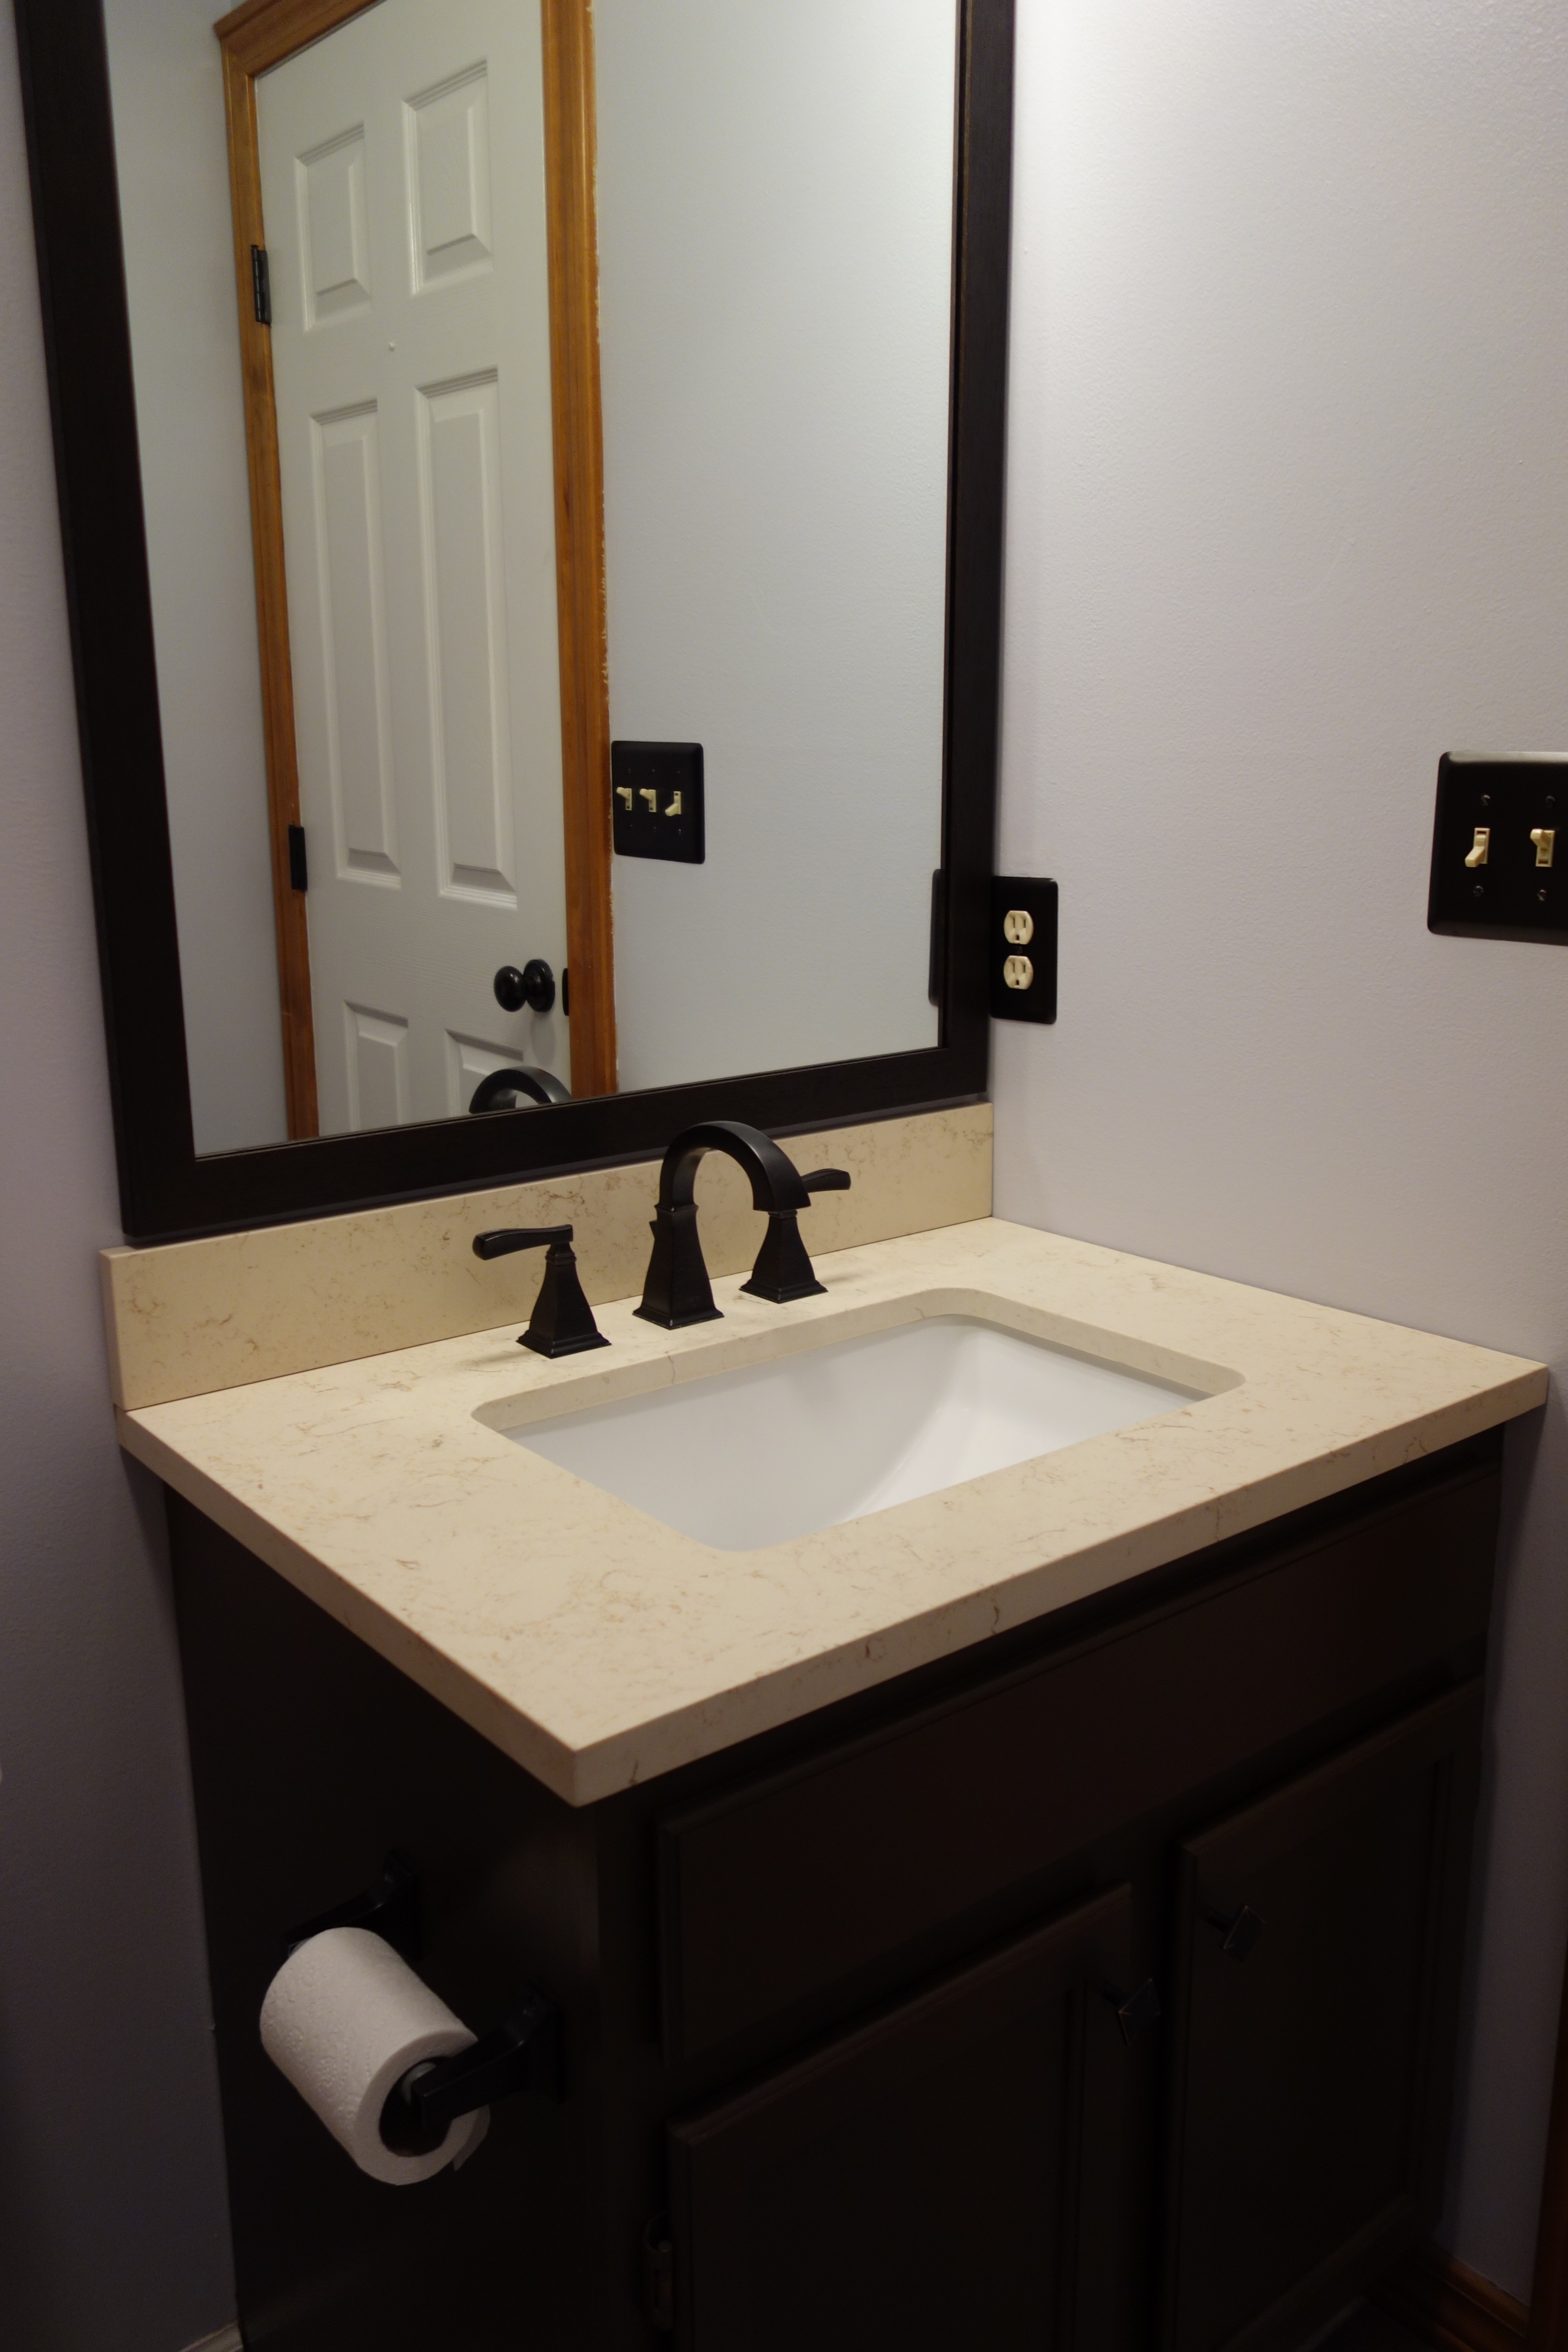
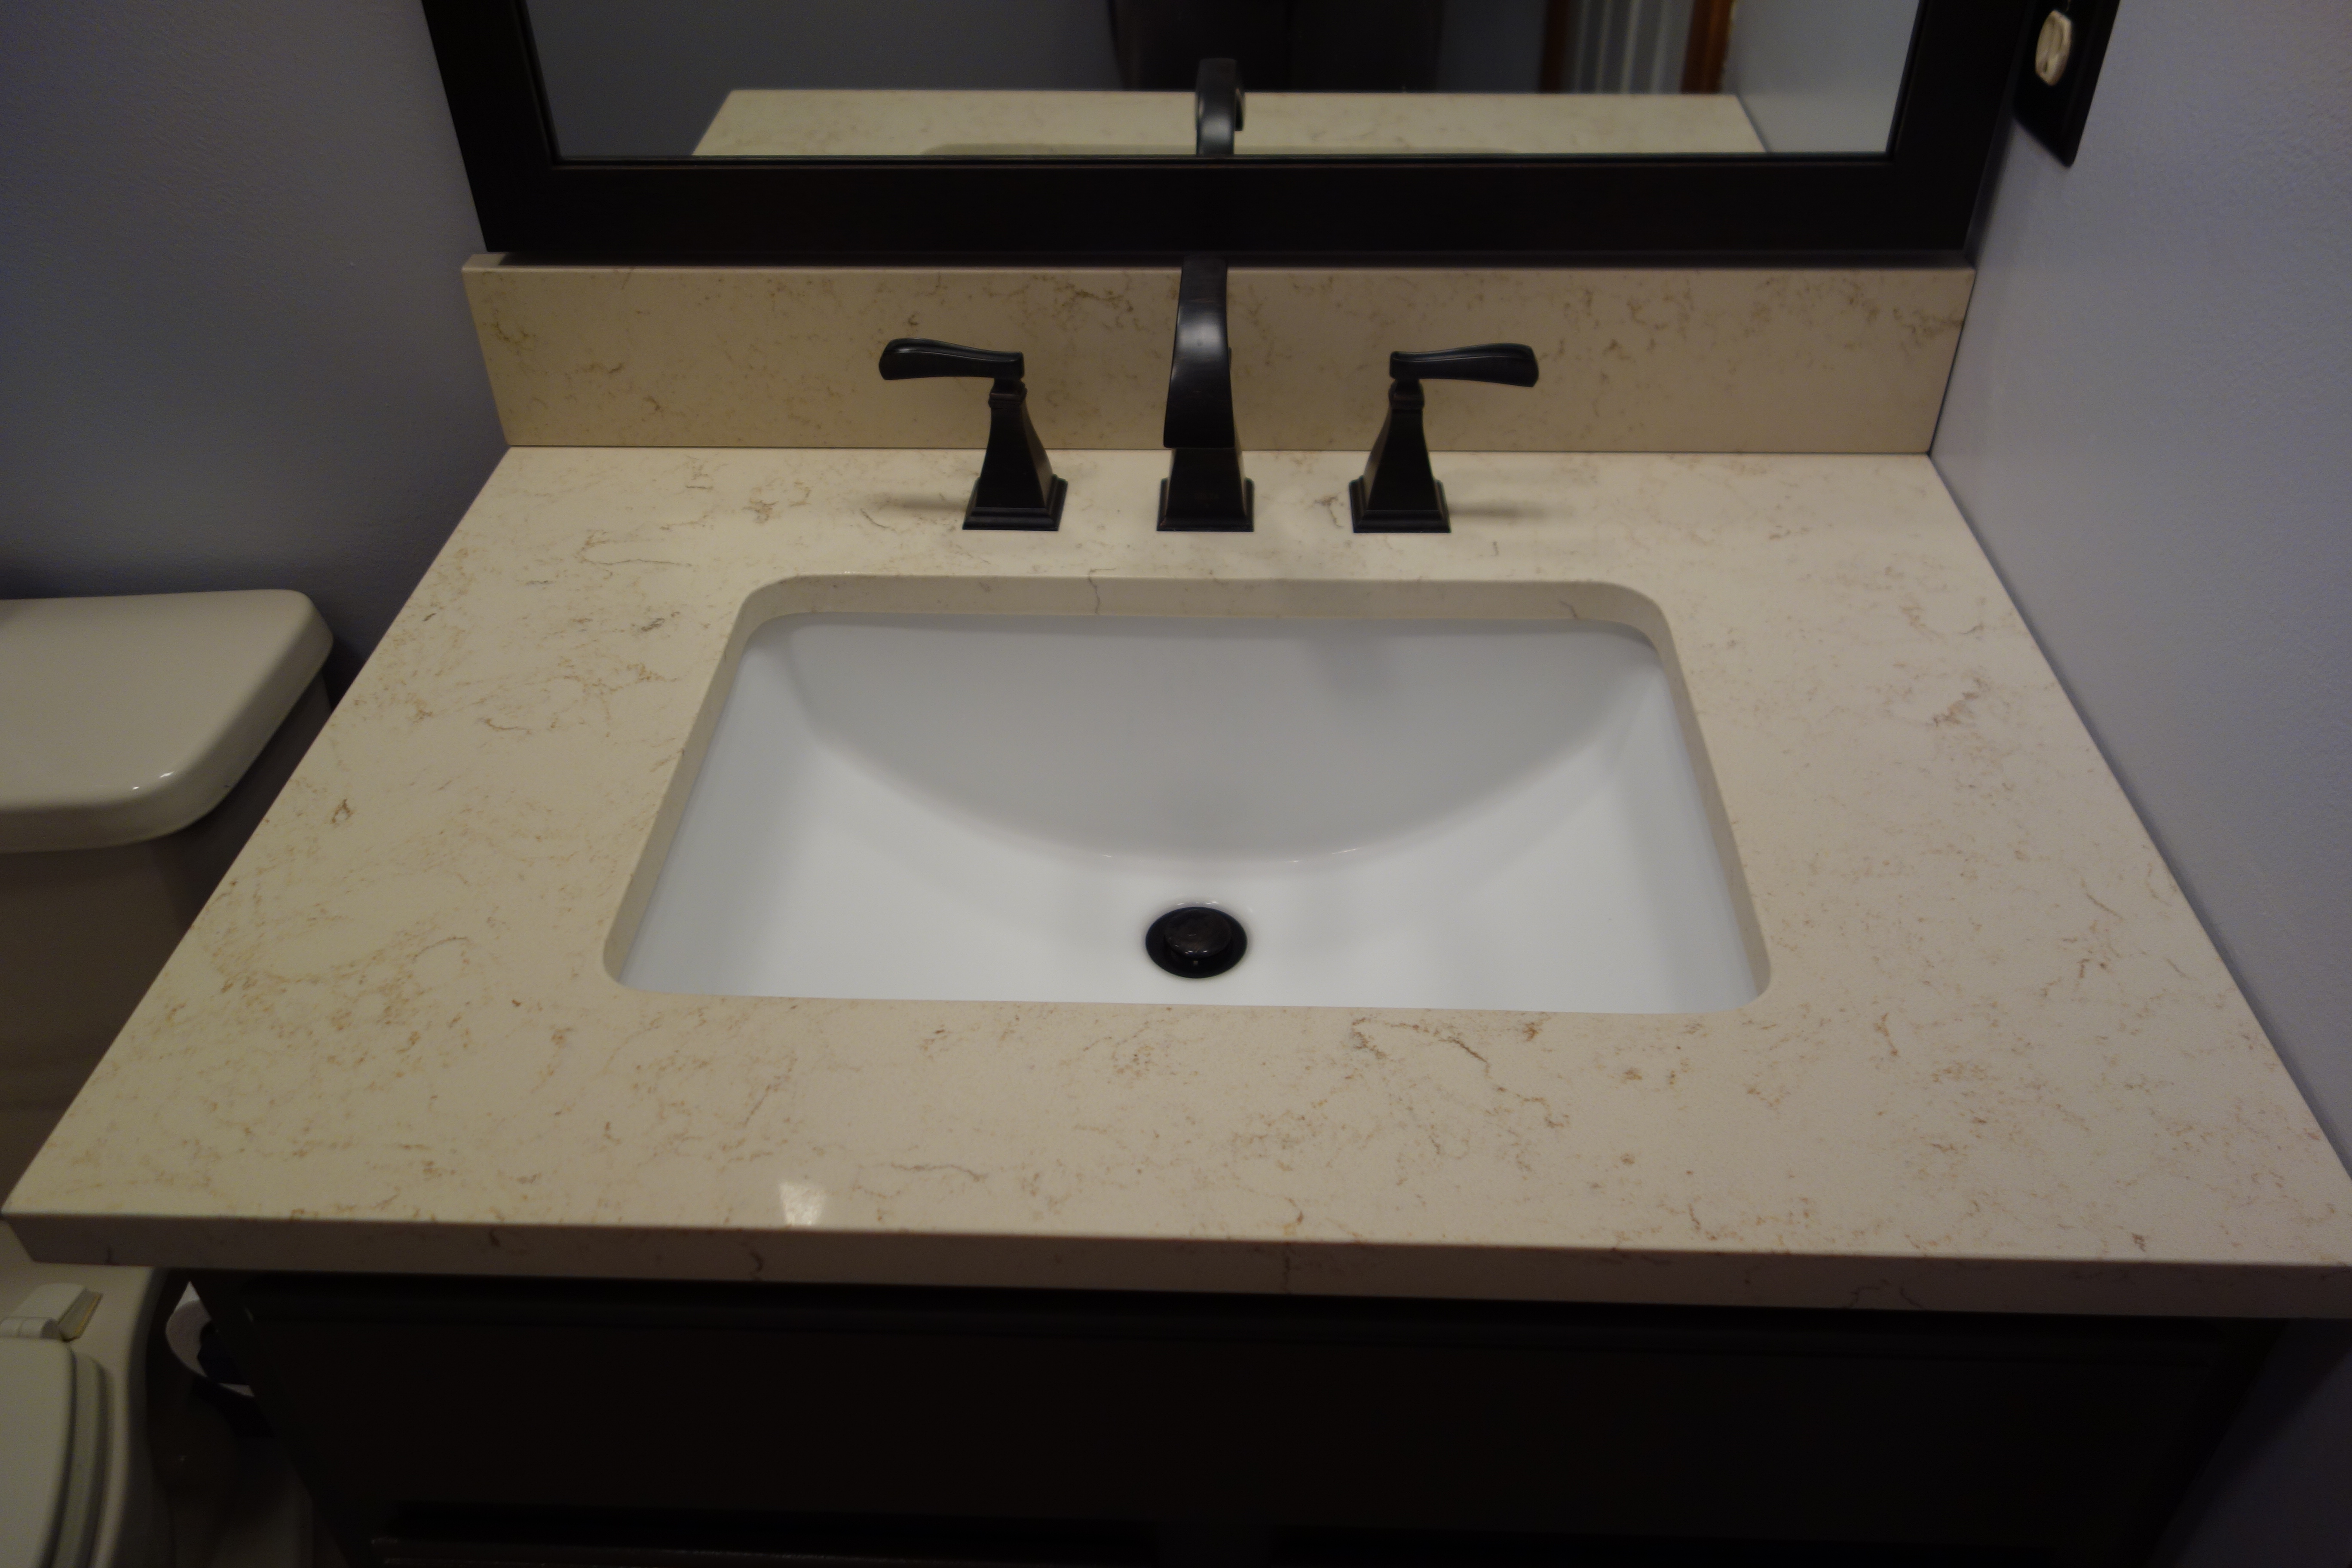
In addition to painting the cabinets, we installed a new sink and faucet, both from Lowe’s. The faucet was more expensive than the sink – yikes. We followed tutorials on YouTube and pretty easily removed the old sink and installed the new one.
We also removed our ugly mirror and took it to a framing store for an updated look. The framer was able to remove the damaged area of the mirror and put a nice dark brown frame around it. Much nicer, huh? Please ignore the chrome light fixture that I still need to spray paint!
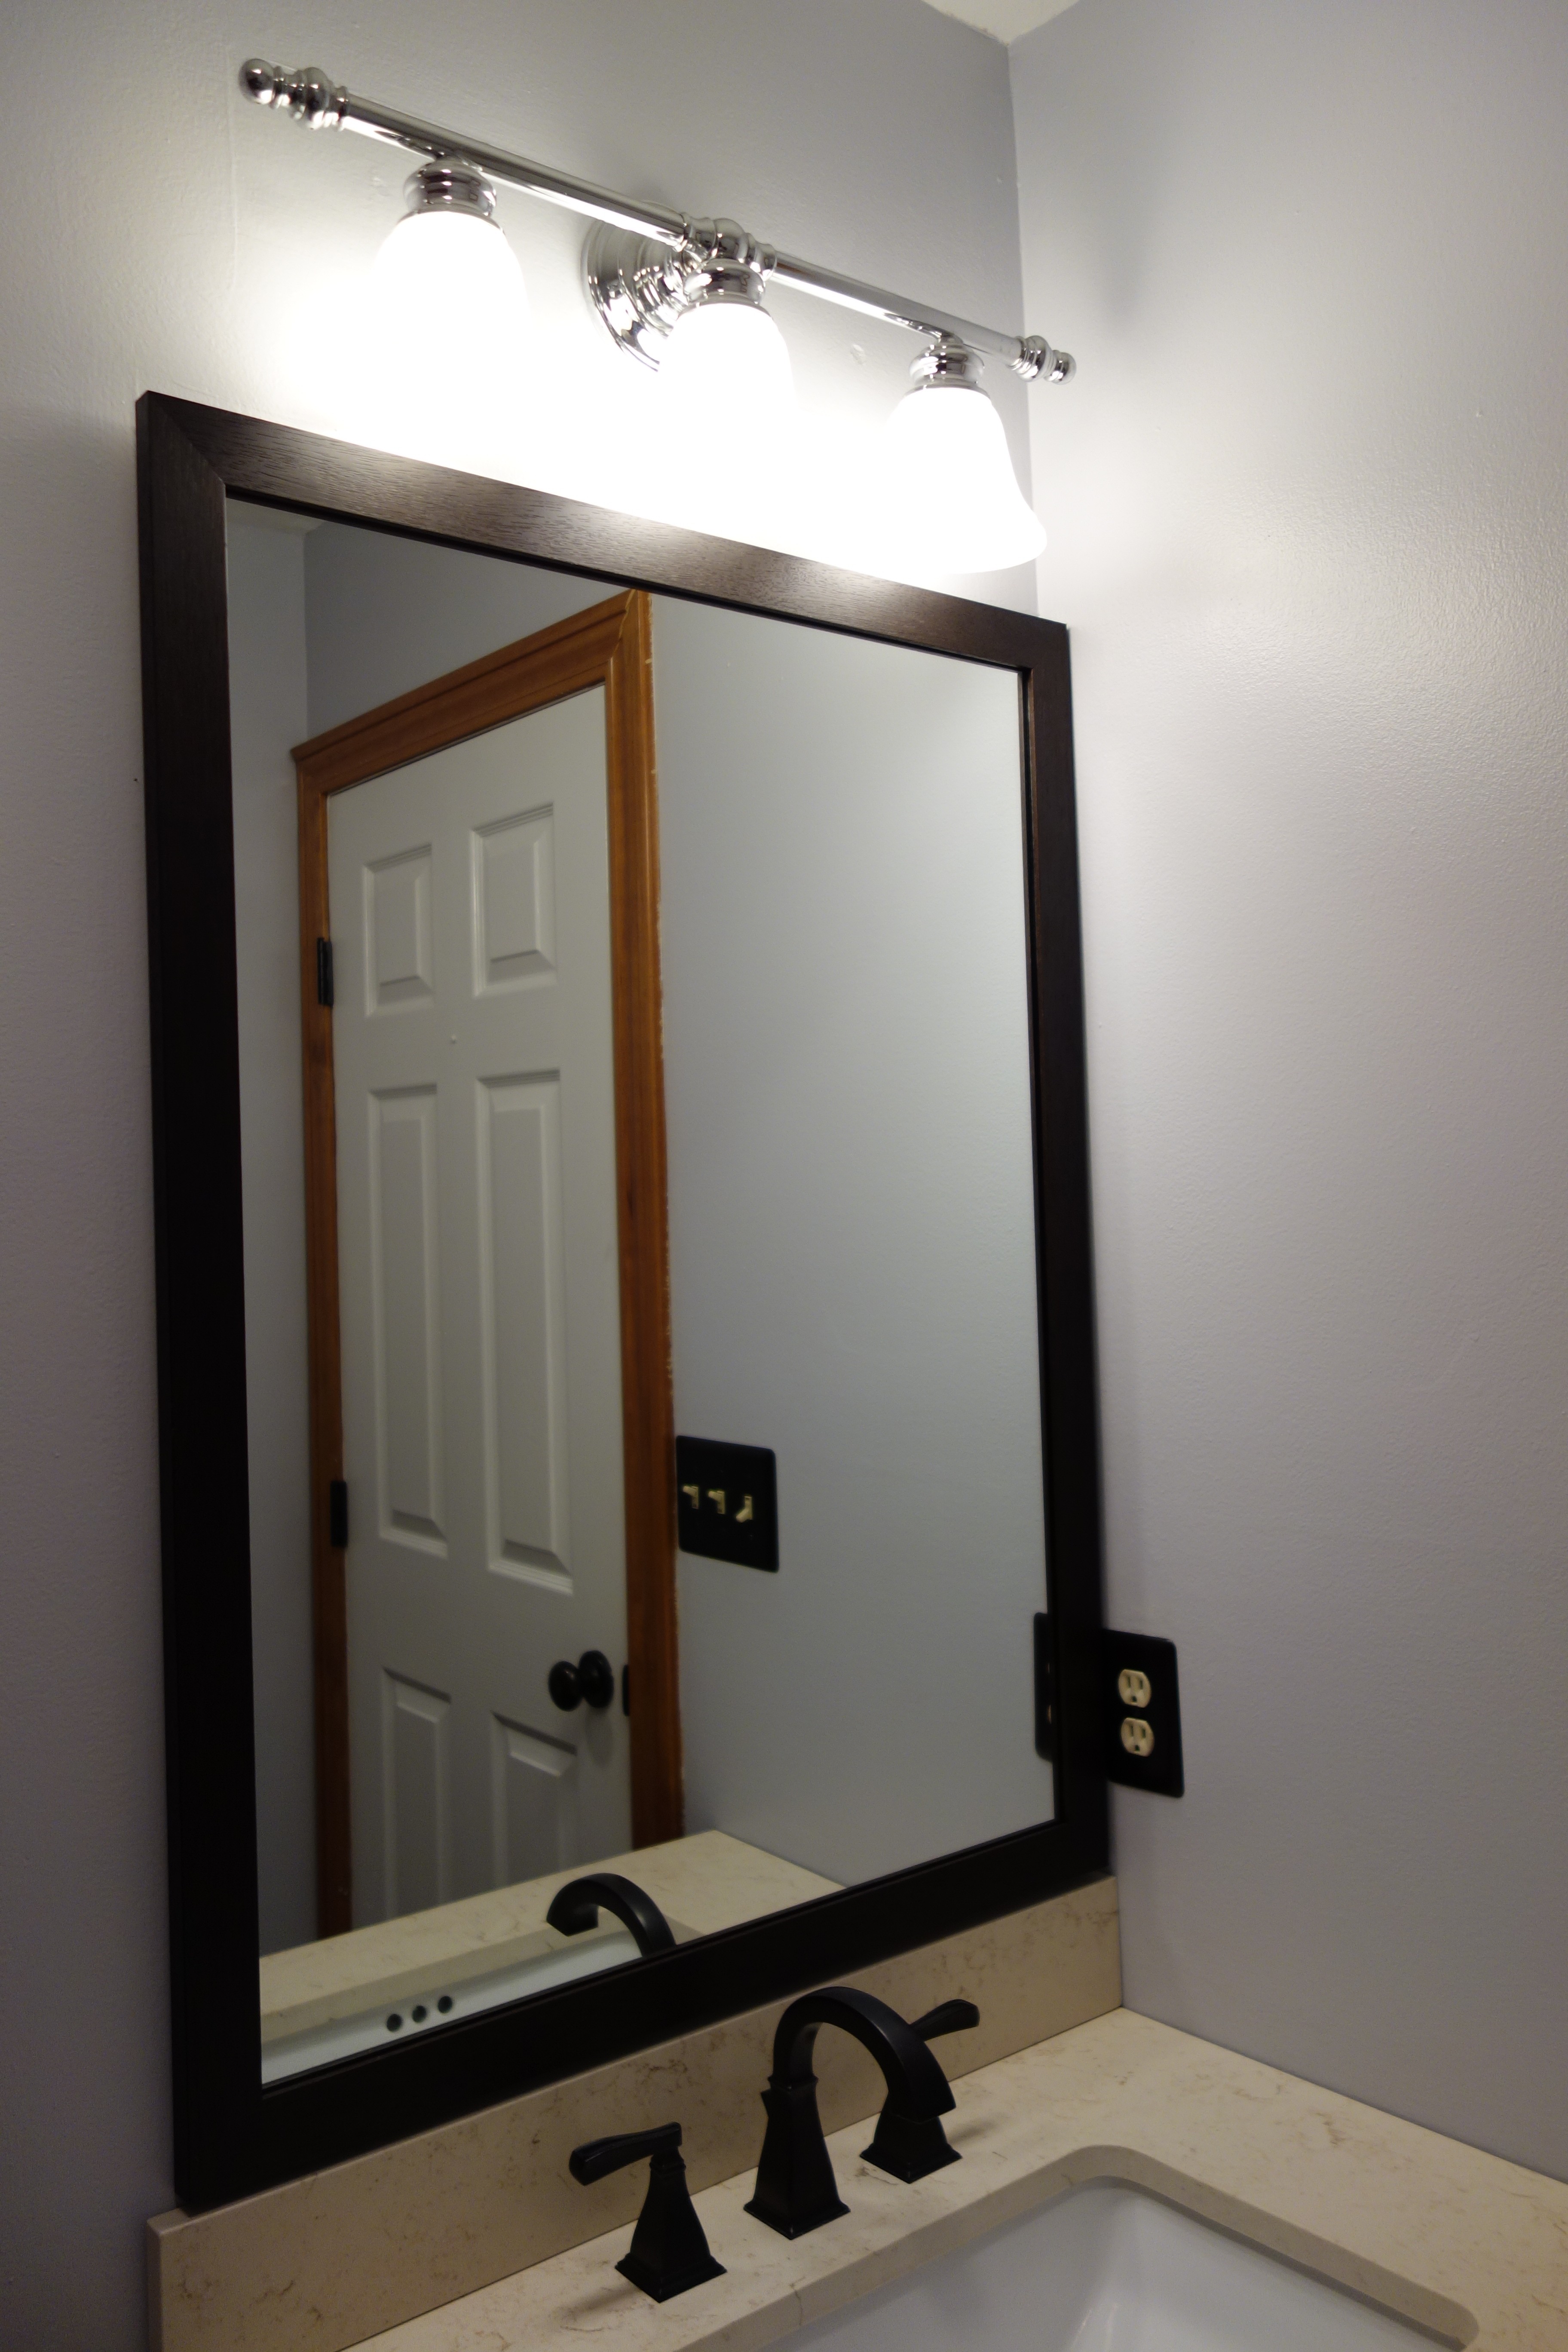
Lastly, I spray painted the light switch and outlet covers and the toilet paper holder with Rust-Oleum Oil Rubbed Bronze (the same color I used for all the door knobs). All that’s left to spray paint is the towel rod and light fixture.
Here’s the finished product:
Do you have any pointers for cabinet painting?
